I want to share with you a bit about my process of how I work through the means of screenshots and explaining them:
Map overlays
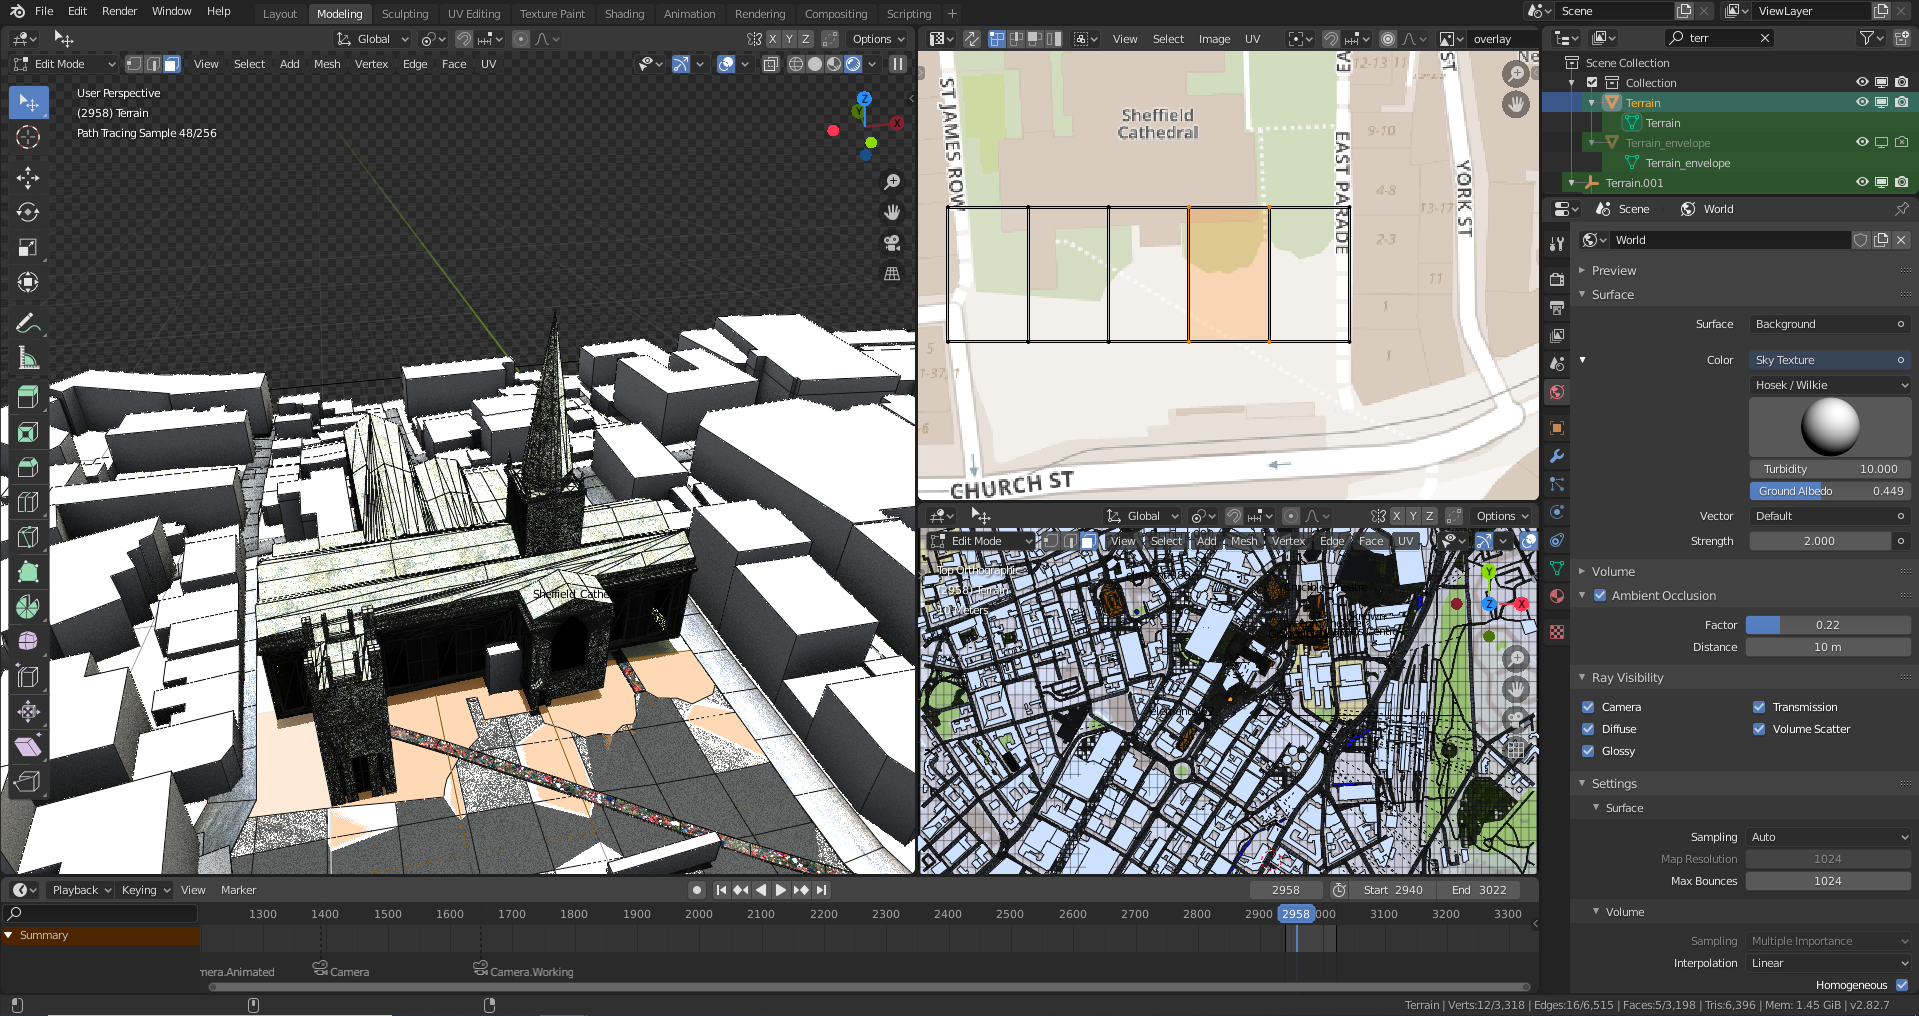
Here I’m using an OpenStreetMap overlay of the area UV mapped to my Terrain object: to the top right, I have a UV image editor window and four faces selected on the mesh in front of the cathedral (orange).
The Terrain while in this state is not curved and has no elevation, it’s completely flat.
To quickly navigate to any point in the map, I can select a single face from the 3D viewport, hover over to the map, press a to select all faces in the UV editor and NumPad . to jump to that point on the map, it also works vice versa, and the top right corner I can search for buildings by name.

From a lower view, having the building and street names on the ground is useful. Having a building levitate 15ft in the air, not so much.
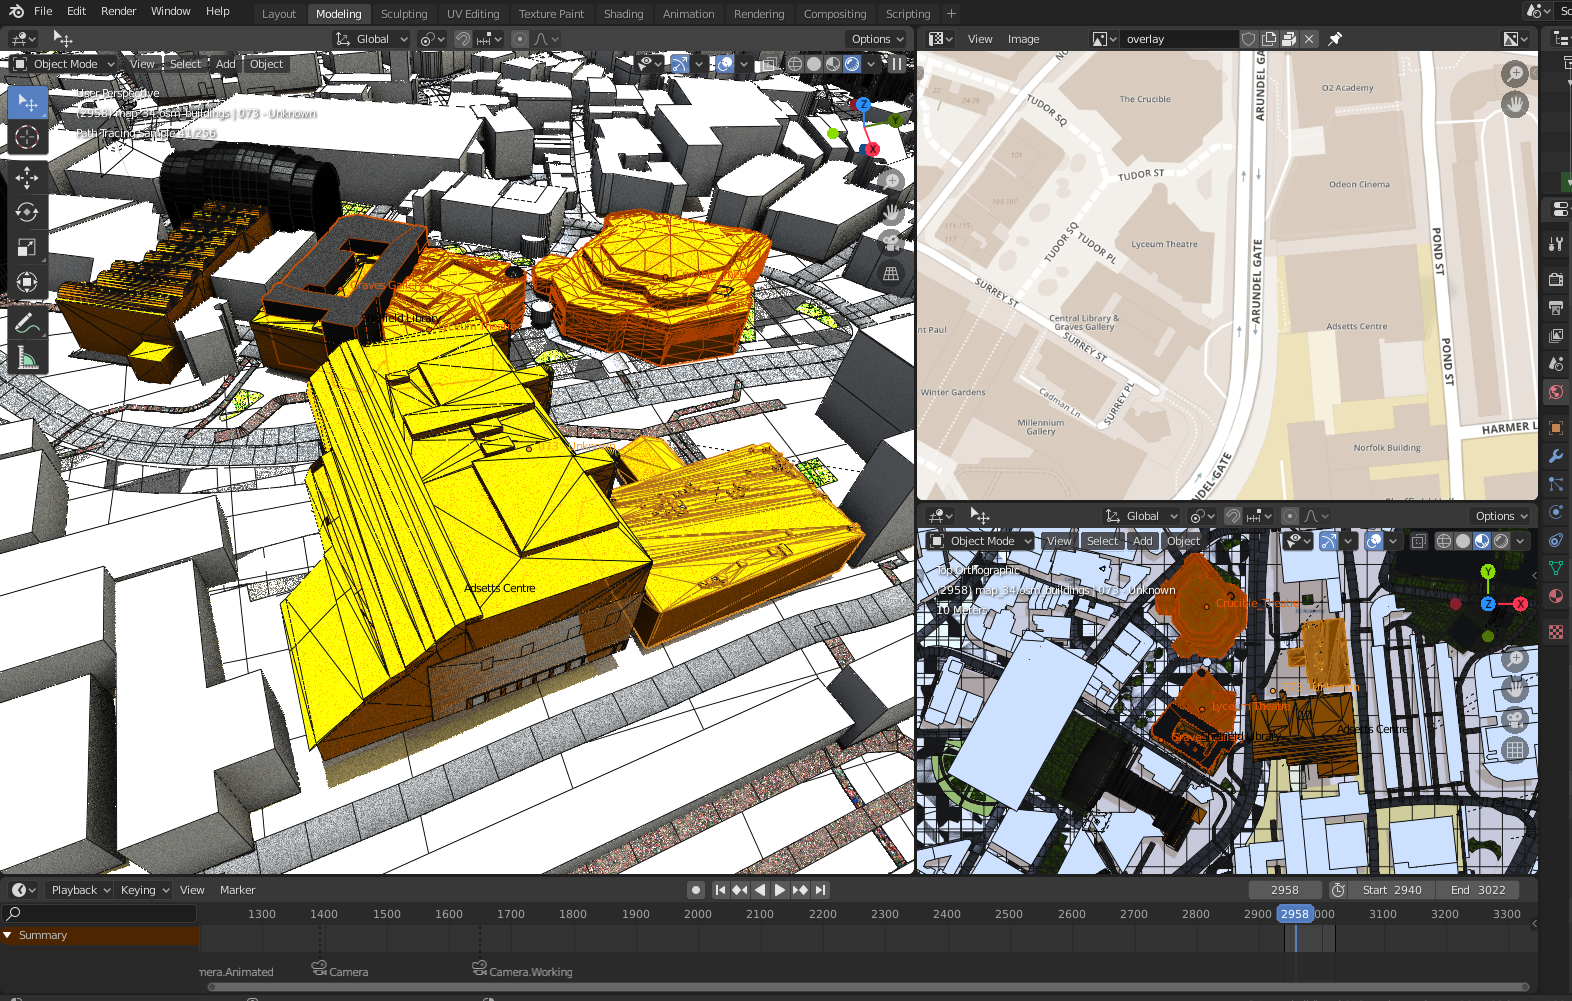
There are some buildings you might not have seen yet, they’ve been imported and adapted from the Broadstadium3D libraries on 3D Warehouse: these will need retopologising and UV mapping with my own textures.
Video editing
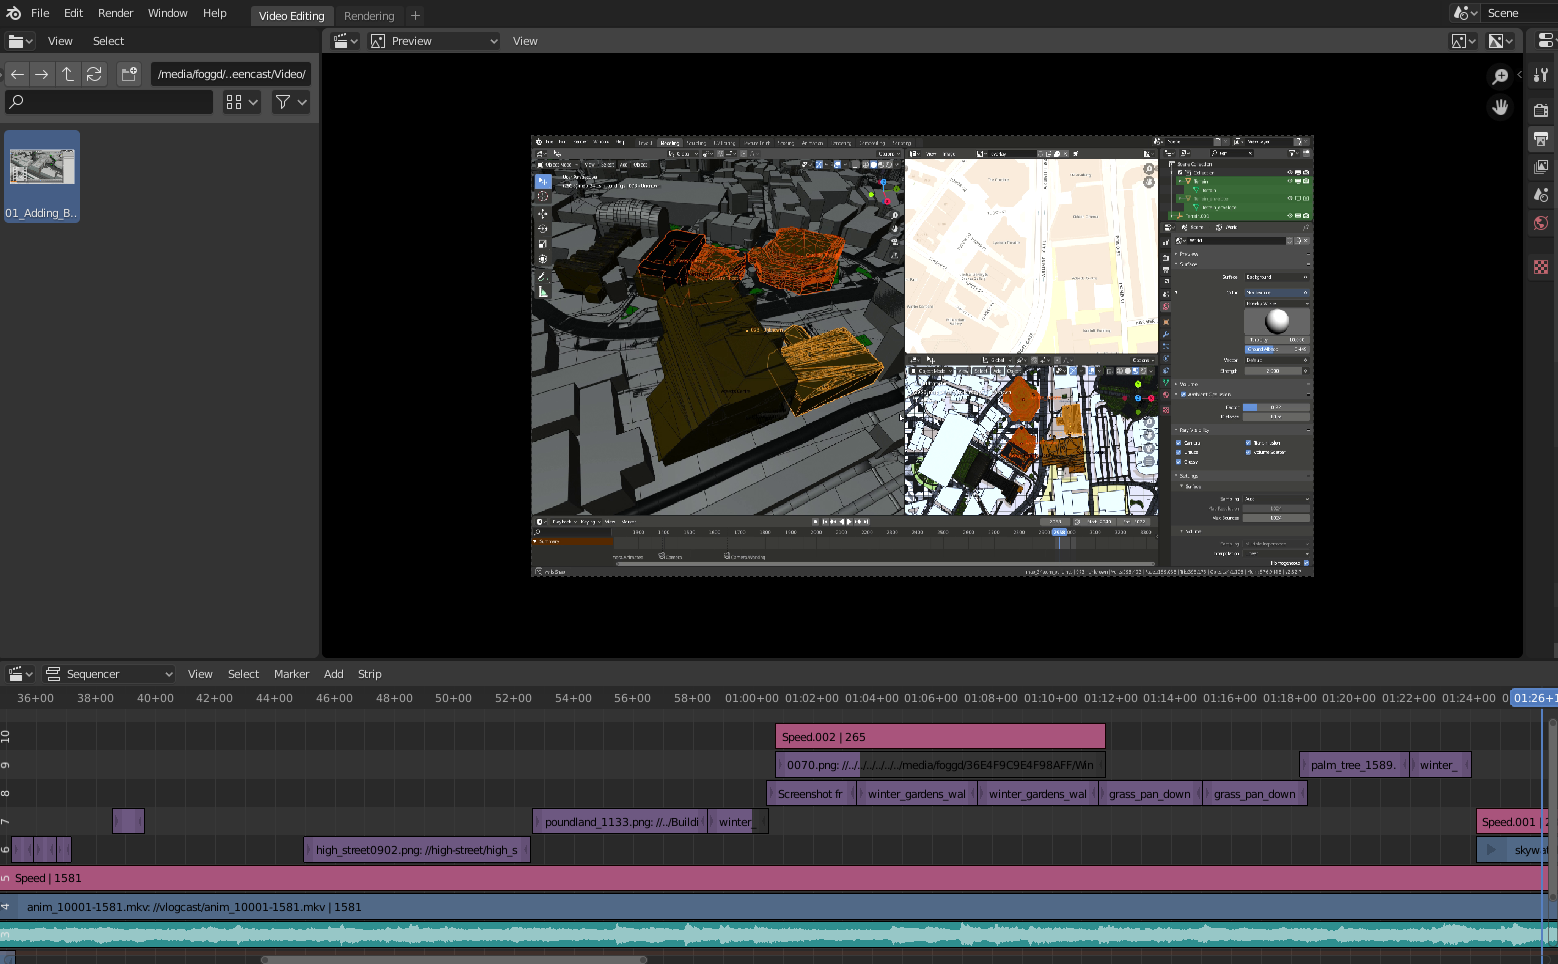
Here I’m finalising a composite of progress videos, backed to a Skywatcher Music track. Although the cut is slightly rough, I do hope to release this by the end of the night.
The bottom layer with the waveform is the audio for the video, the blue is video file, purple represents image sequences and the pink strips are speed modifiers, to speed up or slow down segments.
This area can get very complicated.
![Keentools Facebuilder [blender addon]](https://usercontent.one/wp/www.thefan.uk/wp-content/themes/stylizer/img/thumb-medium.png)
Recent Comments