Keentools is a small tool I came across a little while ago, but haven’t had much of a chance to play with – so I thought I’d do a post about it, because the Keentools Blender addon is currently in beta and is free – but once out of beta, this could become a paid product once it’s released – so I would grab a copy while you can.
How it works, is that you first Create a head, this is a blank, generic head object, and you insert reference images into the tool – and select points on the face and head – and line them up with the actual photograph.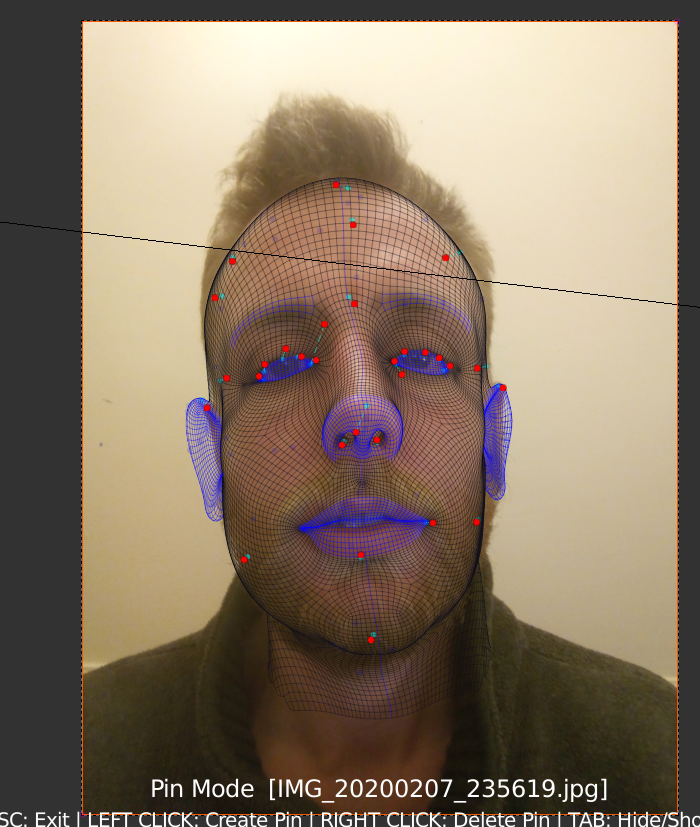
I can see this tool being my go-to for character development: at least for the head and face anyway.
I’ve learnt through experimentation that too many points like this does make things very confusing, especially with multiple images from different angles – a word of warning to try to keep things as simple as possible.
The trade off is that the more information that you give the plugin through these pins, is that it can guess the position of the camera more accurately – and will place a 3D camera in its representative position.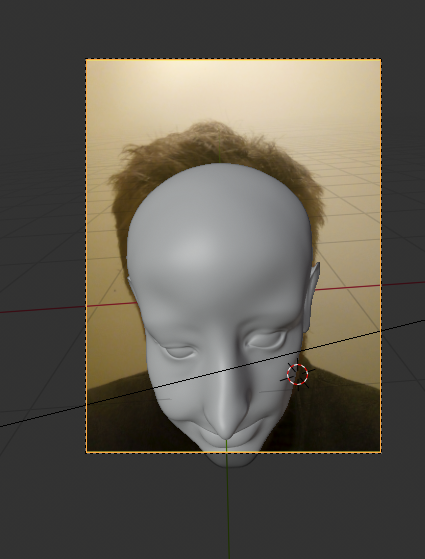
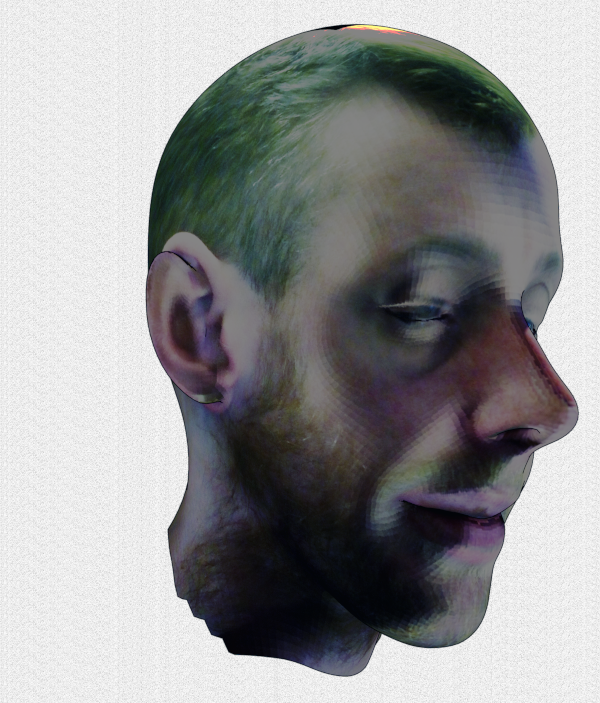
For an example, I’m going to leave it at this for now – this is a poor quality, low lit photo so I am not expecting amazing results.
These will vastly improve once I have a studio lighting and chroma key background setup.
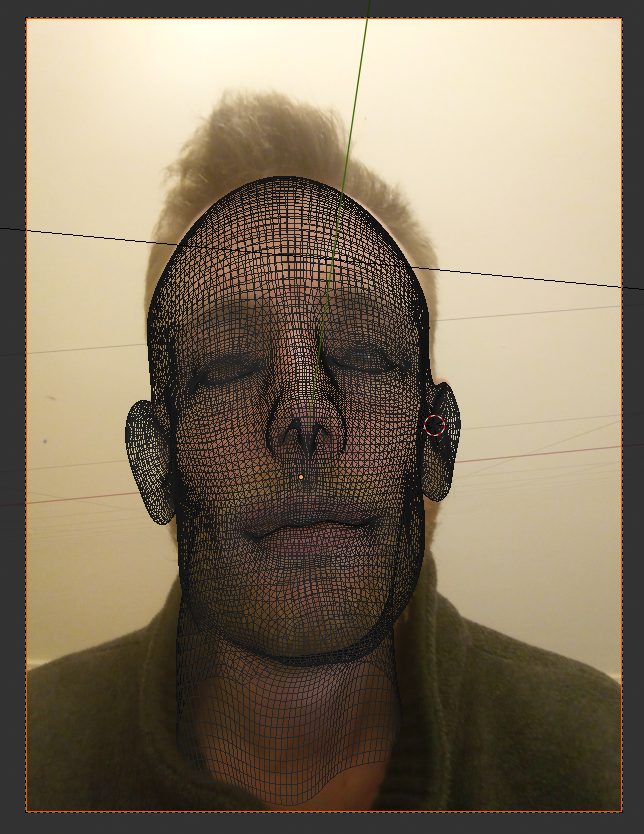
Once you’re happy with your model, and are confident that you have captured as much source imagery as possible, you can create a UV map of your subjects face from the images you’ve provided – and wrap it around the head model.
For the curious, here’s how the UV map looks once it has finished processing- if you look to the ears and the left side of my face, it’s completely blank – because images I took and used as reference for the pins did not include this portion of my face, so it has not mapped it, and these blank areas will show on the model as plain black mesh.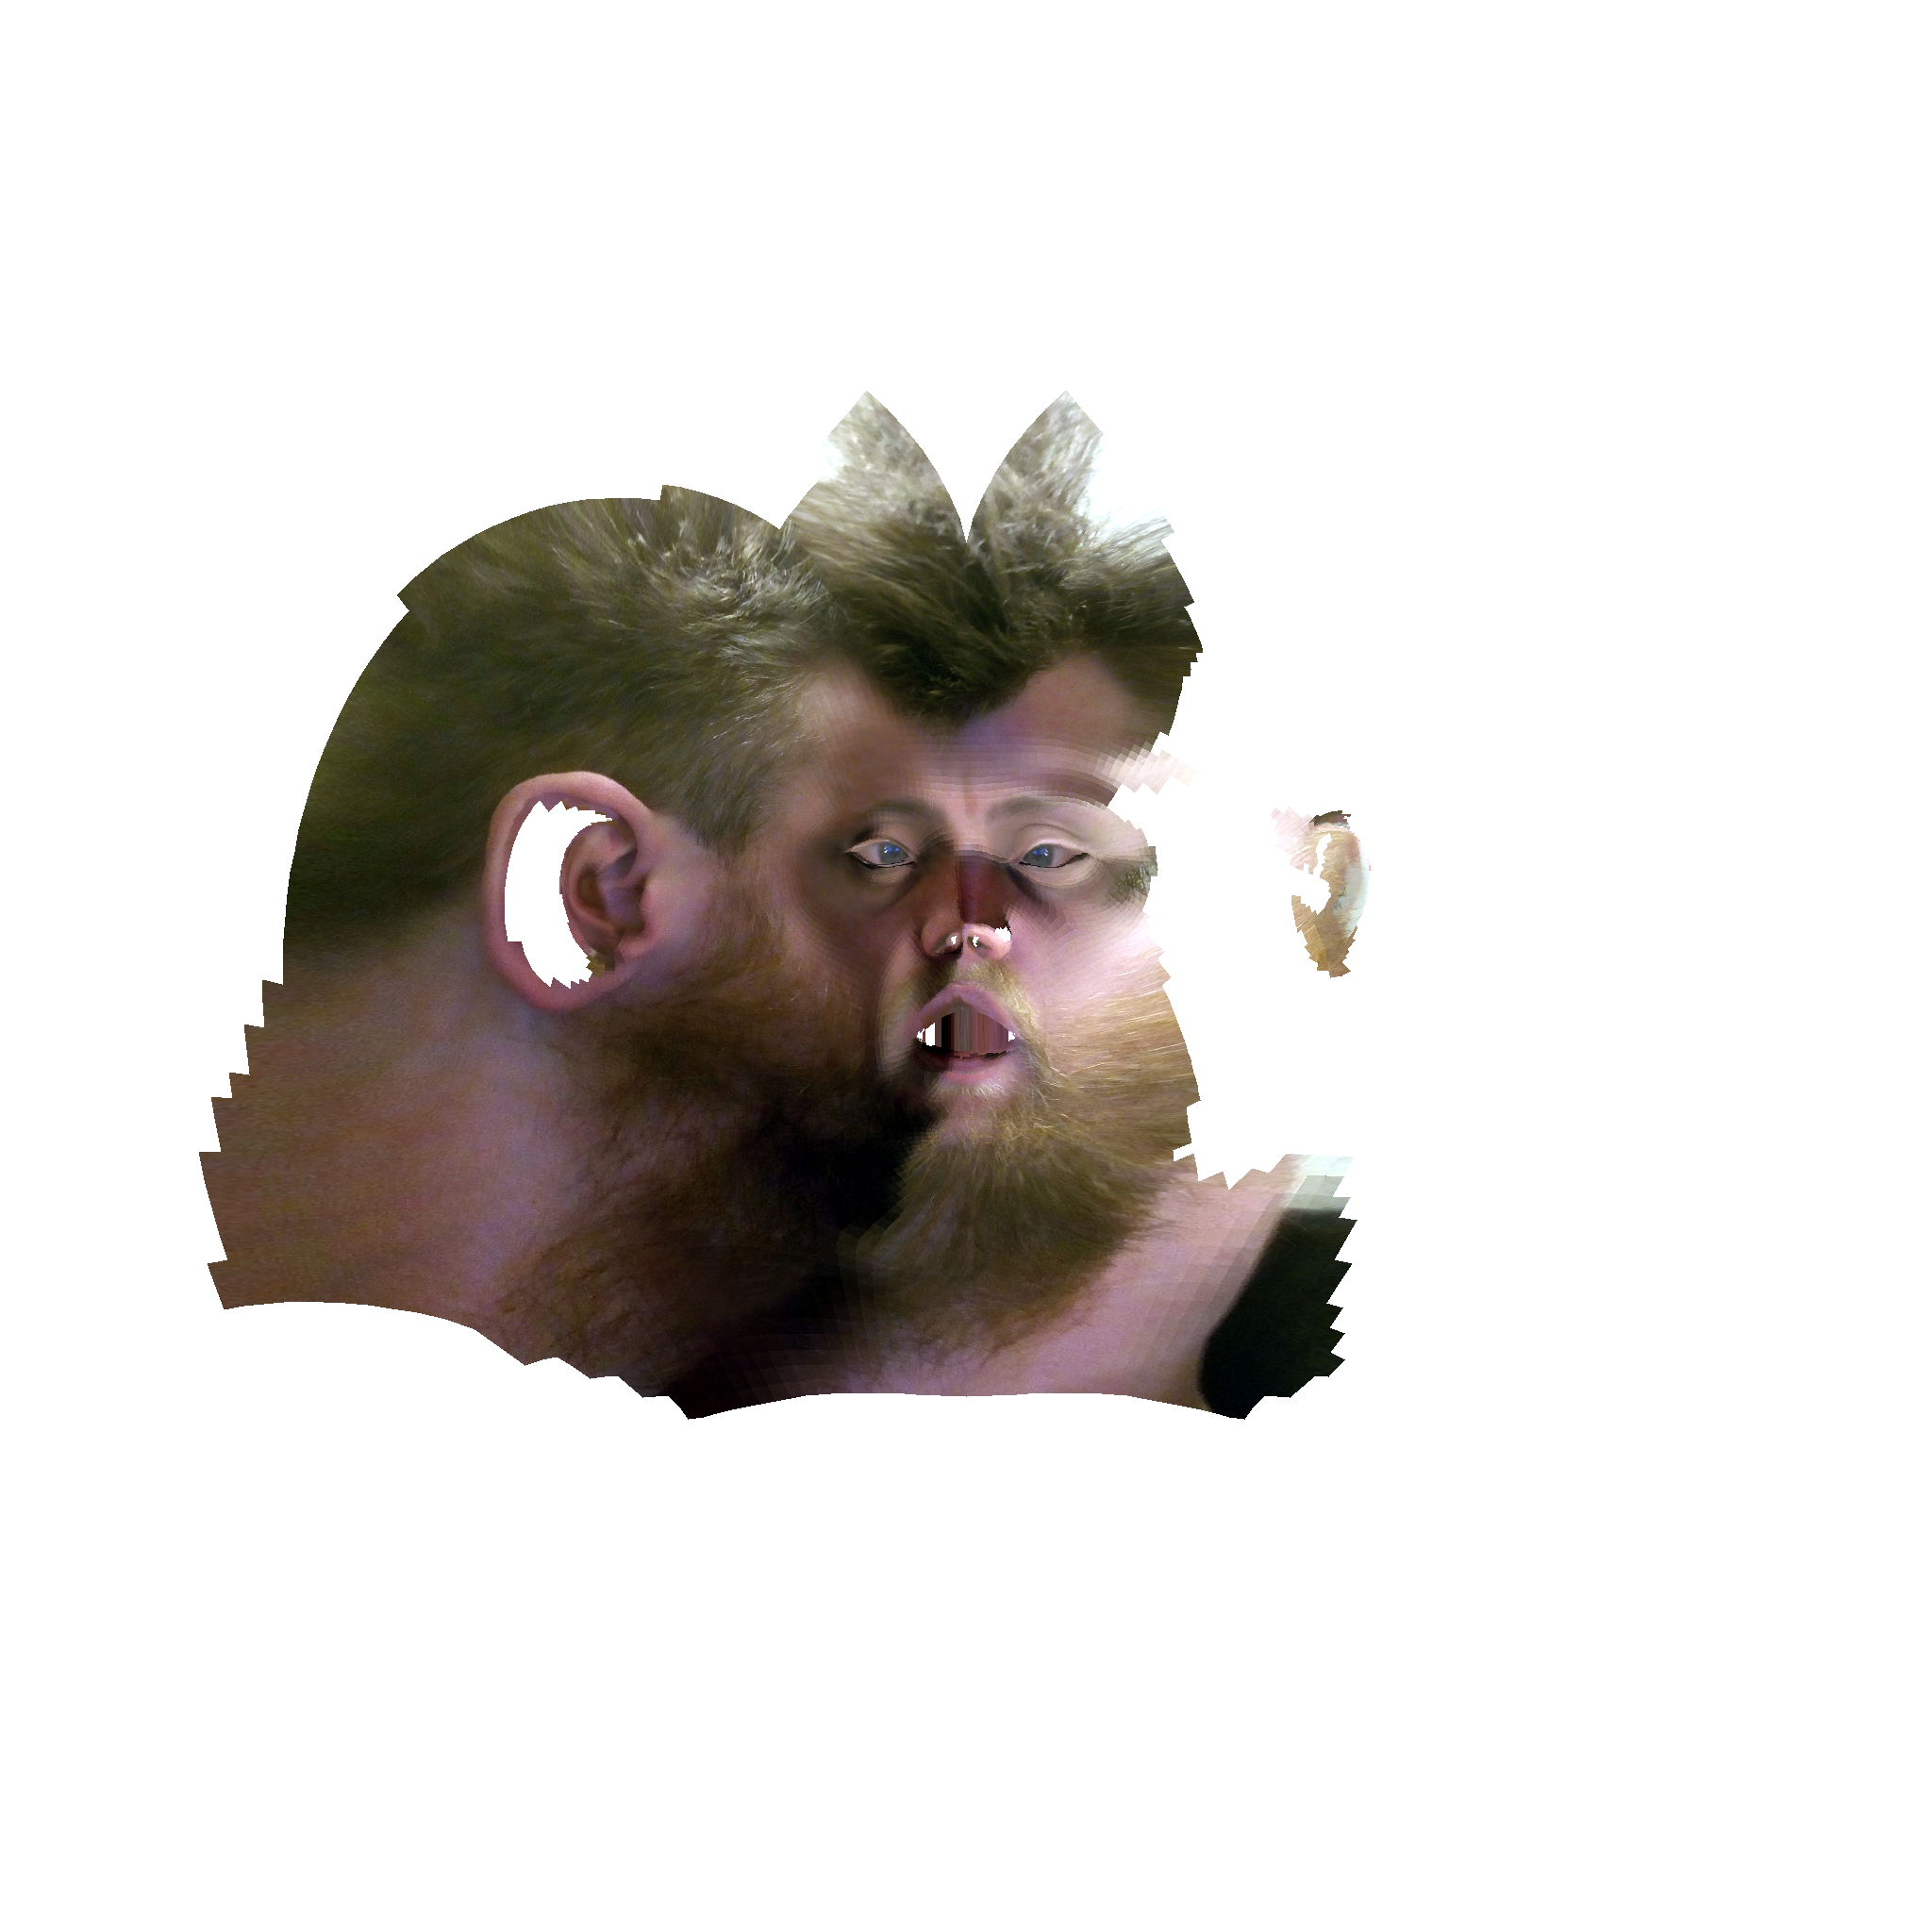
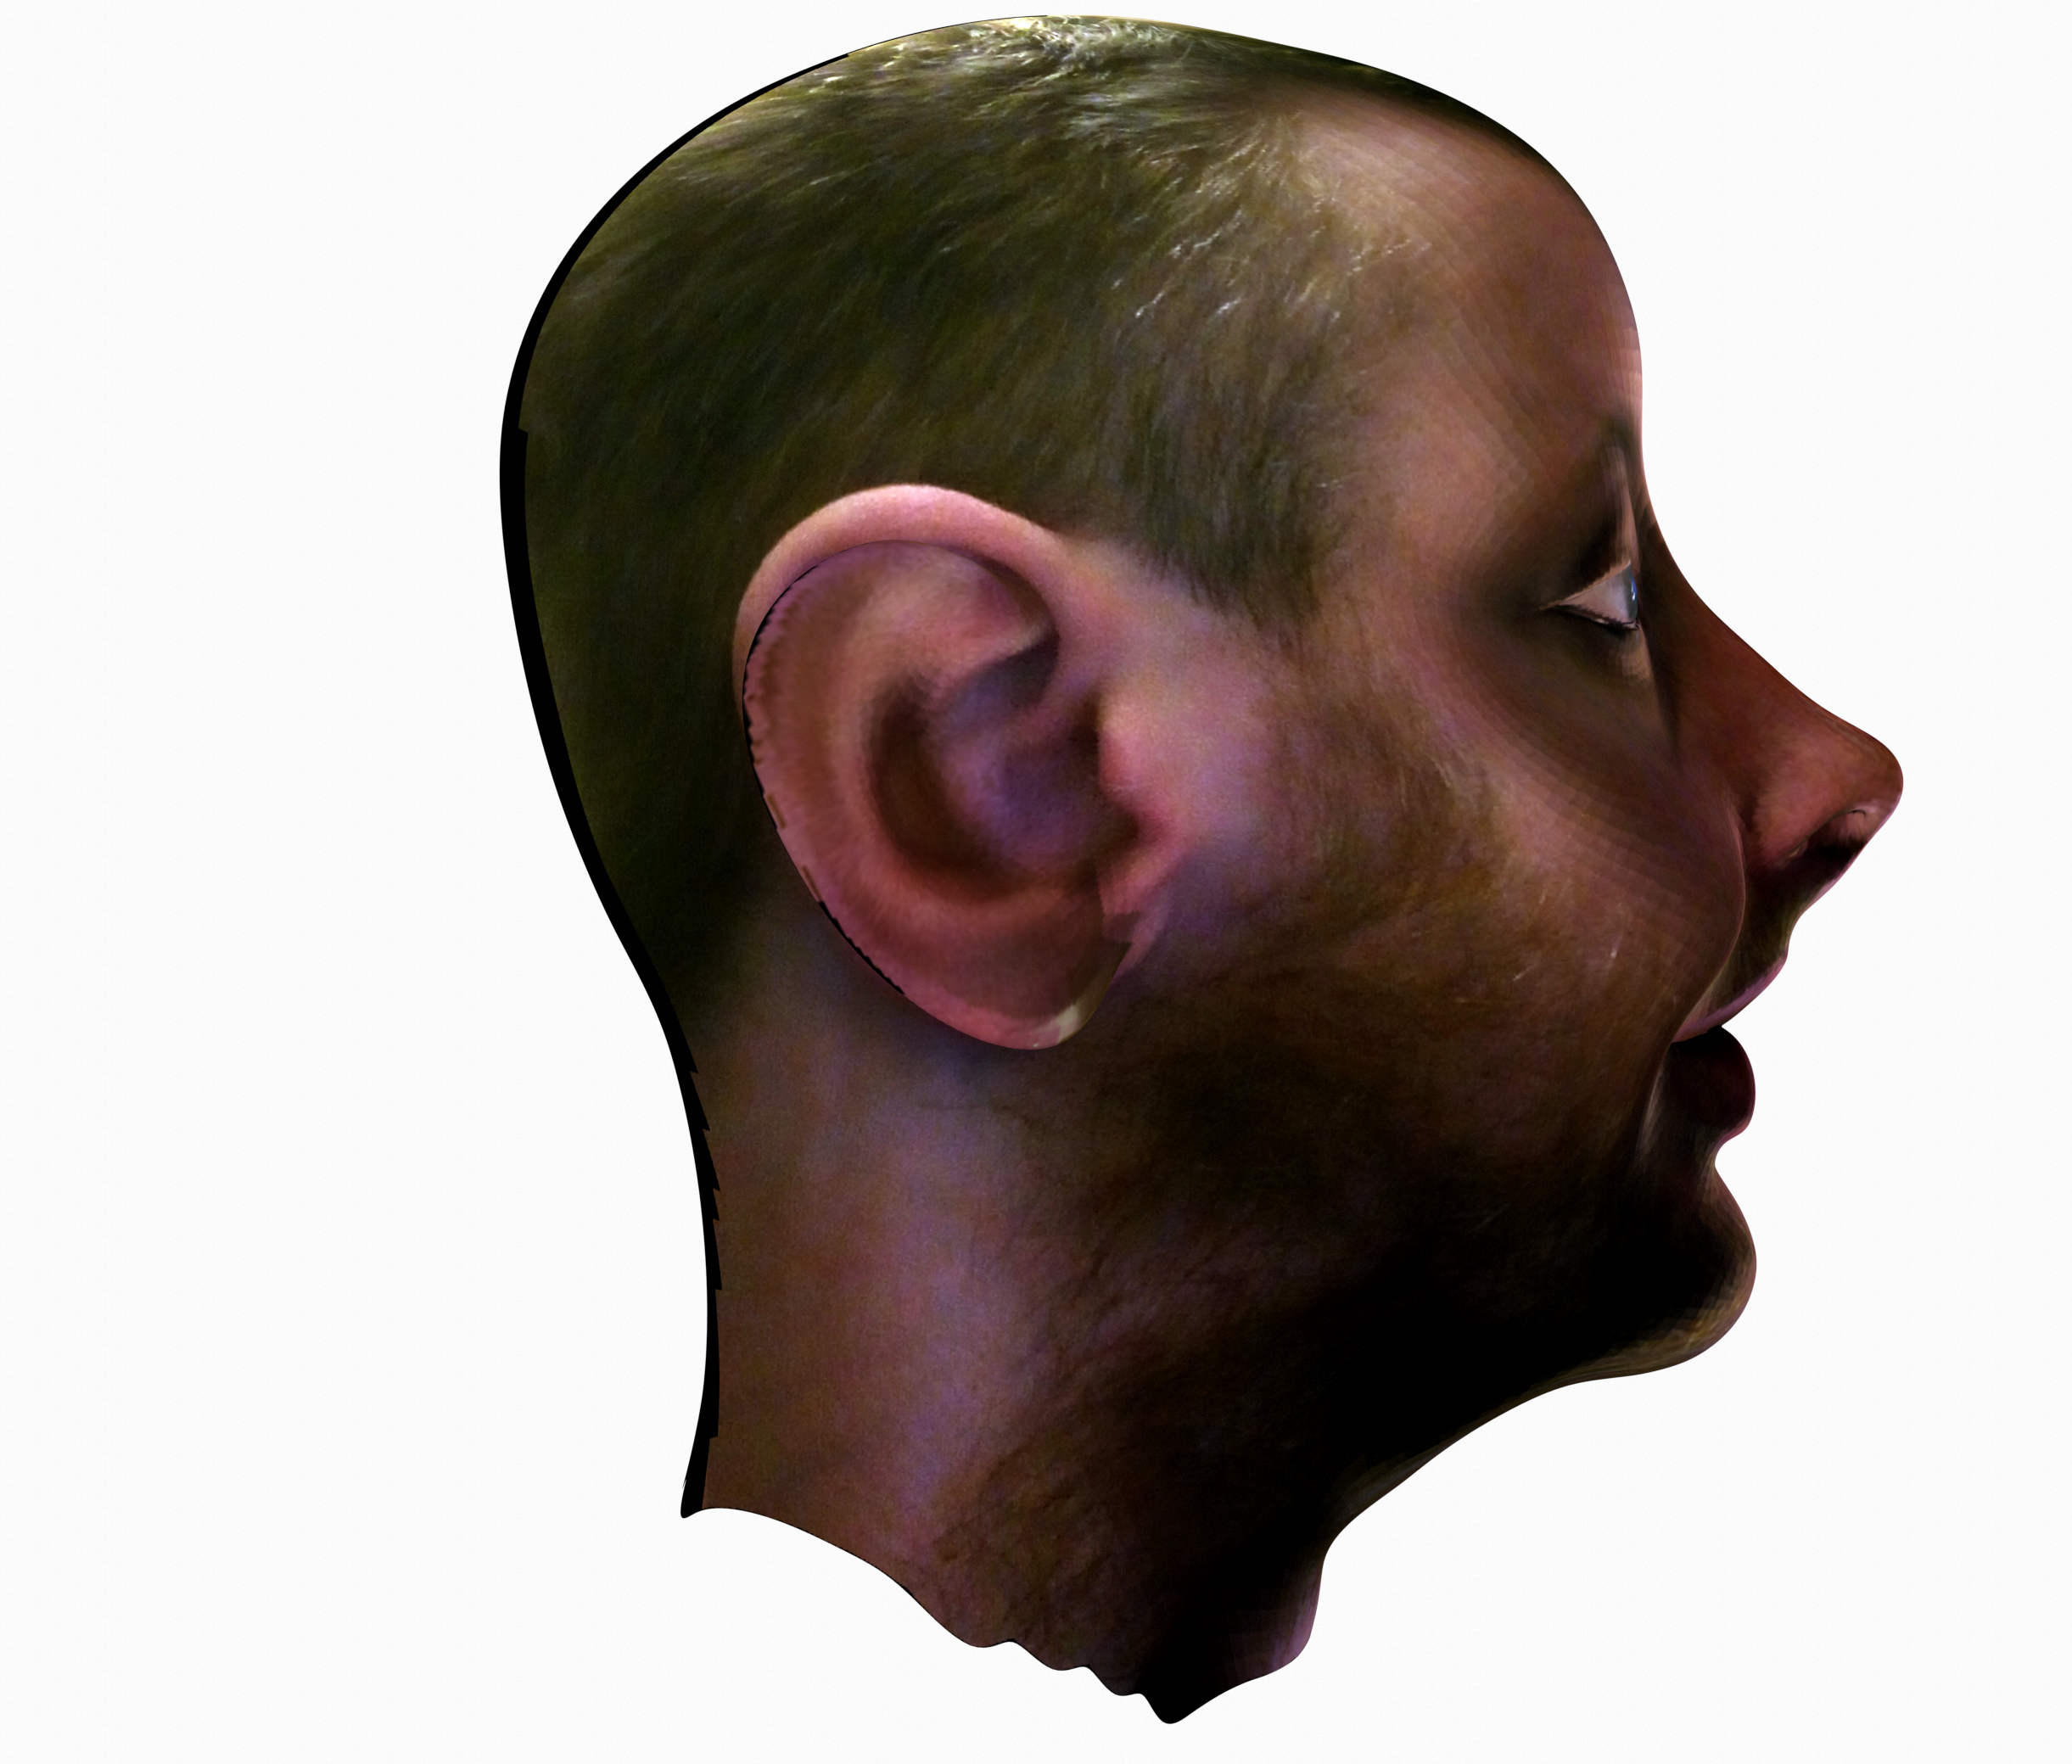
You can see from the UV map that there is a part of the right ear missing, so the texture has been approximated and doesn’t have the right scale.

Under a production environment, while I will use this process: I will spend a lot more time on it, this has been a quick demonstration of an experimentation for the purpose of this post.
The game assets will also be taken under studio settings with a 1000 watt halogen lamp which will be pure white light, rather than a 60 watt incandescent light (that has a more yellowy hue) that is commonly found in homes.
This image is the right shape, but it isn’t the right thickness – currently, it’s only one pixel thick.
If you think of this in real world terms, it’s akin to the thickness of the outer skin of an onion. It needs to be thicker.
For games, this will be acceptable because we want to keep the amount of polygons down, but what about for cutscenes, video where we want the characters to look believable to tell the story?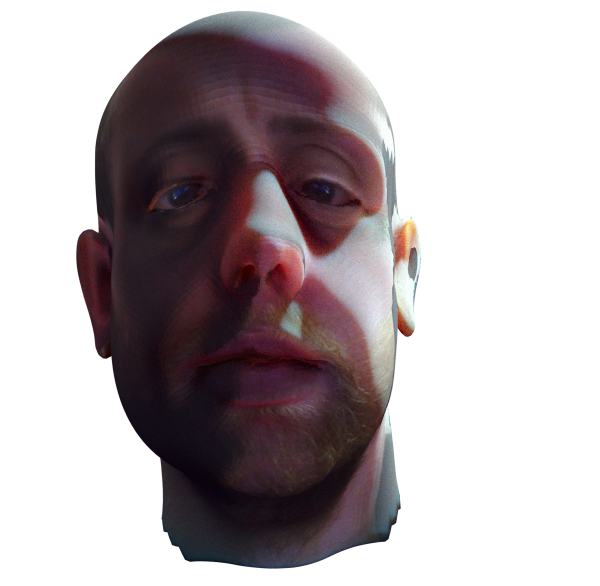
I’ve applied a Solidify modifer to the mesh, which has thickened every part of it – and this does look more realistic, especially if you look around the nostril and the top of the ear: light is shining through it as it would in the real world, it’s not paper thin like the images above.
Only, I’ve solidified it so much, it doesn’t even look like the same person any more – I will have to find a parameter that works for each individual model.

Recent Comments