I need to bear in mind this is the first sentence people see when this link gets shared.
Anyway, I’ve gotten quite stuck into modding Assetto Corsa over the past week, the workflow I’m using for the Sheffield map is similar to that of AC: using reference data from satellite imagery and streetmap data, and importing it into 3D.
Cadwell
The Cadwell track, after a curious search to see if there is one available was placed on a ‘someones done this already, and done a fantastic job of it – so I don’t need to (yet!)’ list.
Despite being a list with a very long name, it’s a very short list so far.
I decided to look for a track that I couldn’t find, something new – and that’s where two of the creative projects I’m working on coalesced.
I’d set out to use free and open source software to build a playable track in Blender – and while I didn’t complete that with Cadwell, it did put me on the right track to actually making usable race circuits.
That’s what this post is about.
India ??
I went on a deep-dive of Indian motor racing circuits, and aside from the world-famous Buddh, I could find very little. This was the niche I was looking for.
I’ve started with the first other major circuit I could find, Madras Motor Race Track (Irungattukottai, Chennai) – and is one of a few circuits I have earmarked for a small India track and car mod pack.
For your benefit, I’ve written this with hindsight – so I hope it saves you some time!
The first part we see is after I’ve downloaded the .osm (OpenStreetMap file) from where I’ve selected the region of the track.
I’ve used blender-osm to import the map data, and I’m now trying to figure out how to get it to run.
Once you have it imported, first thing I do is press 7 on the numpad in Blender to jump to Top view, and select the objects until you find the racetrack, and name it 1ROAD. Anything you name it after that (with no spaces) is entirely up to you. This is the track you will drive on.
I export the 3D file to .fbx and import it with ksEditor, part of the Assetto Corsa SDK, From here, allowing that my map is compliant, export it to the tracks folder in your Assetto Corsa directory.
If you are using Steam, it’ll be in:C:\Program Files (x86)\Steam\steamapps\common\assettocorsa\content\tracks
A quick way to do this is to find the folder of any track you like, copy it and paste it into a new folder with the name of your track, and change everything in your new folder to suit your level.
Once you’ve exported your map to the .kn5 file format, drop it in this folder and make sure the file has the same name as the folder, and any textures you’ve used are in the tracks textures folder.
More to come
What I learnt
- Everything needs a texture.
If it doesn’t have one, it’s going to crash ksEditor - .dds (DirectDraw Surfaces) do not support layers.
You can have transparency, but you can’t have multiple layers. - It’s best if your road is low resoultion mesh, high resolution imagery.
- You will need Blender 2.7x
Yes, going back to it feels like writing with your left hand, but the .kn5 exporter tool really is the best way of exporting your mesh.
I found that using 2.9x and exporting to ksEditor only caused problems. Revert, revert to 2.7x, open the example track, and you’re on the way to a playable track. - Scale your UVs correctly
I’d not scaled my grass textures correctly from high-res source photos, and the perspective it gave was that I was driving a car, but the size of an ant – each grass blade was the size of my car! - Make your track flat
When I’d imported my track from my 2.8x experimentation with ksEditor, I’d solidifed the track so that it was 3D and had depth.
I found though, when importing into 2.7x, hitting the side of the meshes depth sent the car into an uncontrollable spasm.
The track has to be flat. 1 pixel (to the chefs amongst us, that’s one layer of onion skin). - If you use the example file from the Blender KN5 Exporter, use it as an example file, and then delete it
When you playthrough, the intersection between the example racetrack, and your imported racetrack – it causes glitches will cause you to spin out, and fall into invisible potholes.
It took me until Part 4 to realise this. - Use a UV grid. Google images ‘UV Grid’.
Find a high resolution version, and apply it to everything.
It makes a great placeholder image, and you can see exactly where to edit when you want to colour the texture.
Car skinning
No such luck, synapses are firing on all cylinders,
I’ve cancelled an important VLC update for the sake of a screenshot, and now when I try to open anything with it, its only use is a strobe light.
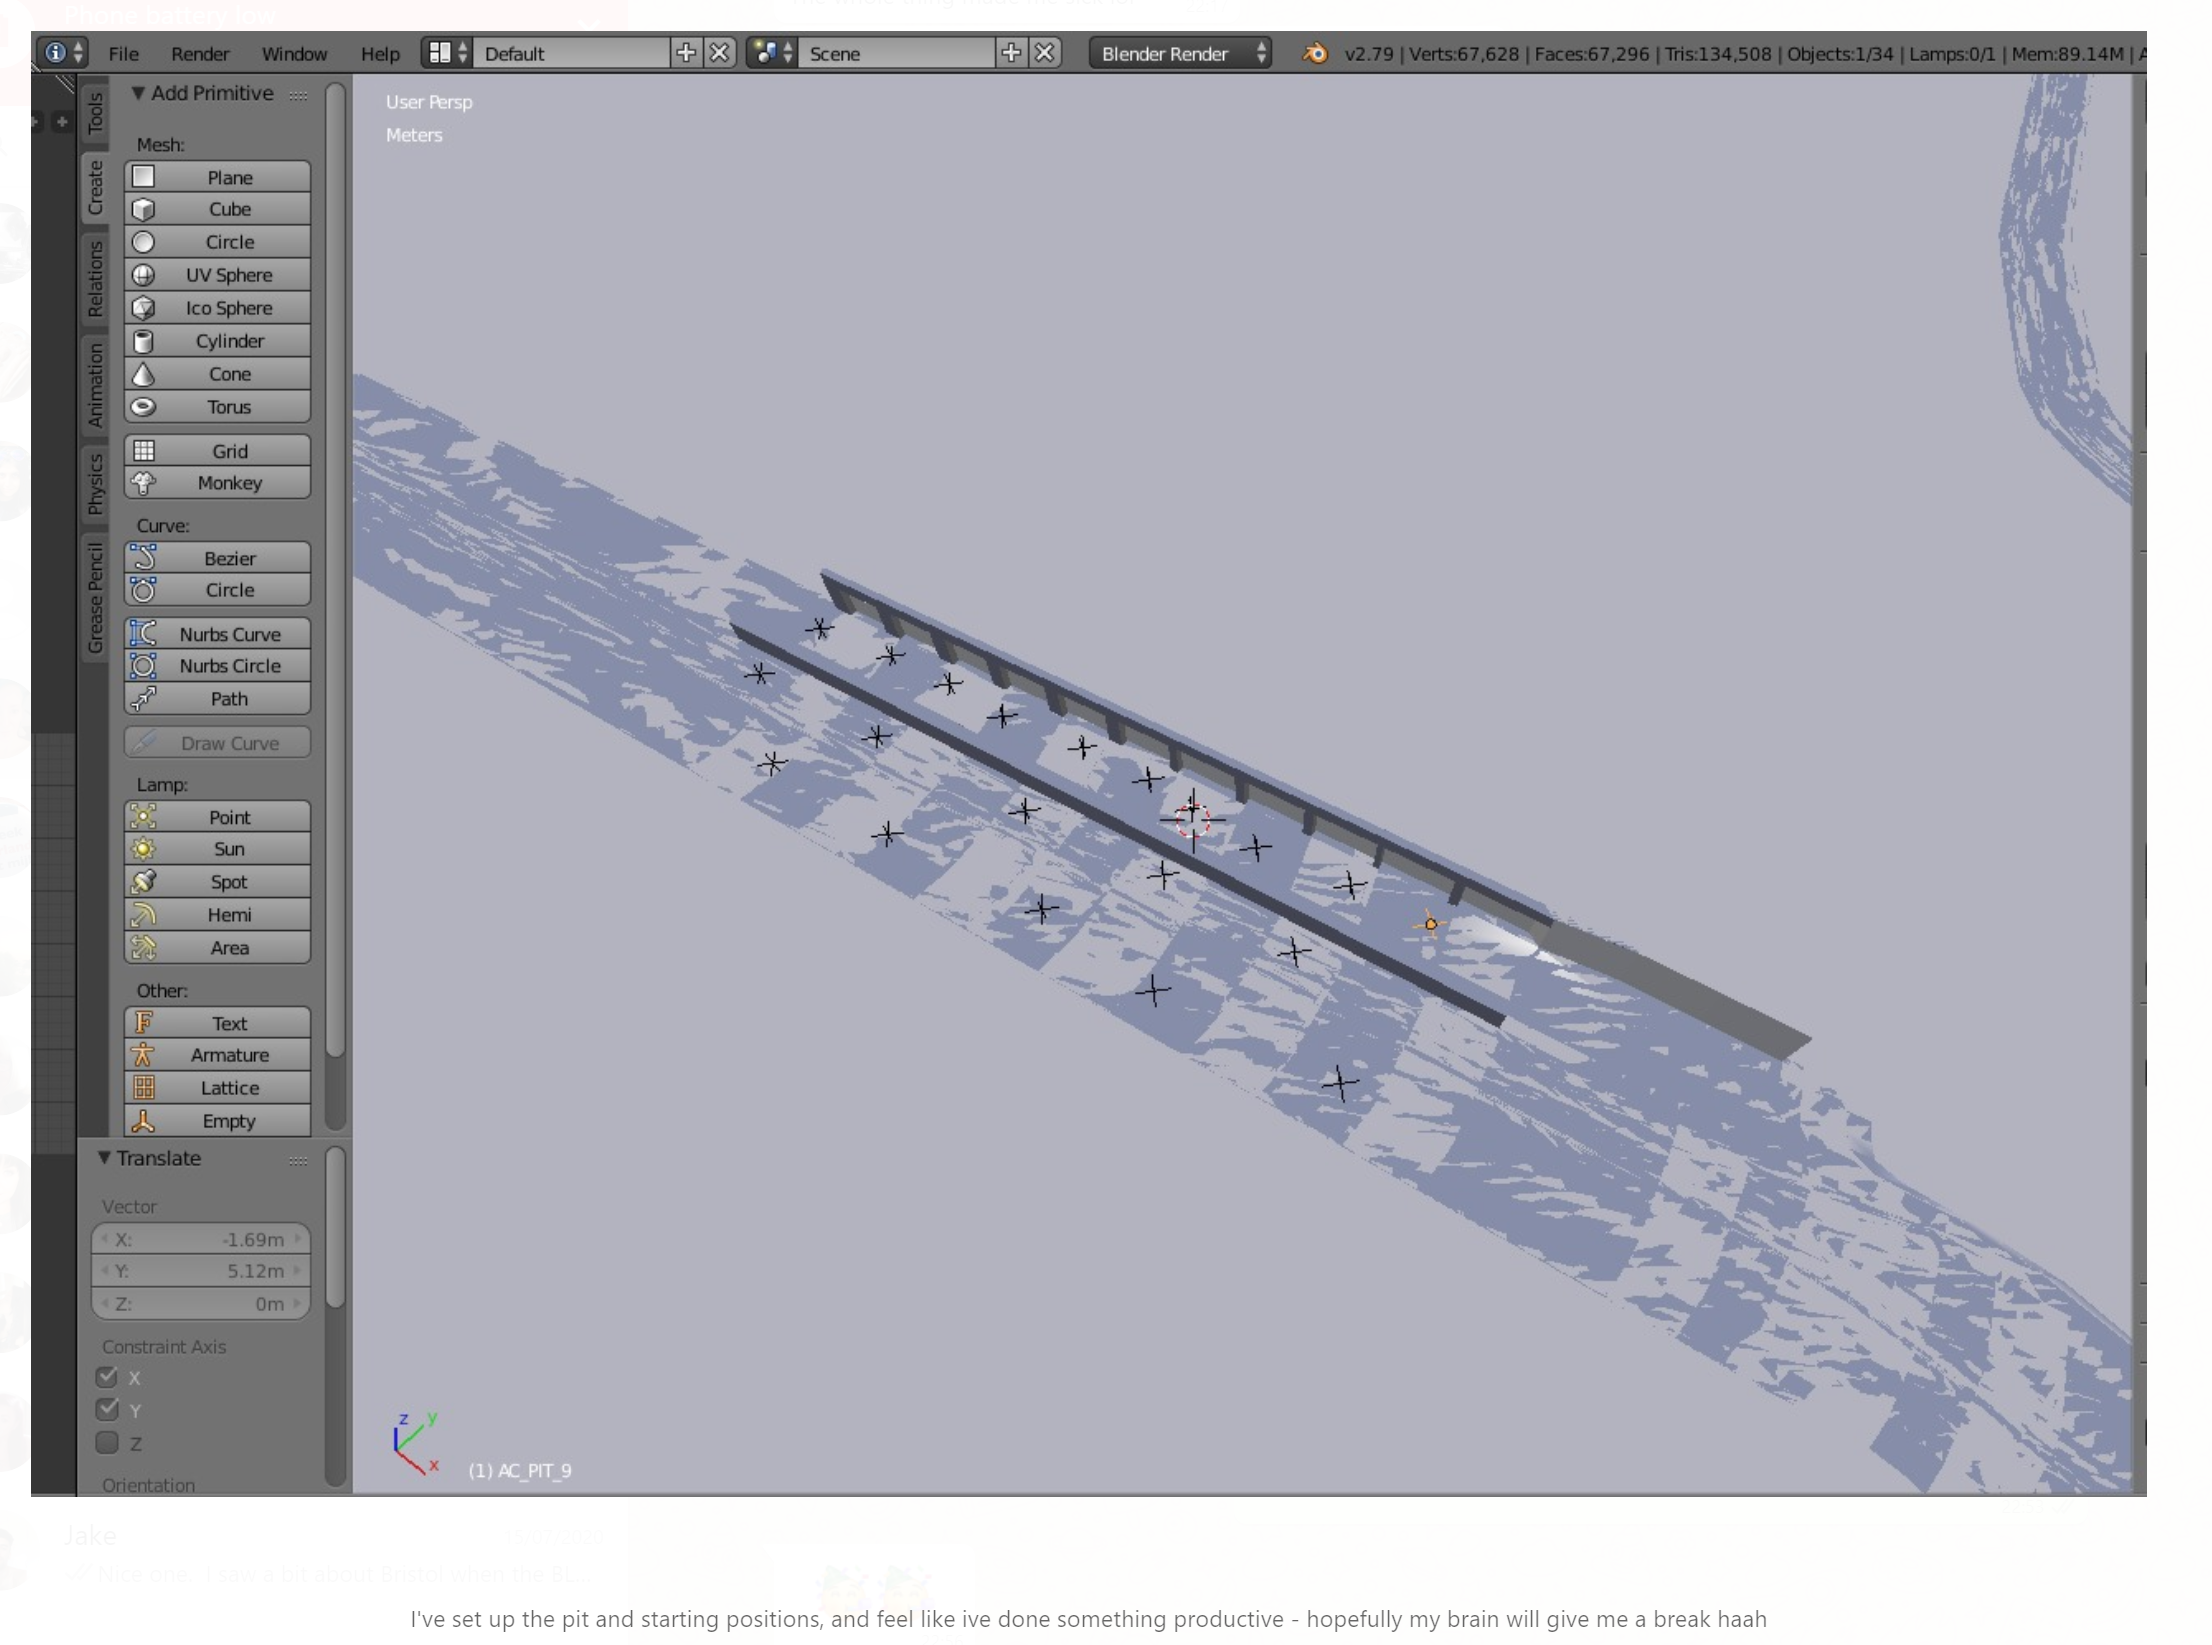
When I run the game, I start at a 2:00 angle, which leads me to beleive that the empty to represent AC_PIT_0 is at a strange (or unsupported) angle.
While playing the lap from the OSM import, I’d timed that I was completing the laps in around 45 seconds, which is obviously ridiculously fast – so I scaled the track to be twice the size, and it now seems to work – and would probably make a good Drift track.
I’ve not completed a full track yet, because:
– there’s no kerbs
– the start position is on the grass
– I’m quite sure that since I doubled the size of the track, the timer markers are in the wrong place.
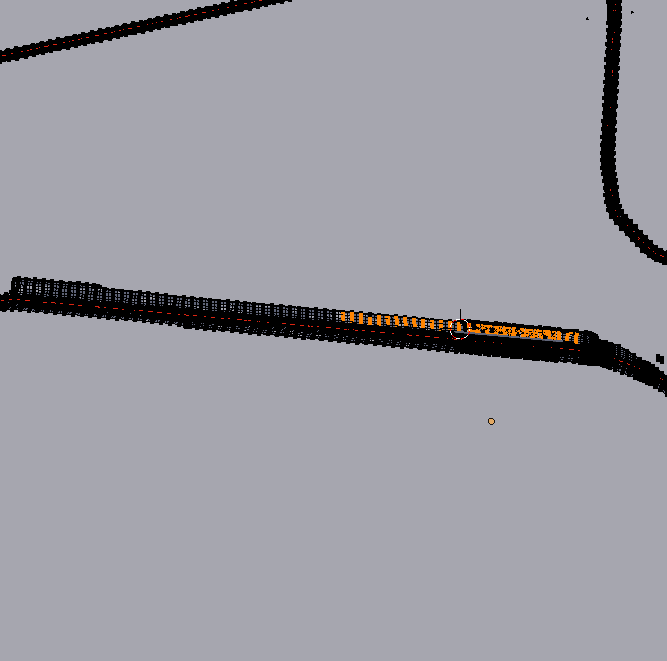
So this area here is the pit-lane, and behind this would be the stadium area where spectators are sitting.

Continuing on from the Pitlane after this tyre ends is a wall with a glass divider, like the ones in the picture above.
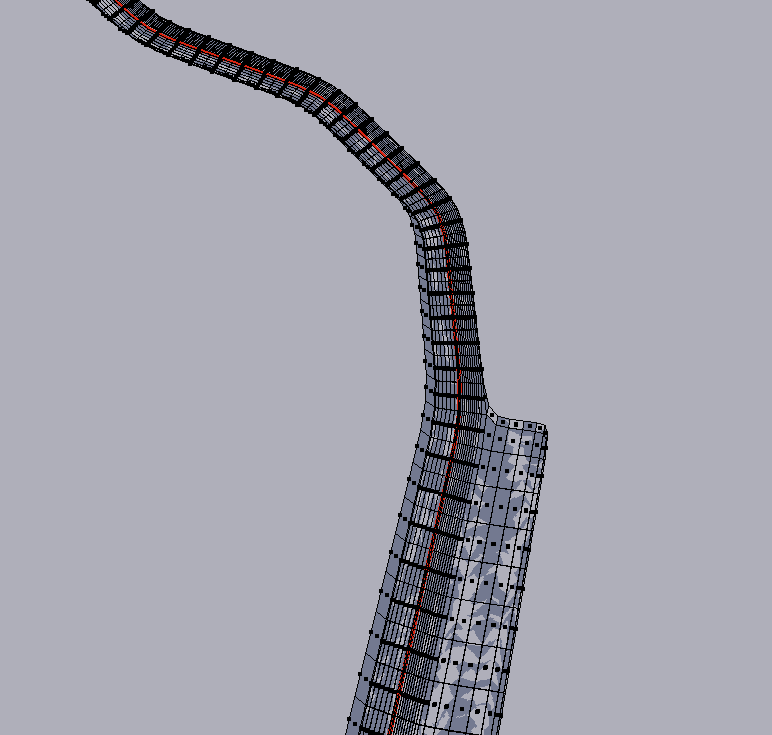

By this point, the car would have re-joined the circuit, and the track above is part of the maintance route, which the Ligier Maintenance Vehicle from the video(s) above would drive on.
Both barriers are solid walls with viewing windows above them.
MRF Towers
I don’t know if that’s their real name, but they’re a prominent and majestic outlook onto the track. I clearly know which companies logo to find a hi-resolution image of, and aim towards something like this.
Interestingly, the tyre is not where I would expect it to be from the screenshot above; which is odd, since the tyre bears the MRF logo.
My point for this is the two MRF towers just past the start-line, they’re 1x and 1.5x the size of each other, and the top floor is an actual viewing platform – so it’s a great place to put a camera (or two!).
If you’re feeling creative, you could create a camera, and put a sofa scene infront of it to show people watching from their couch inside of their hotel room!

While it is possible to complete a track, the kerbs and run-offs are not in place to help with corners (and I ran most of the racetrack backwards, and was not penalised).
This is next.
![Axel Oliver x THEBOYWITHSPEC – Survive [Deforum Animation]](https://usercontent.one/wp/www.thefan.uk/wp-content/themes/stylizer/img/thumb-medium.png)
Recent Comments