Breakdown
This video by Two Minute Papers (it’s not two minutes, it’s 9.) explains perfectly what I’ve been experimenting with here.
I found this after my work with Caustics using the same renderer they use in this video:
These are all rendered (and still rendering with LuxCore; a physically based renderer that models the use of light using mathematical equations.
It is particularly useful for photorealistic scenes, but I’ve decided to use it for it’s excellent results using caustics.
It’s particularly slower than the bundled renderers, Cycles and Eevee – but I believe it to be worth it for the result.
This scene has been rendering for almost 3 days at 4K resolution.
Balls!
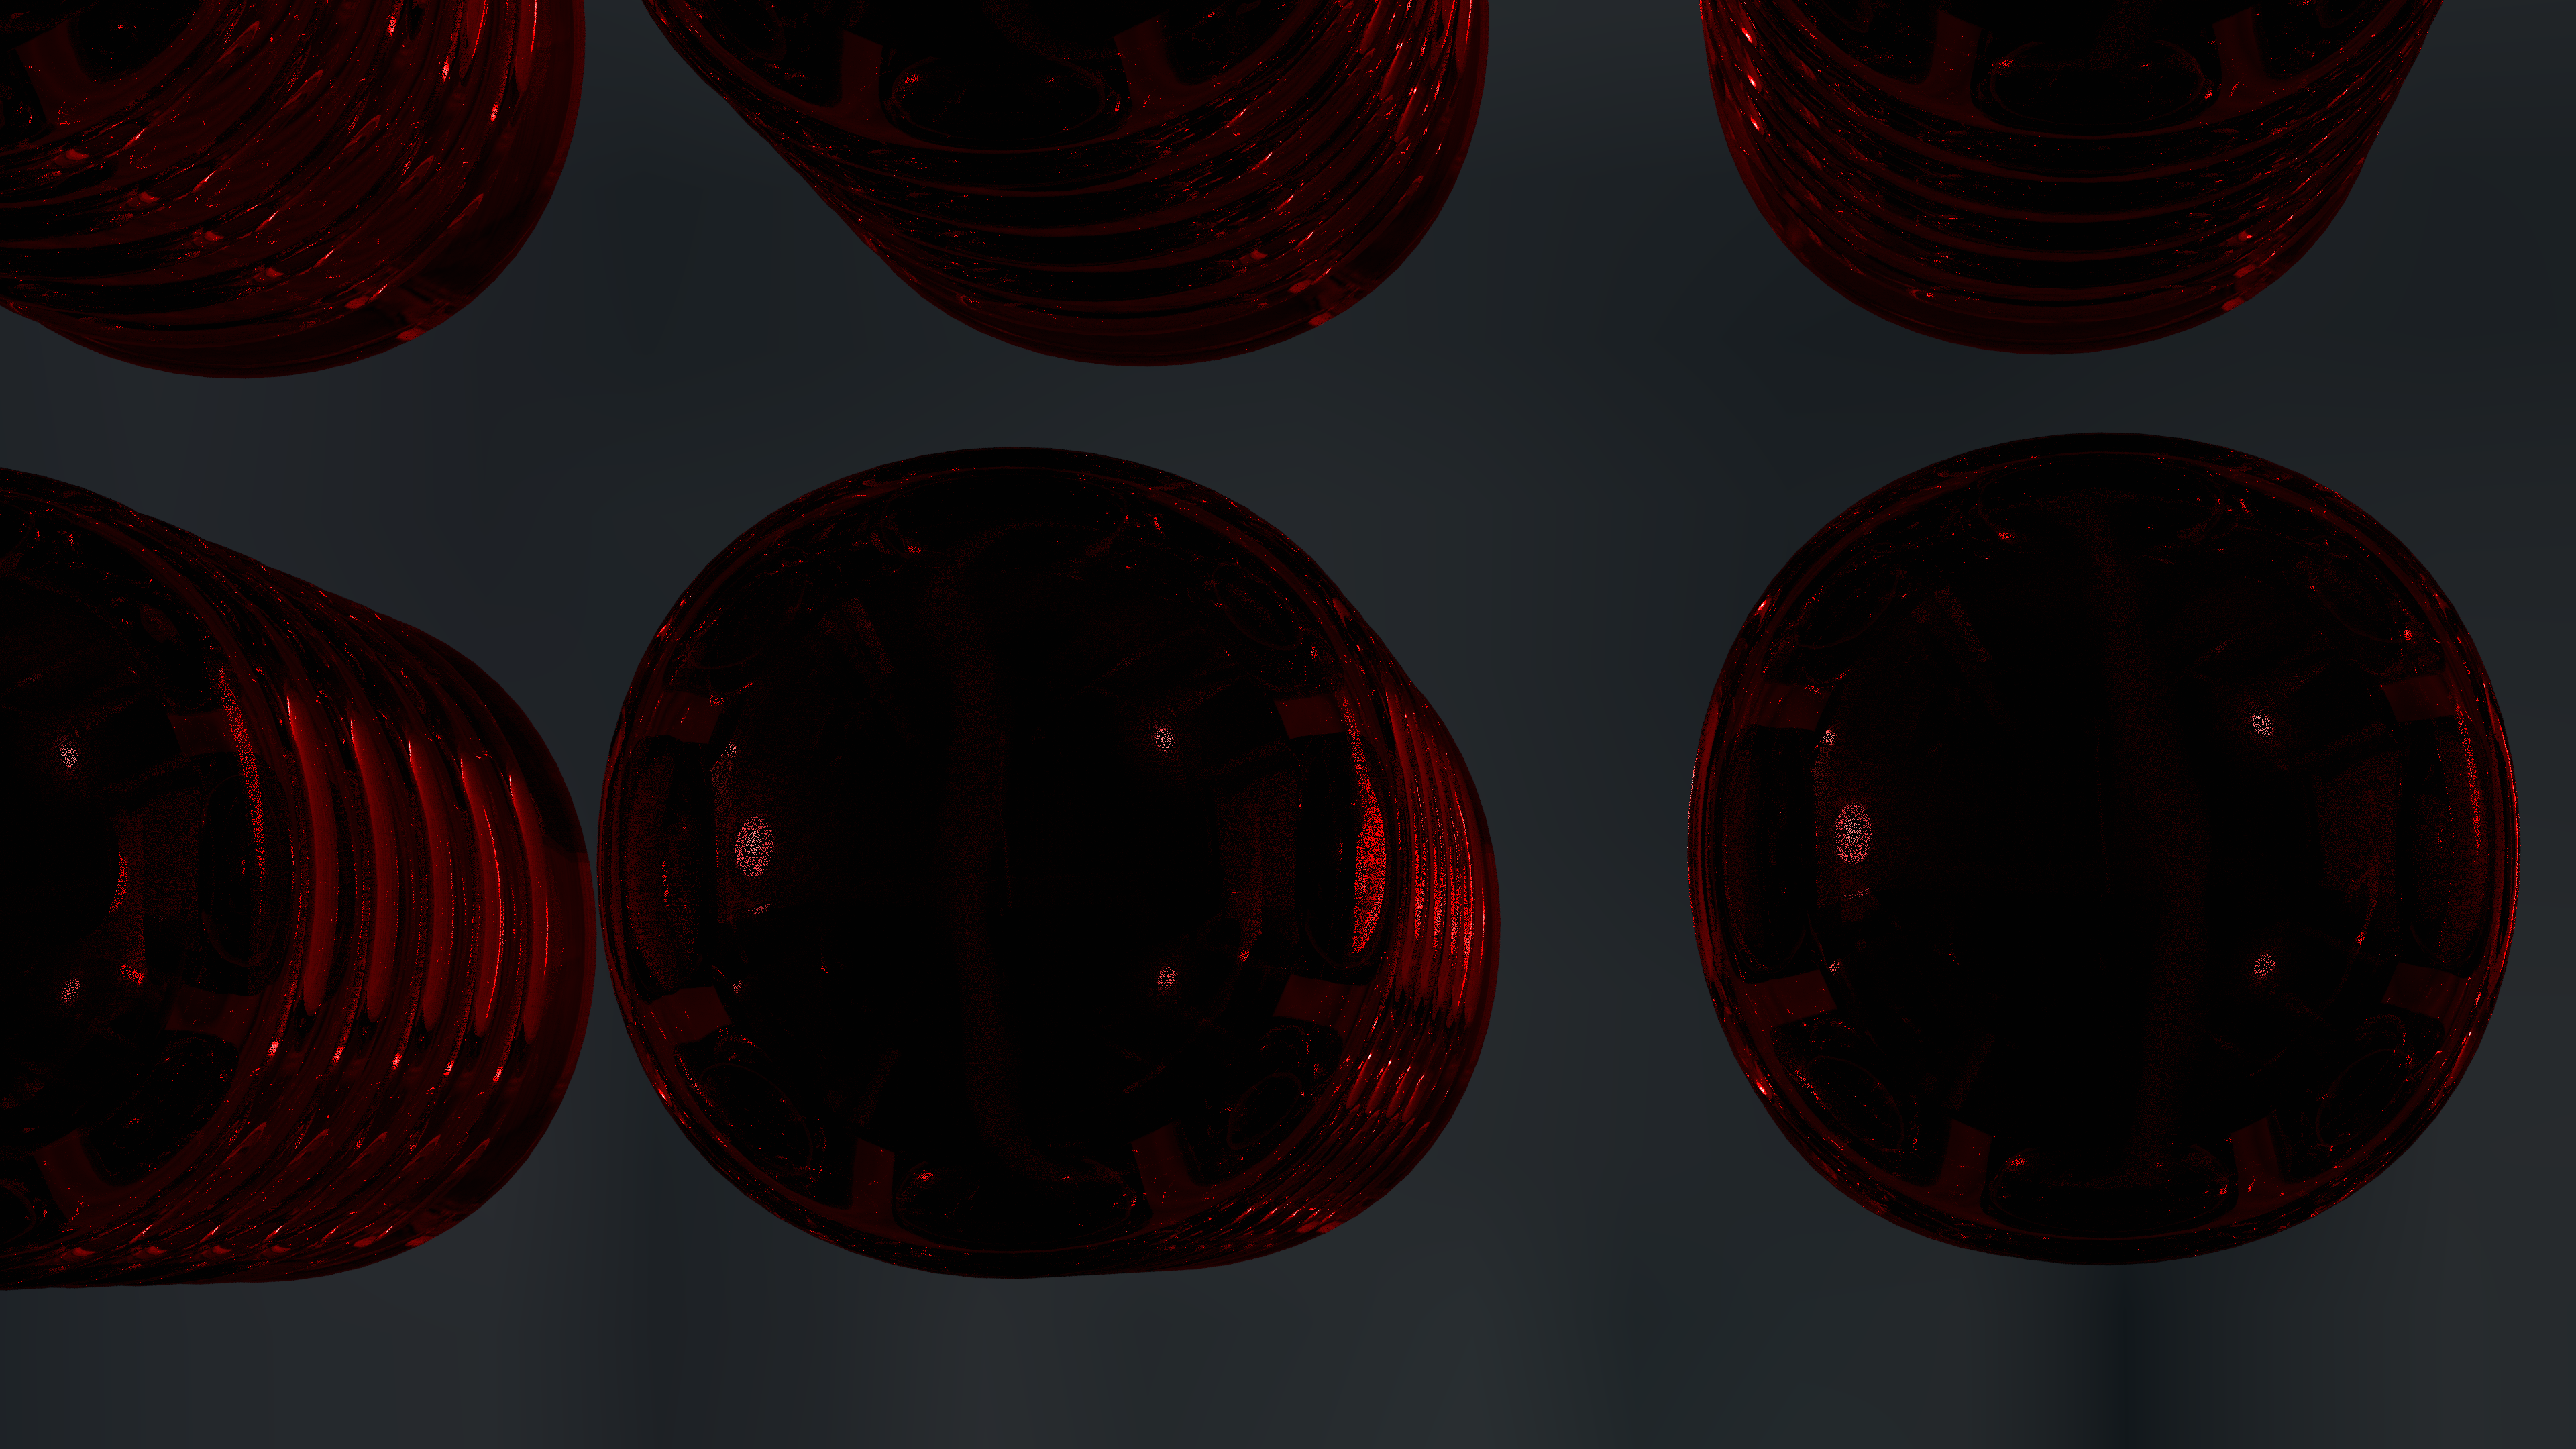
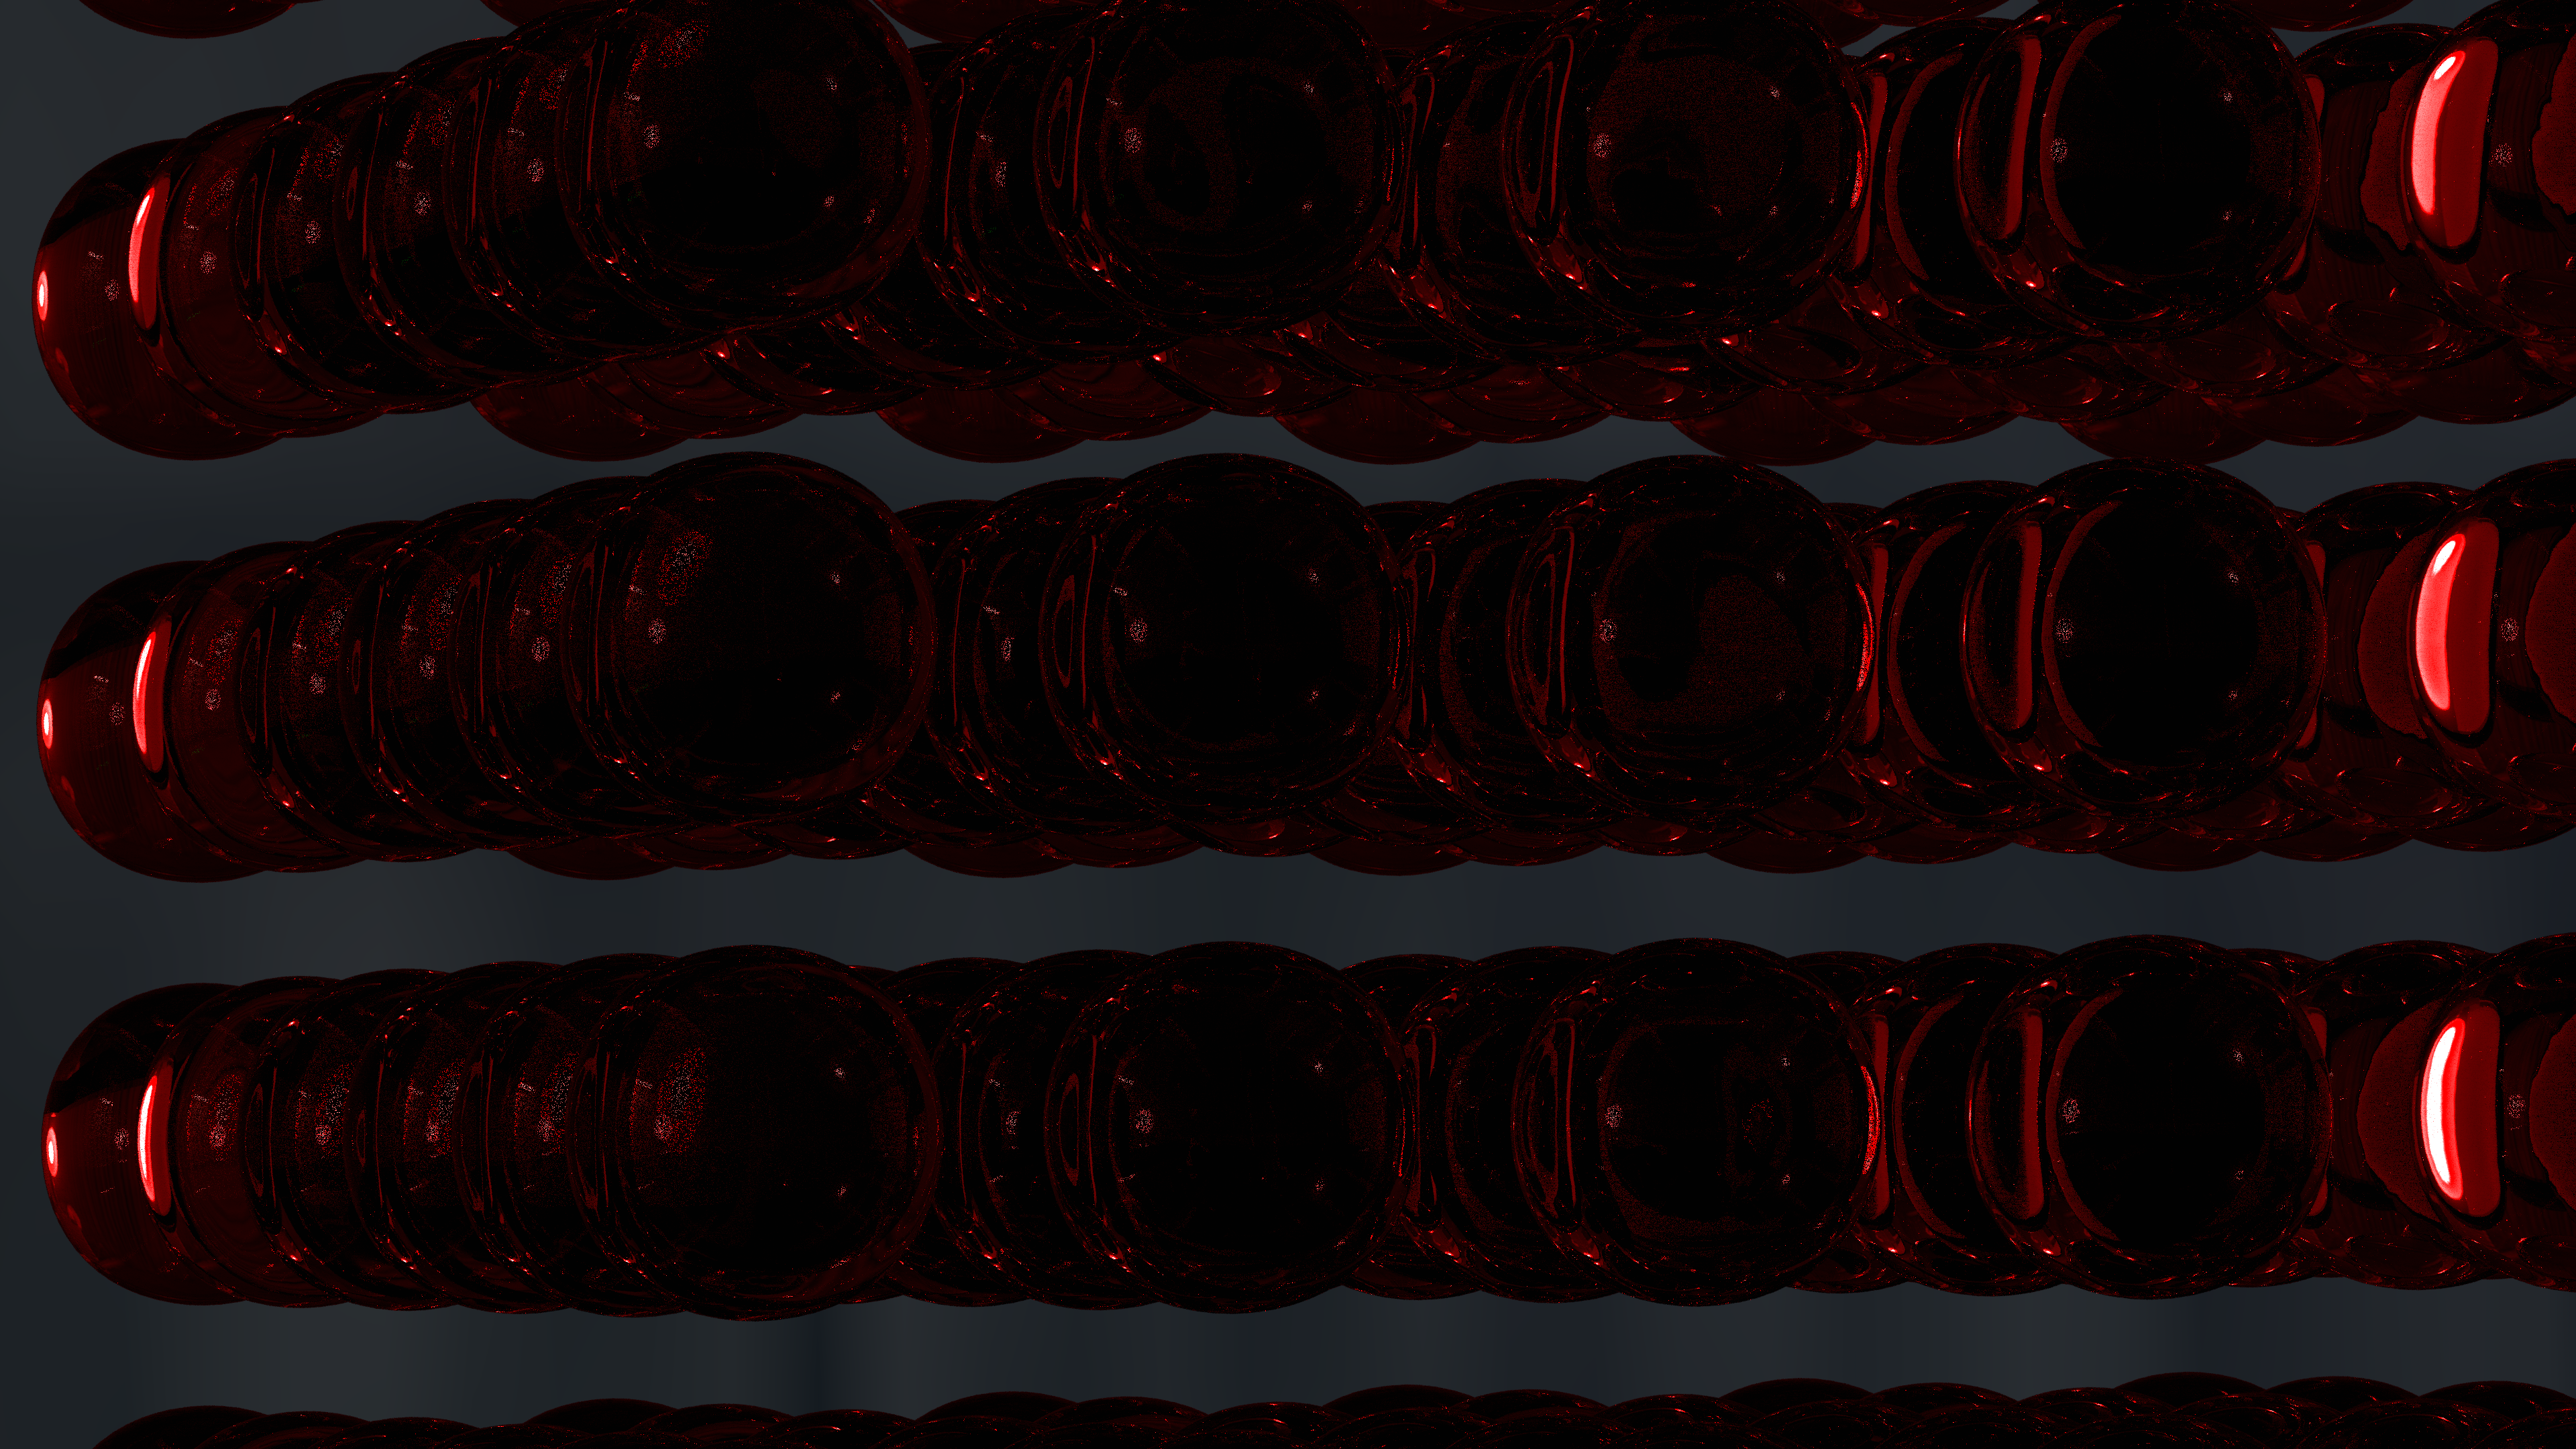
Vortex object, and its rotation is animated on the first and last frame, so that over the duration of the animation, it rotates 1080° on the Z (Height) axis, forcing the stack to collapse.
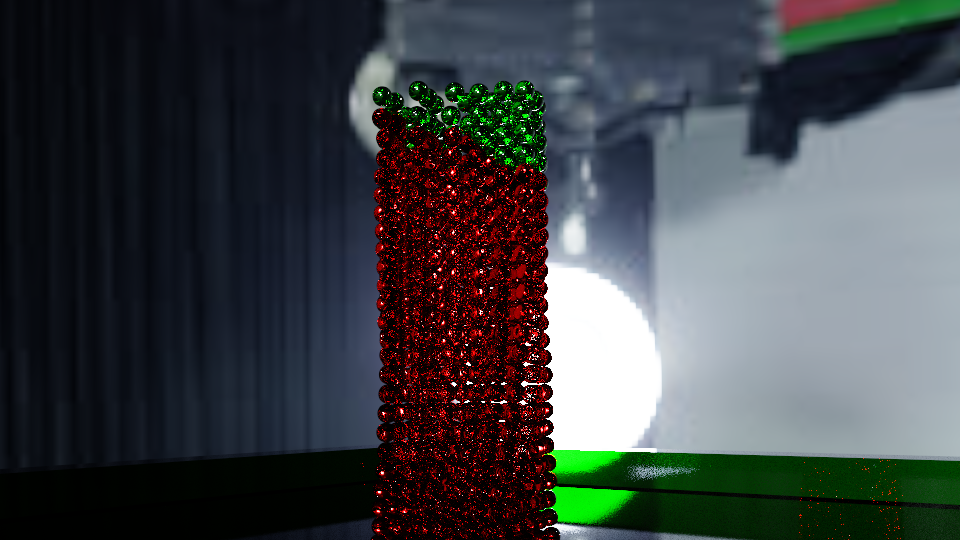
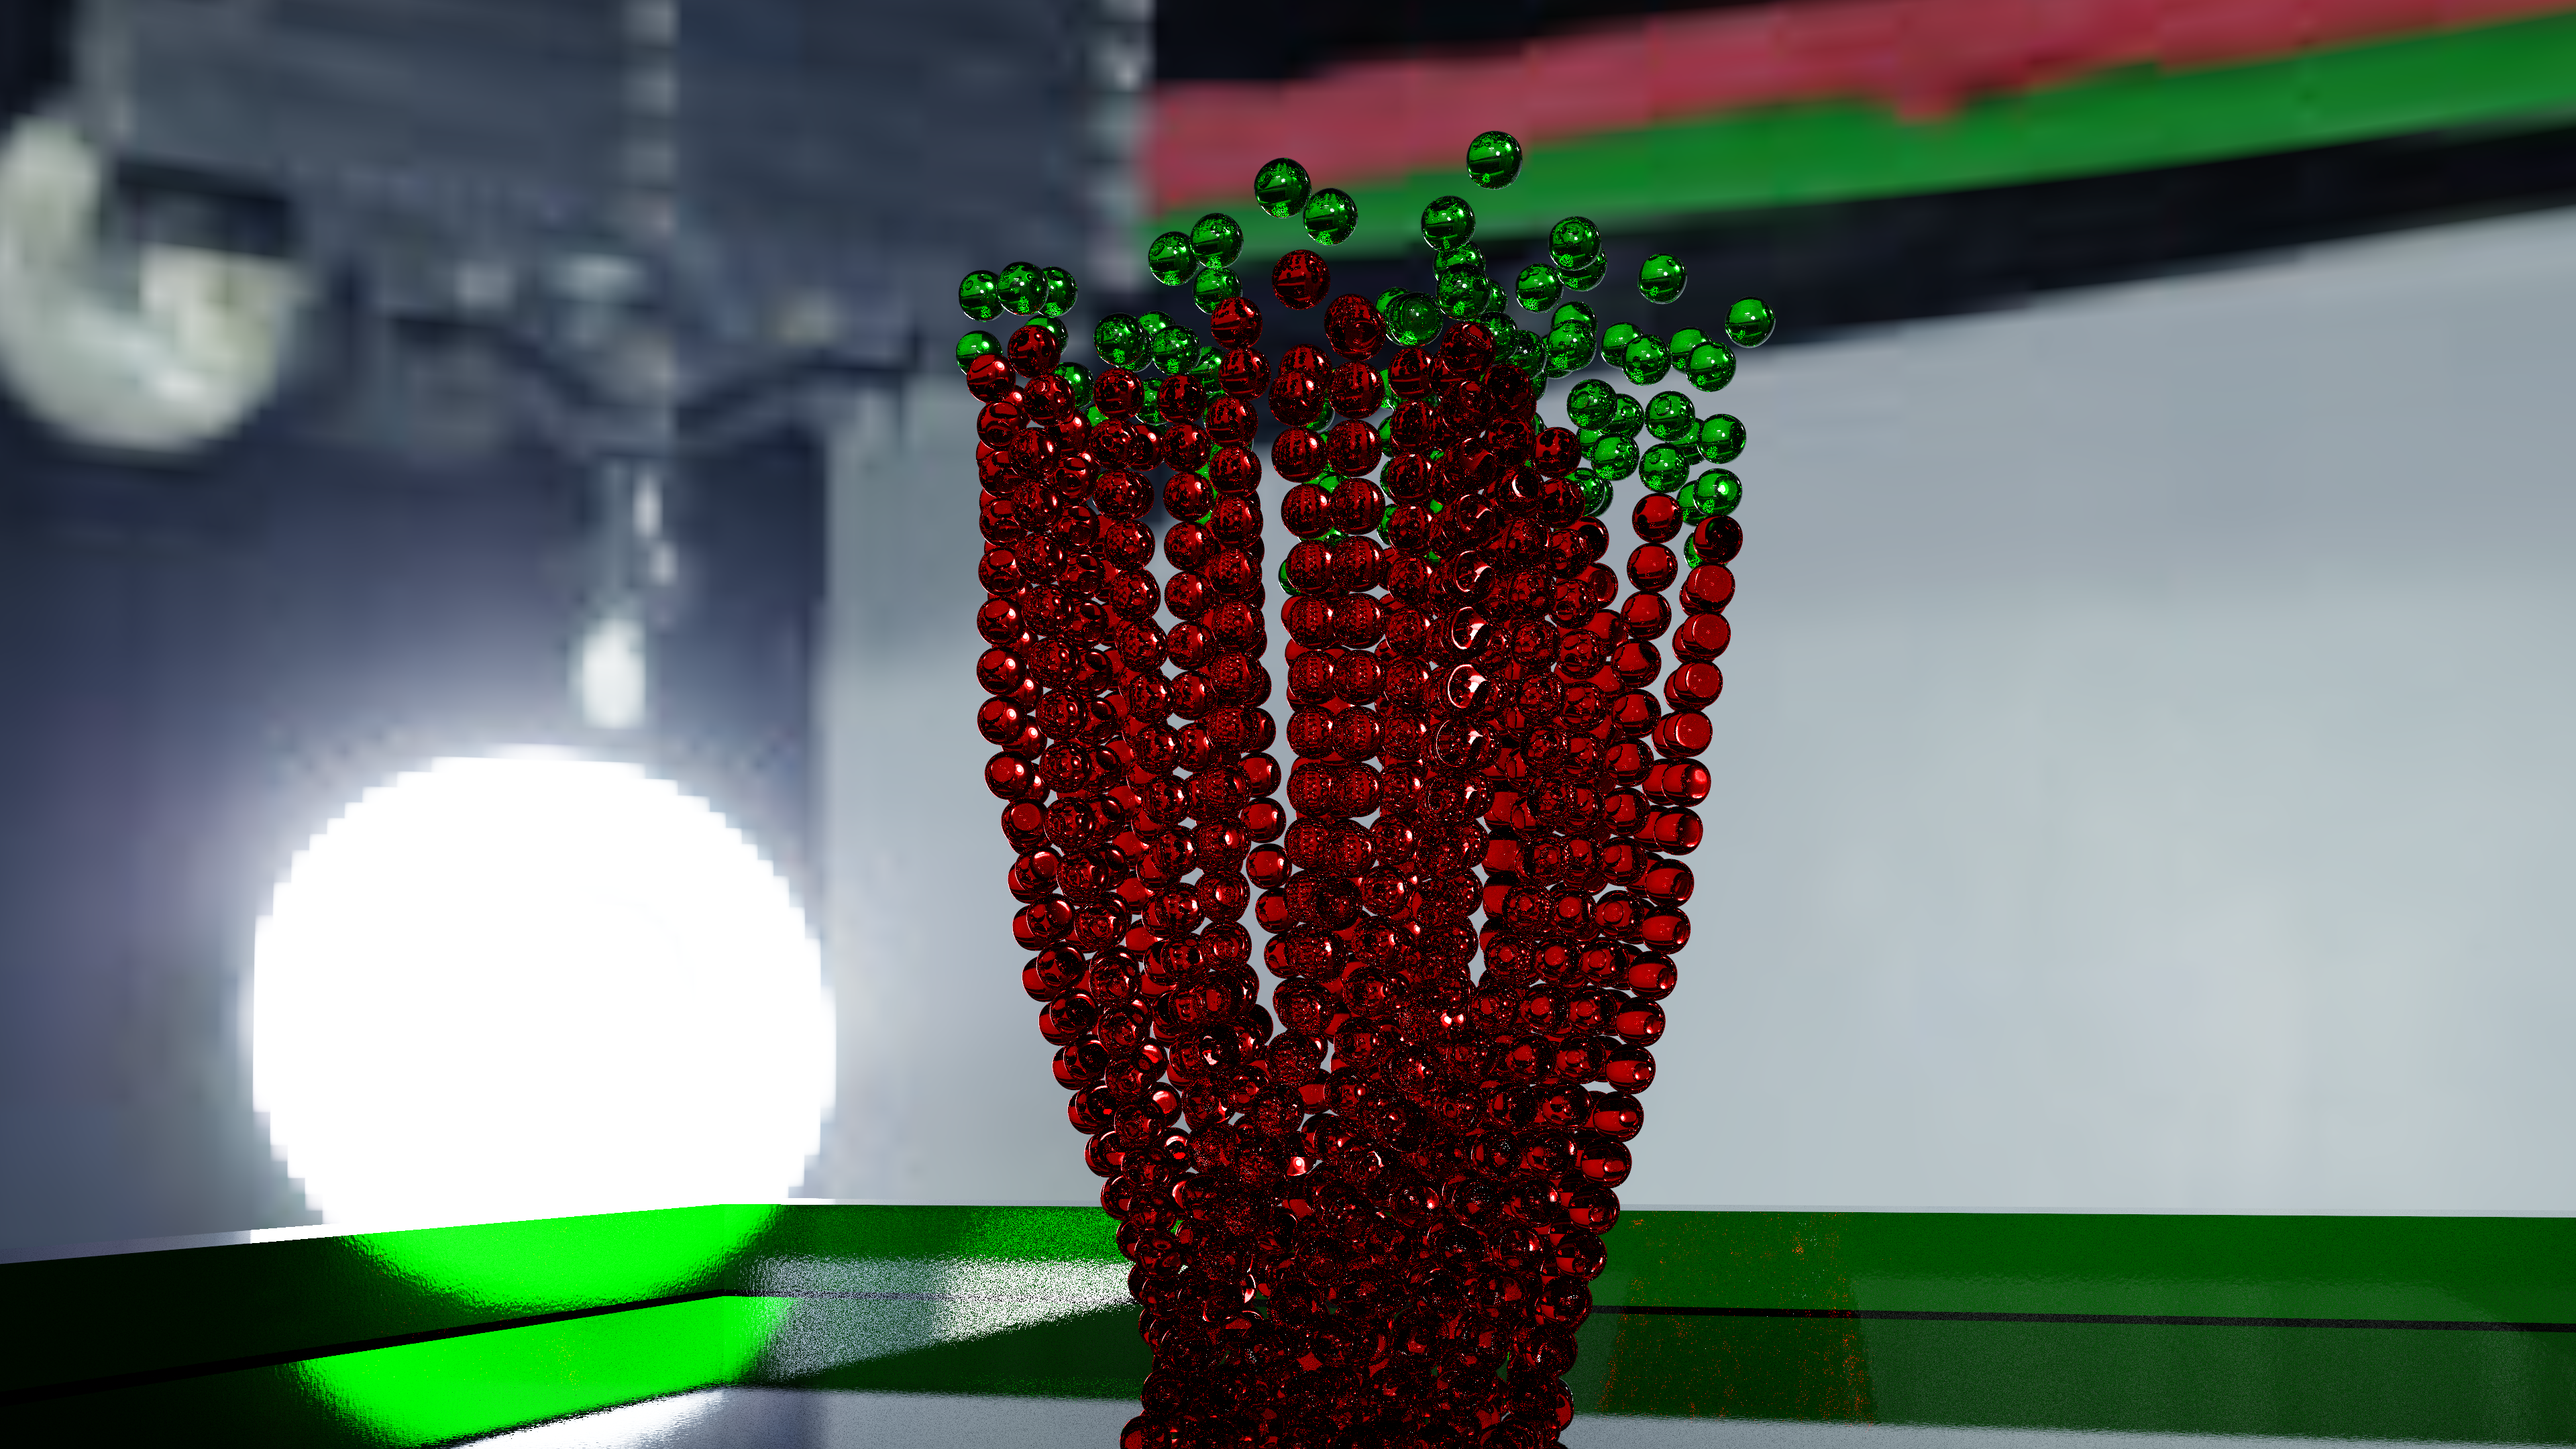
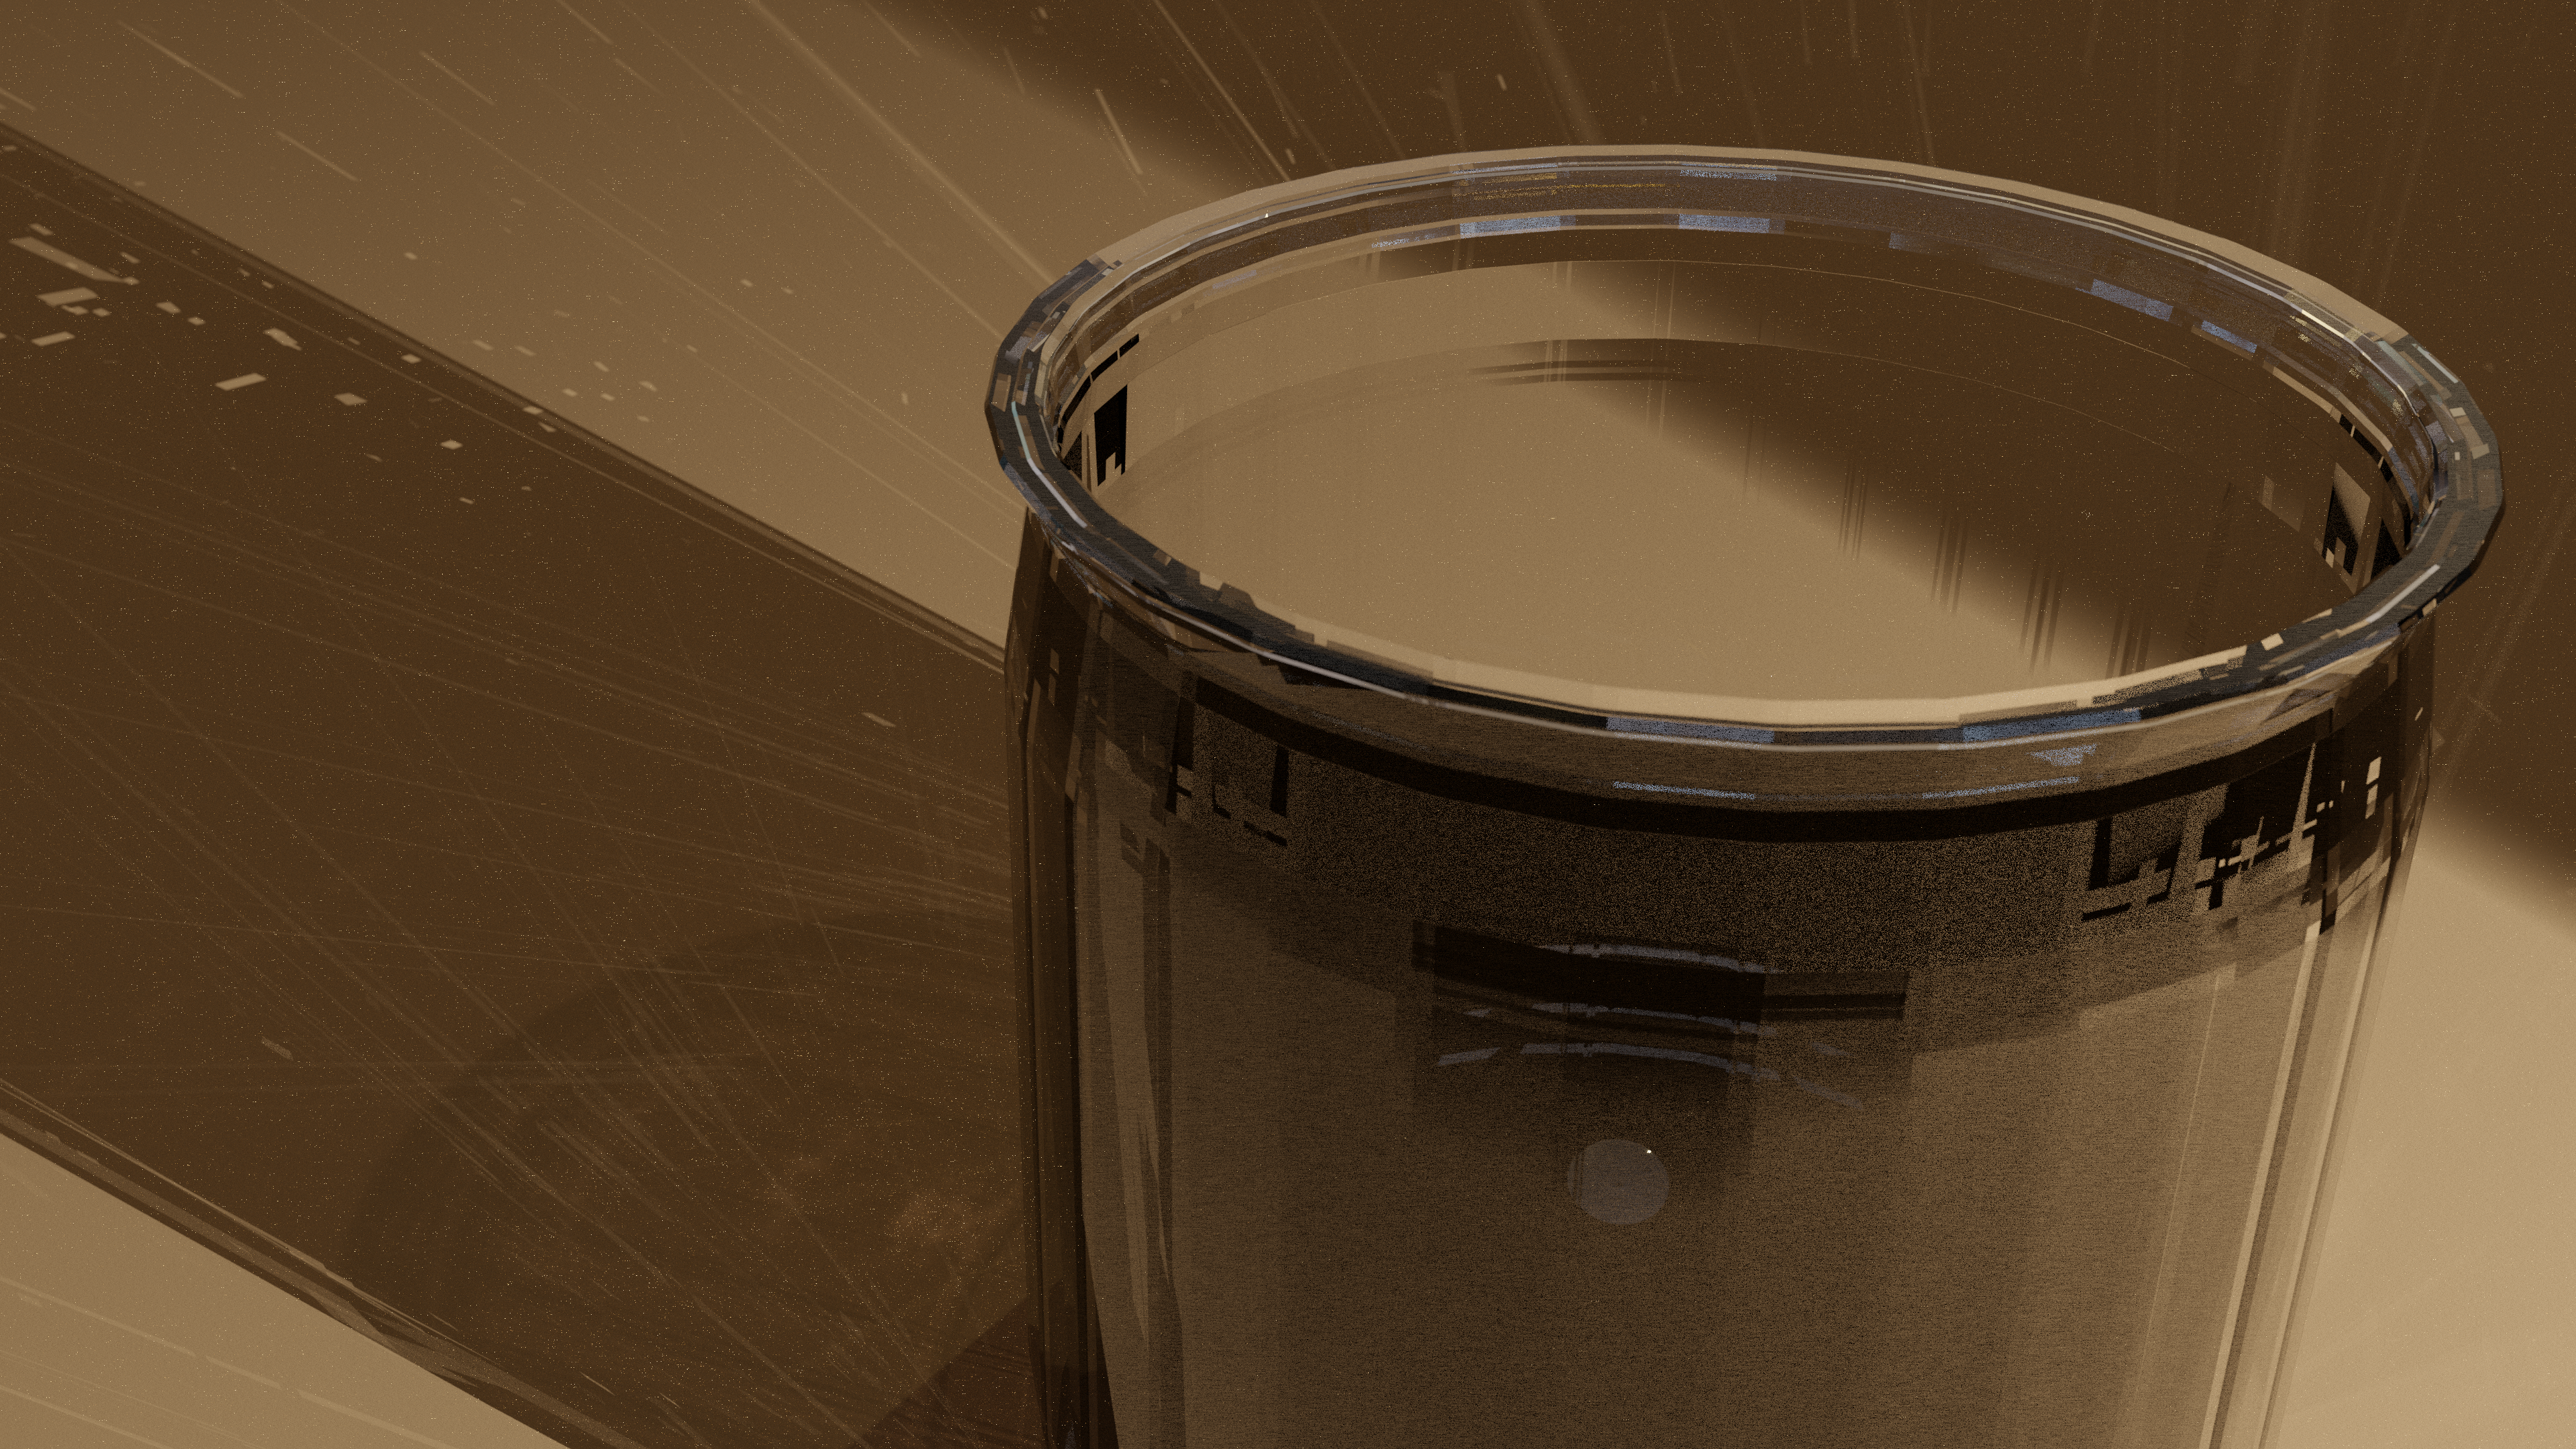
Here we can see the caustics in action – zoom in to the upper-leftmost green marble.
Inside of it you can see the refracted objects, including every marble within visible range through it, and the light.
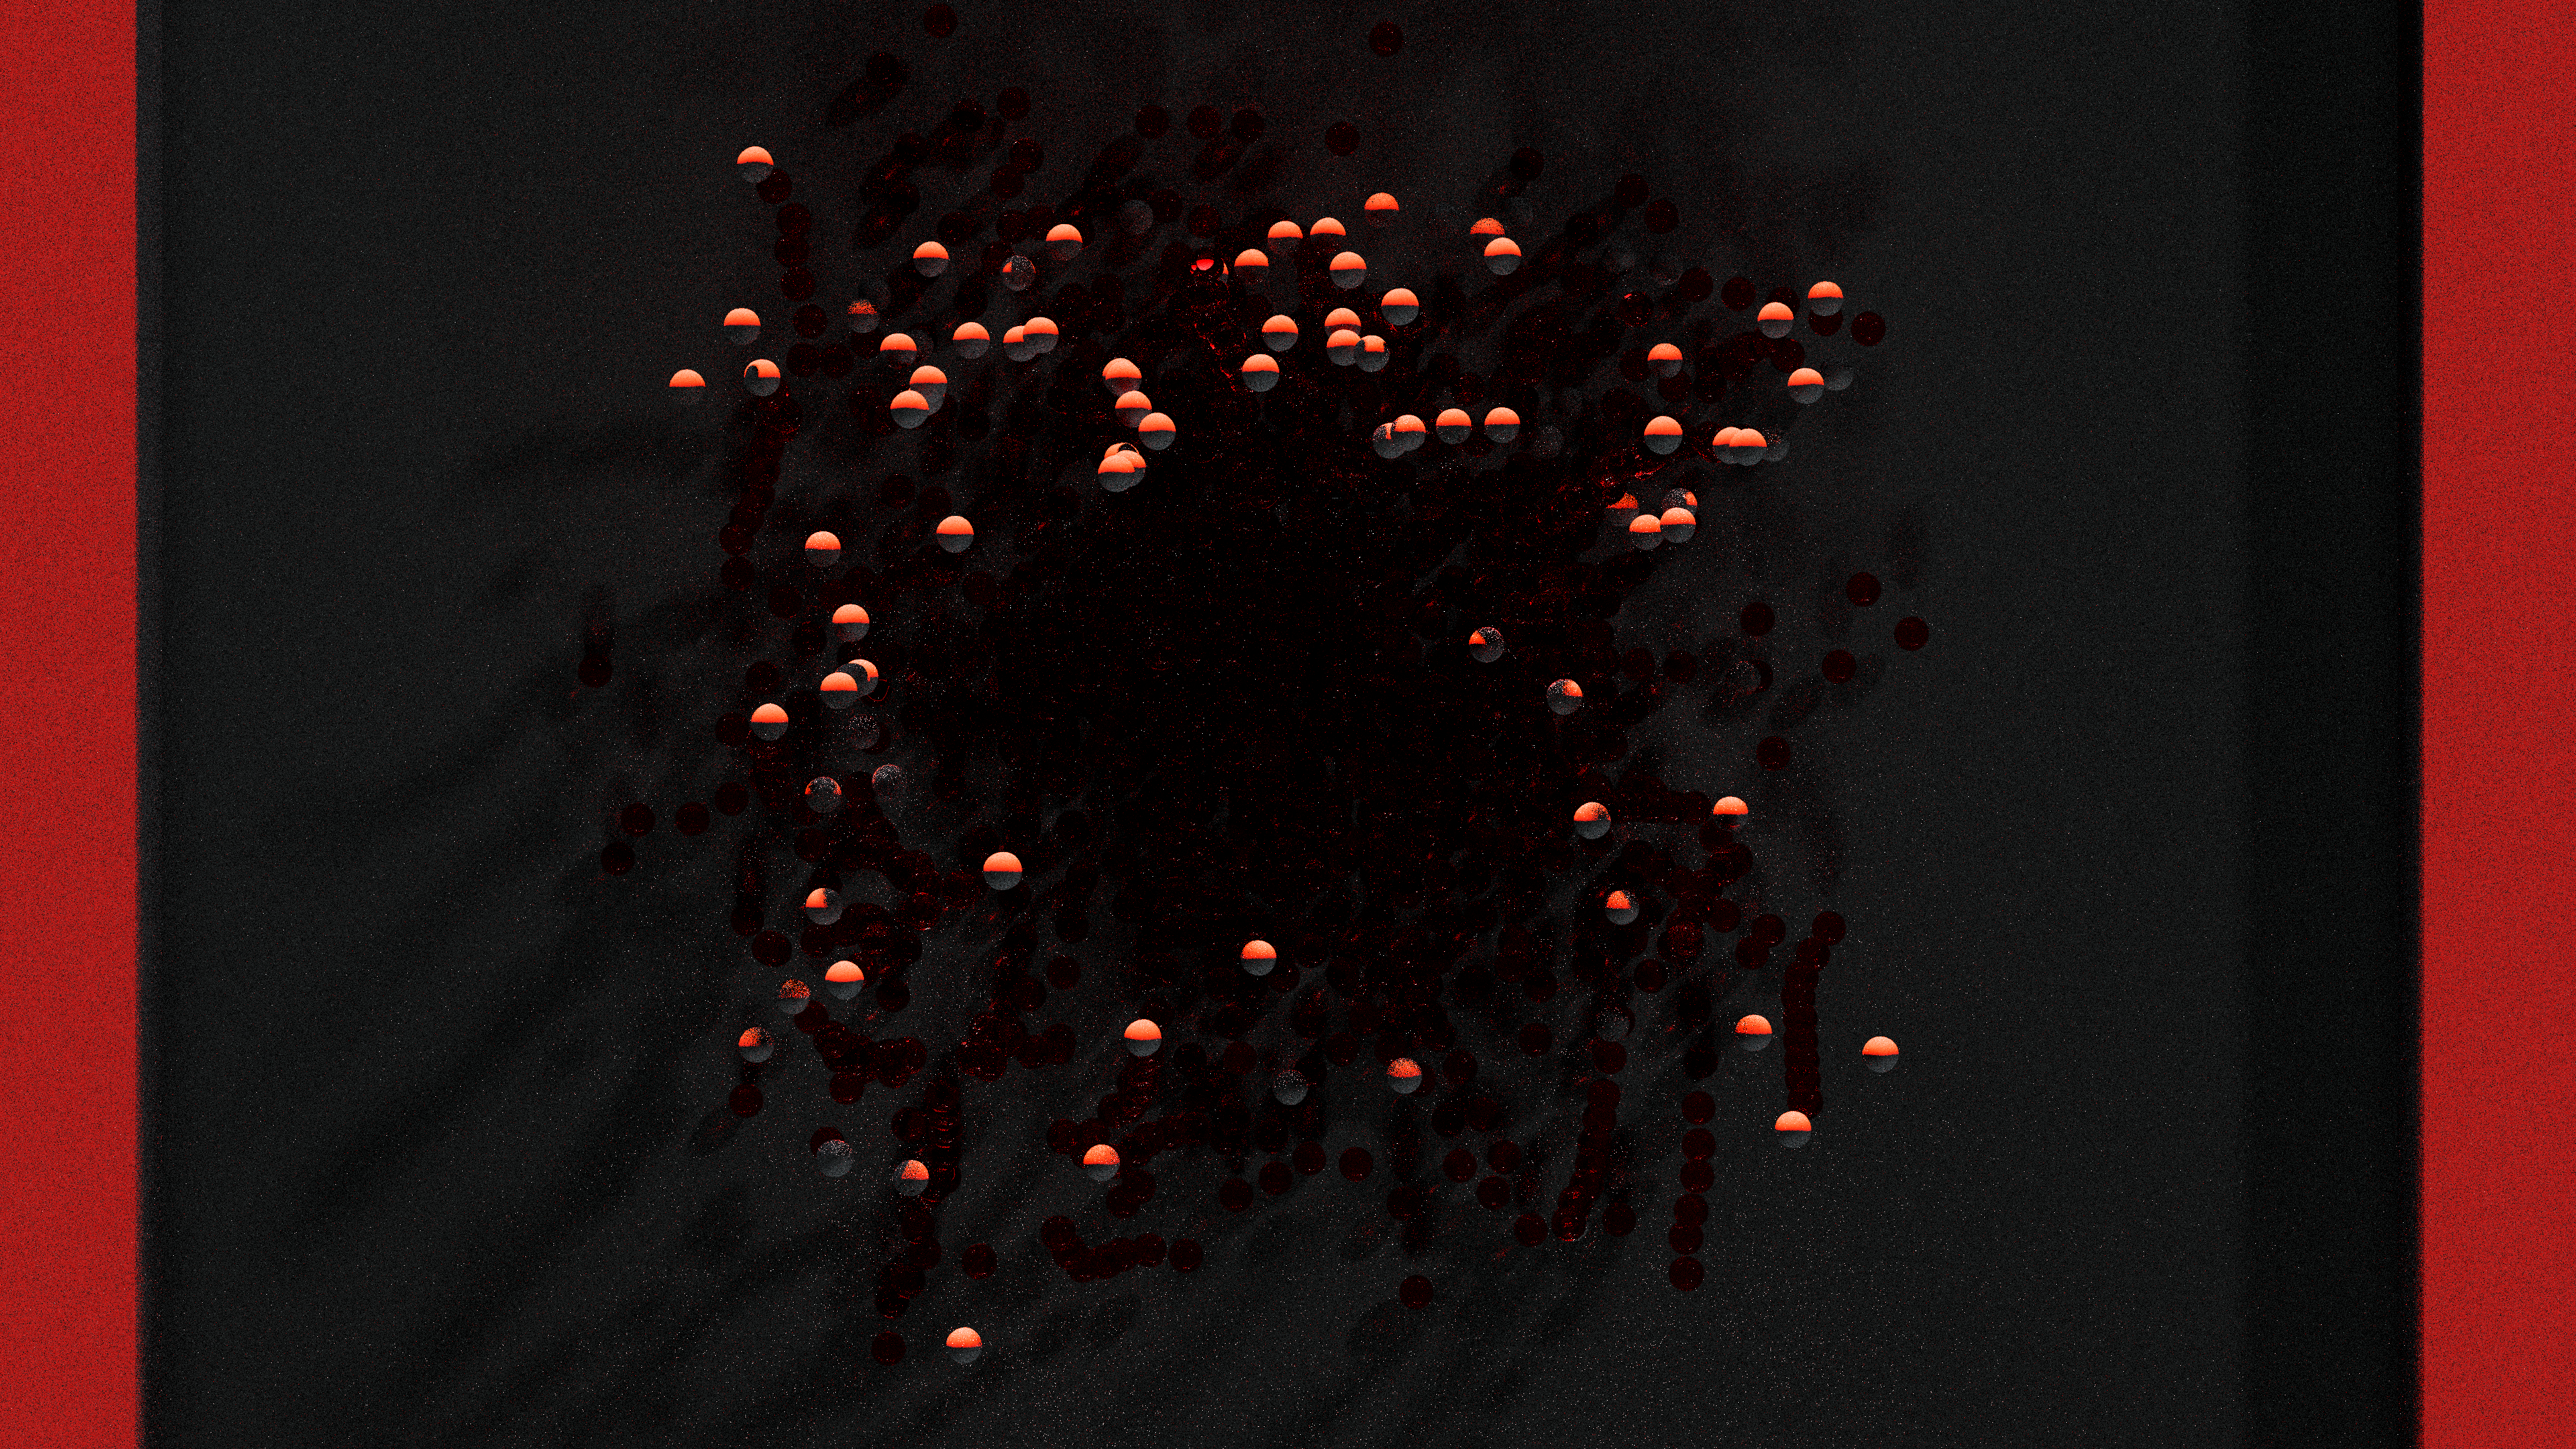
Some of the ,marbles look like Poké Balls; this is because the light source is coming from outside of the boundary, and the top edge is casting a shadow onto the actual ball.
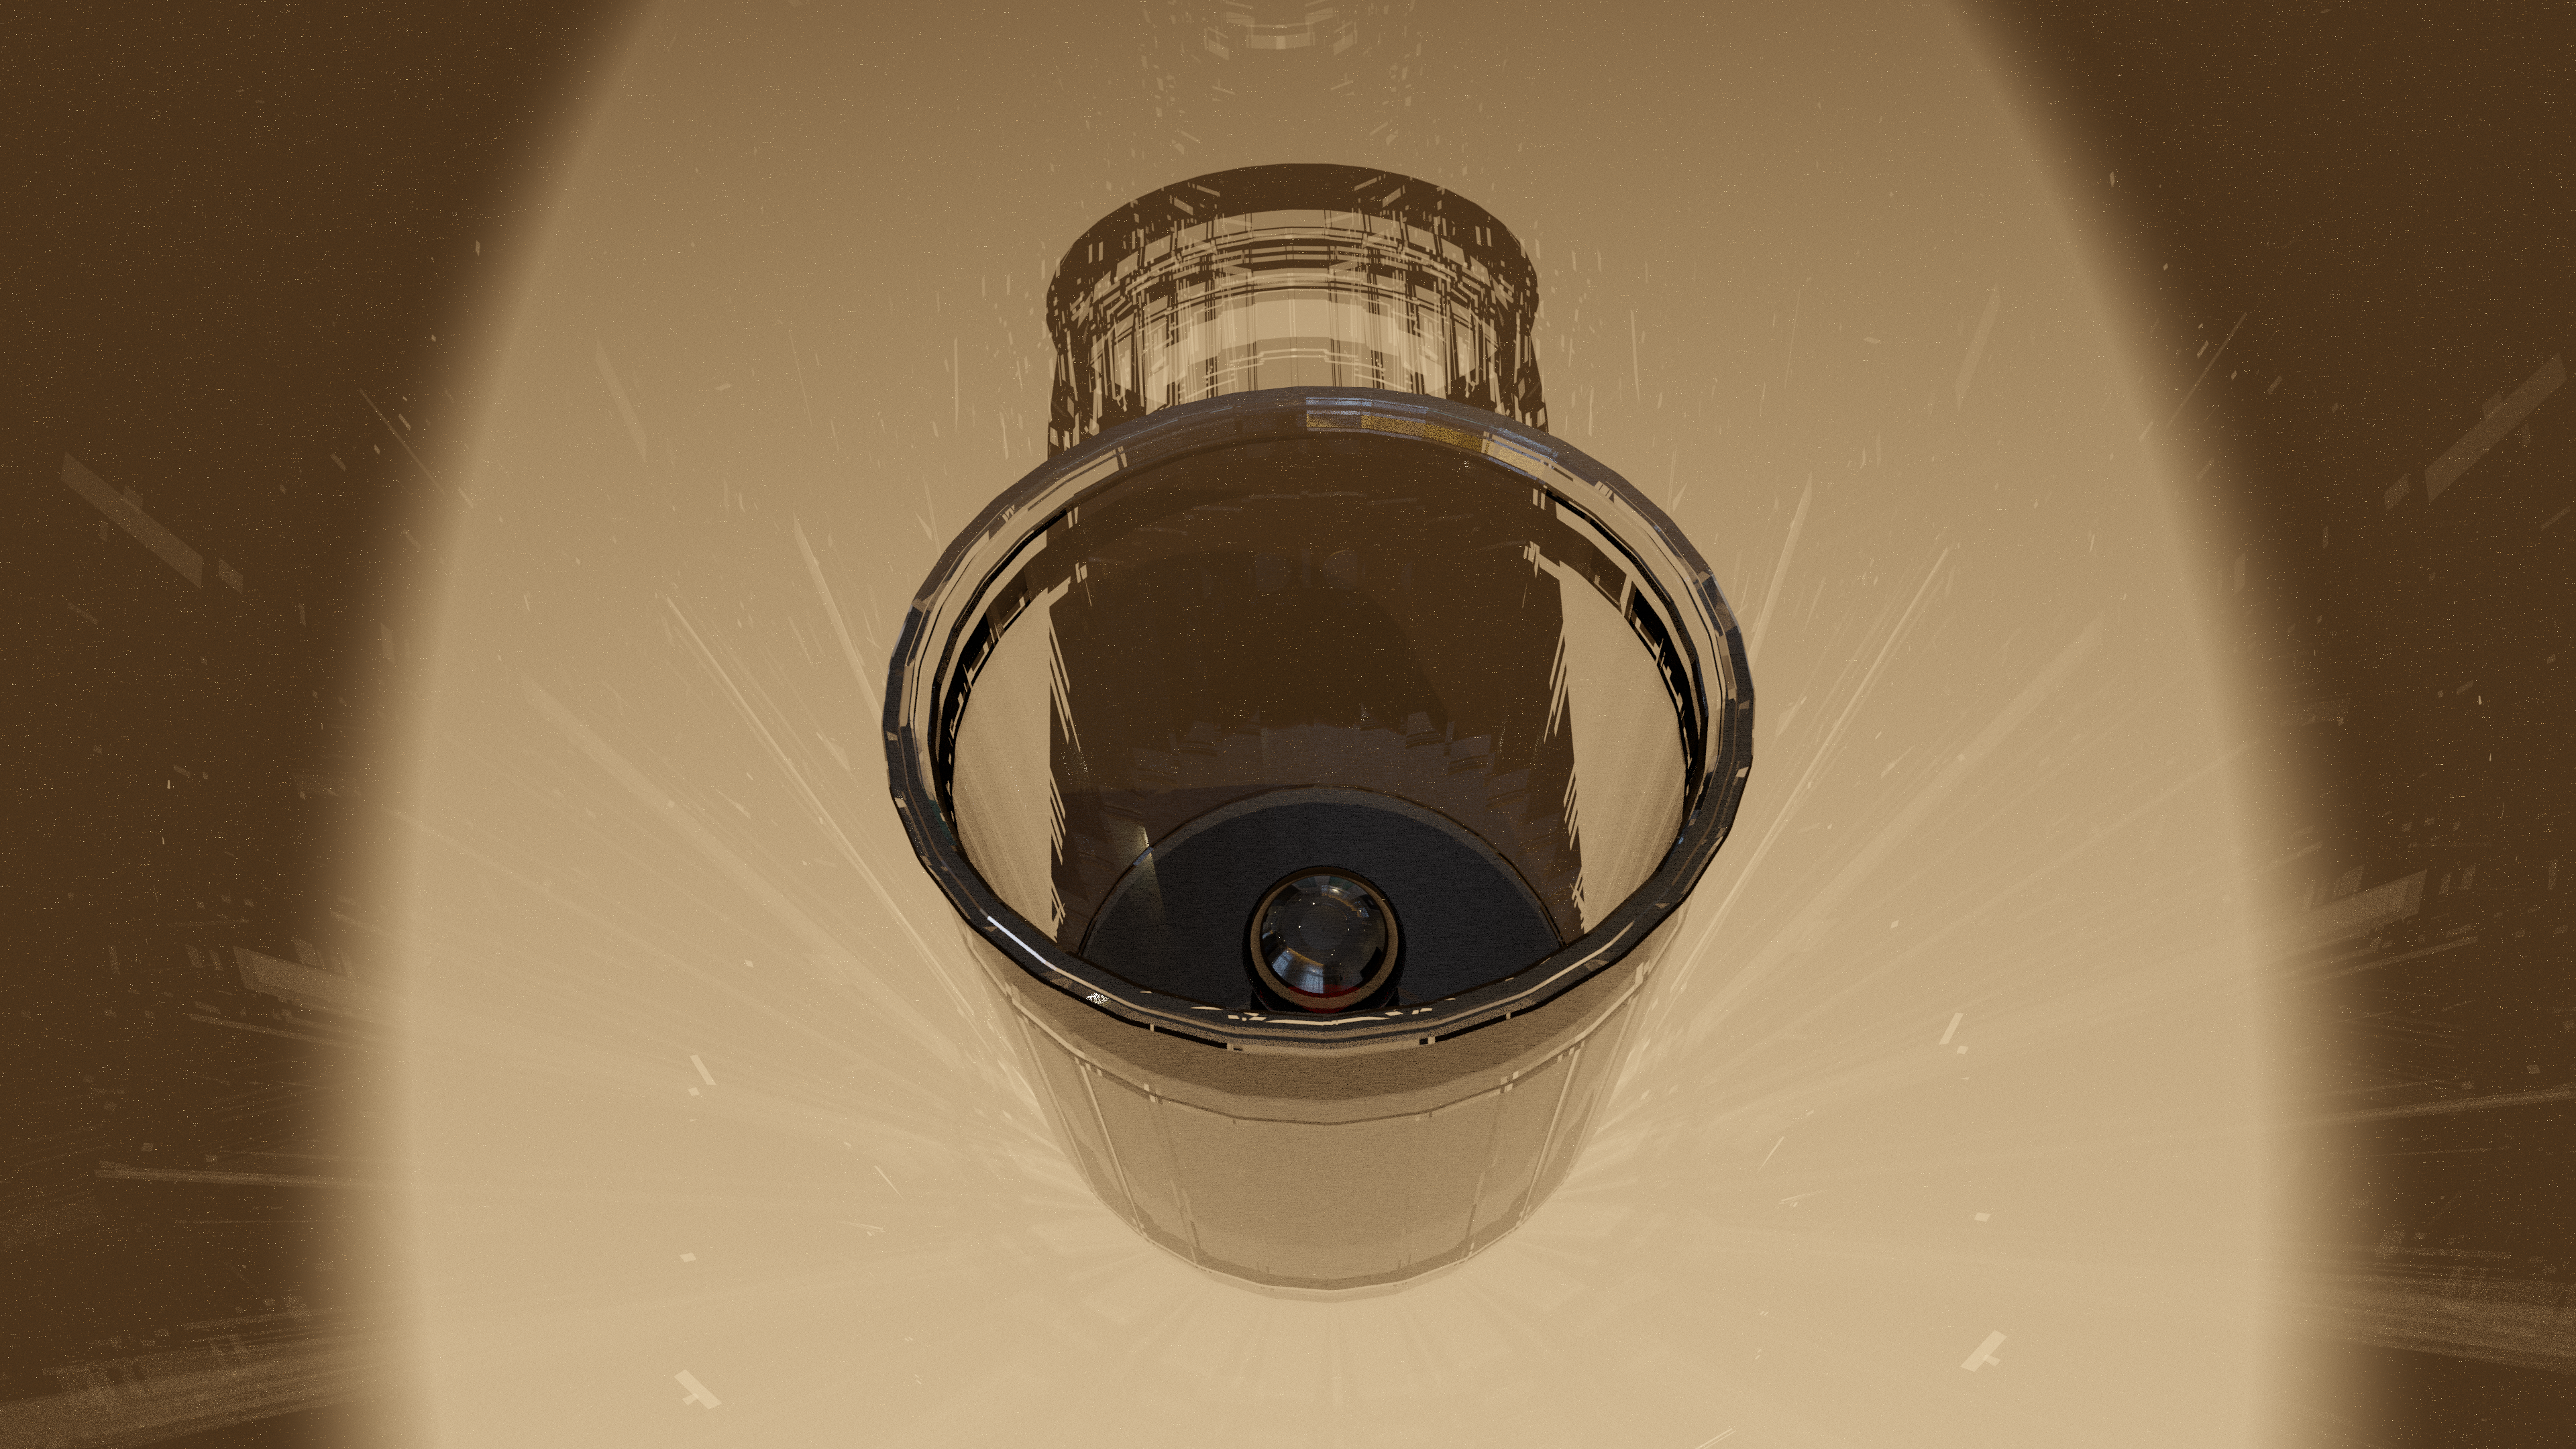
I have brought the sides up and readjusted the lighting.
Now, we can see the balls shadow, and the light passing through it to form colour in the shadow. This is with Path mode enable as the lighting solution.
As Bidirectional will only render on the CPU, with GPU enabled for Path mode, it is possible to run the two renders concurrently in different Blender instances.
If you don’t plan to use your computer to do anything else, that is. It’s quite slow!
Path
Render Engine: LuxCore / Engine: Path
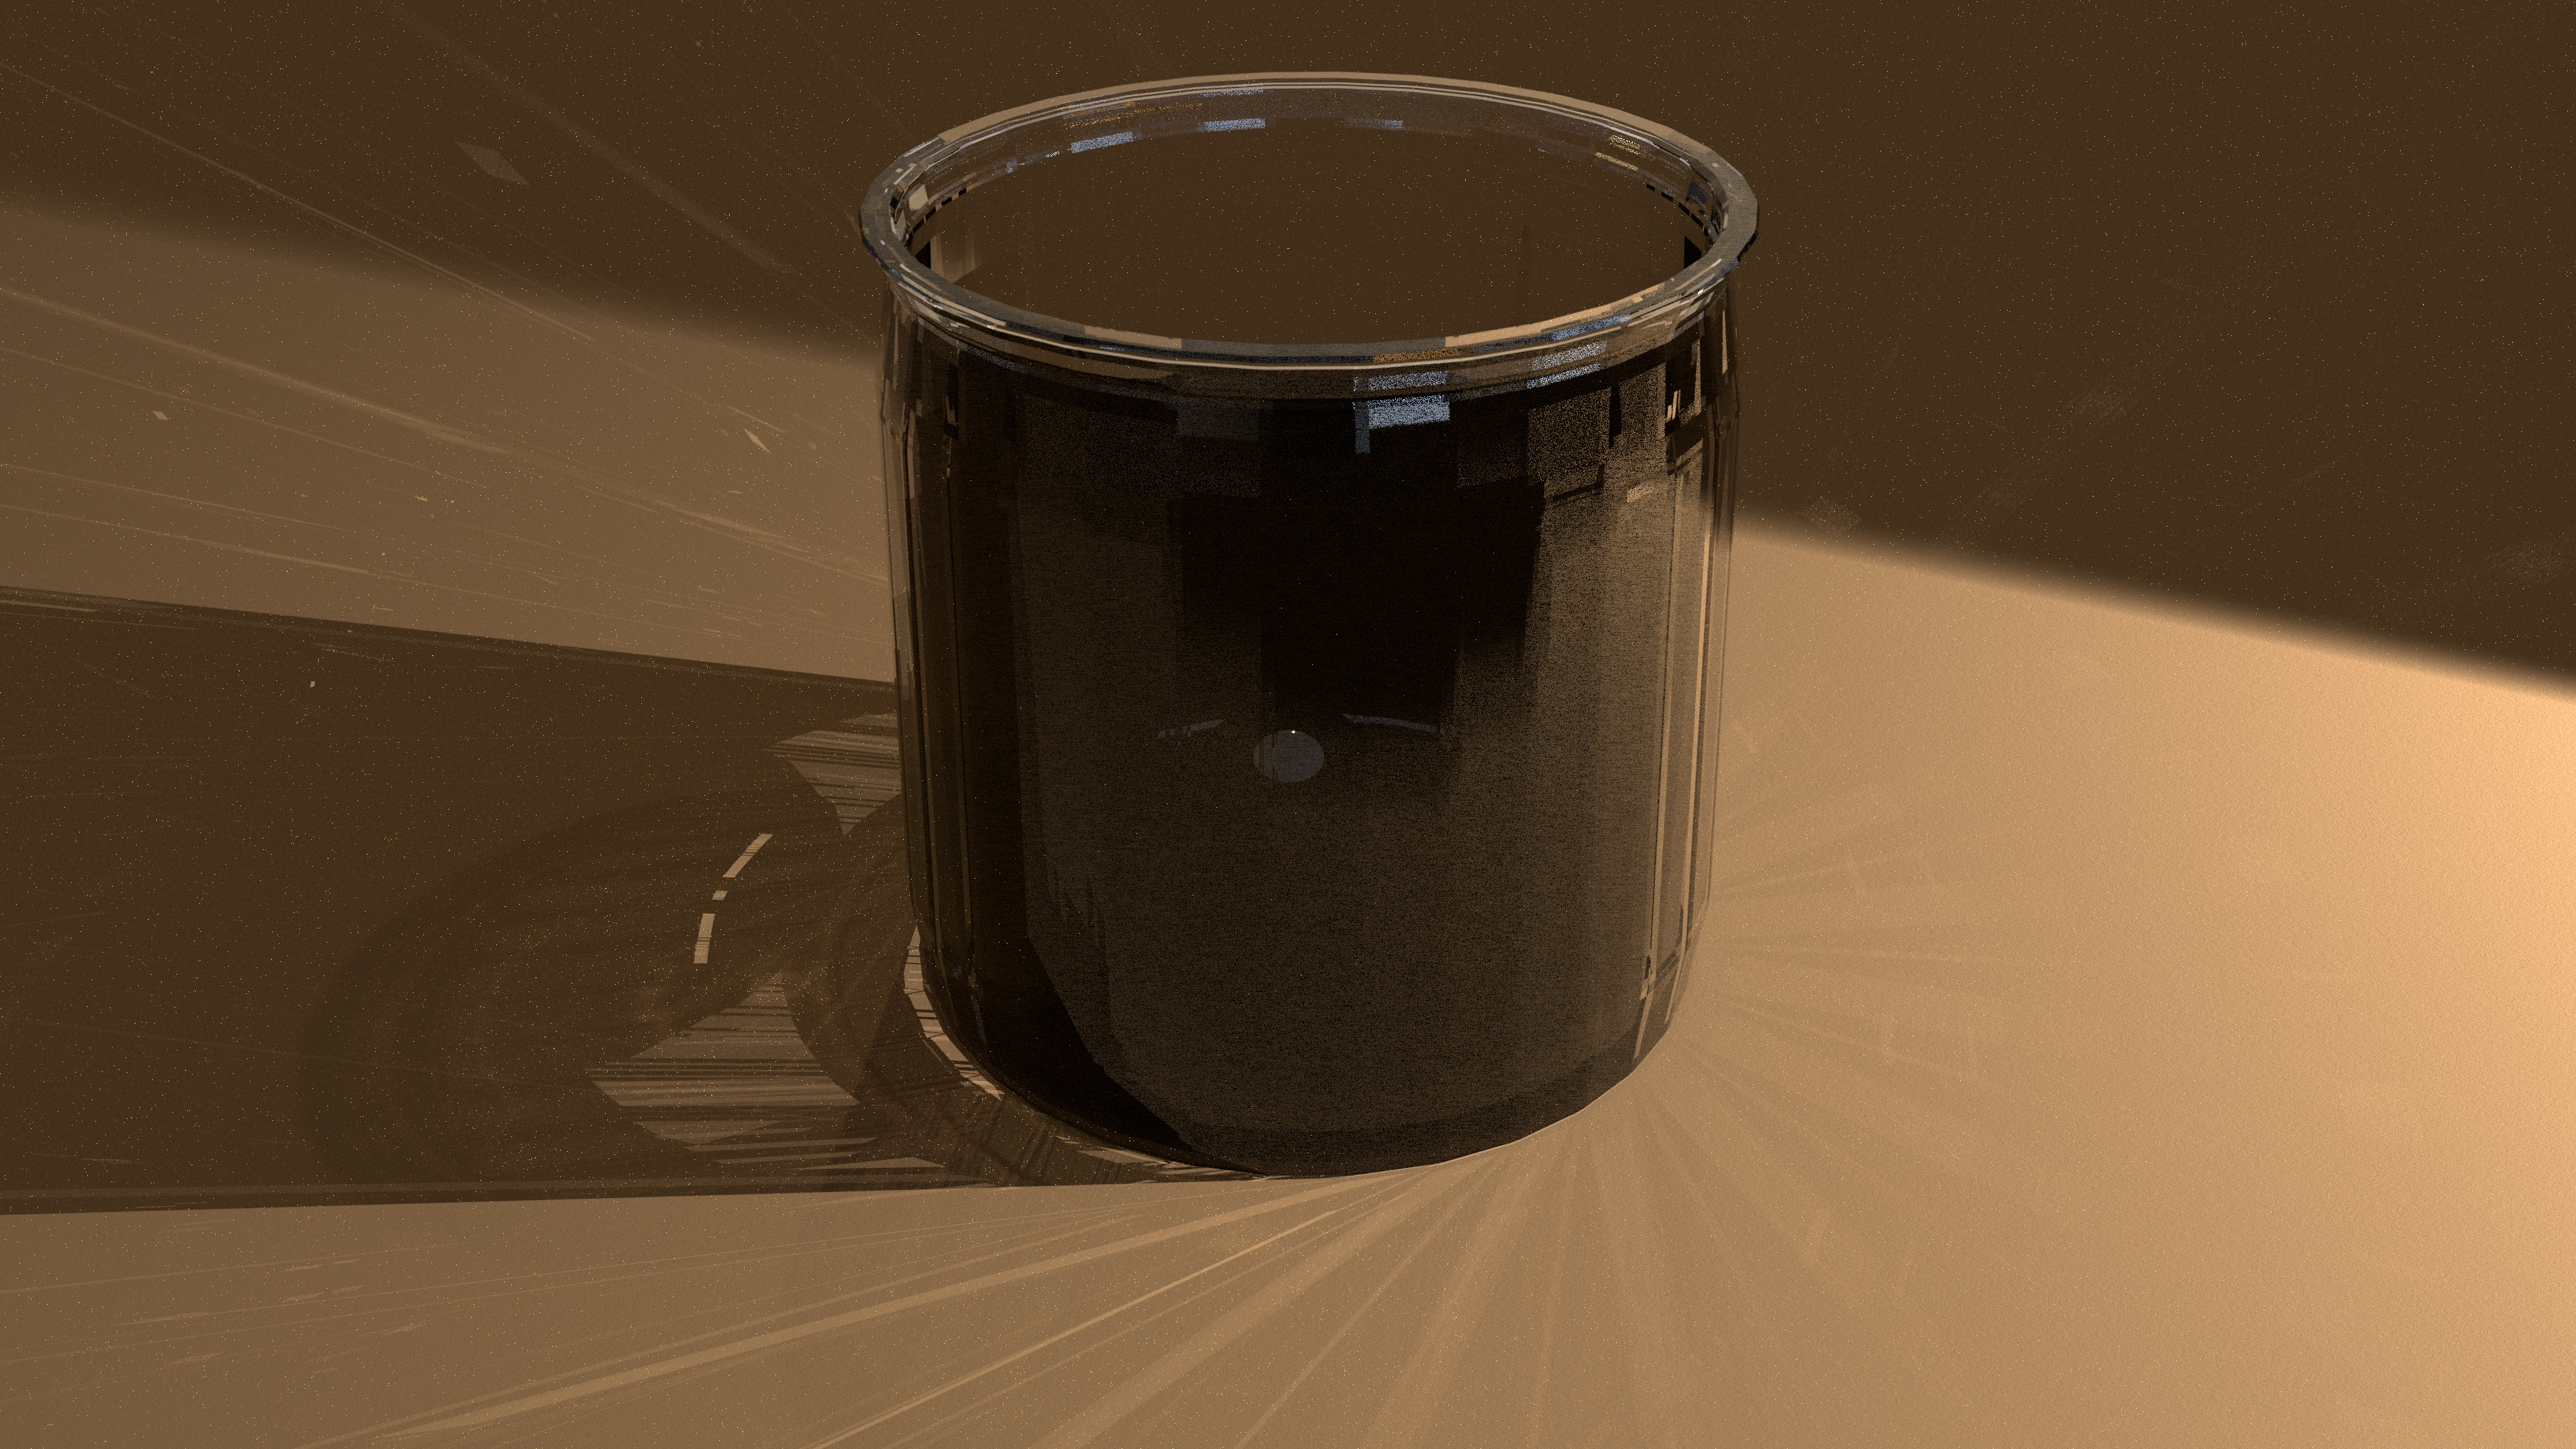
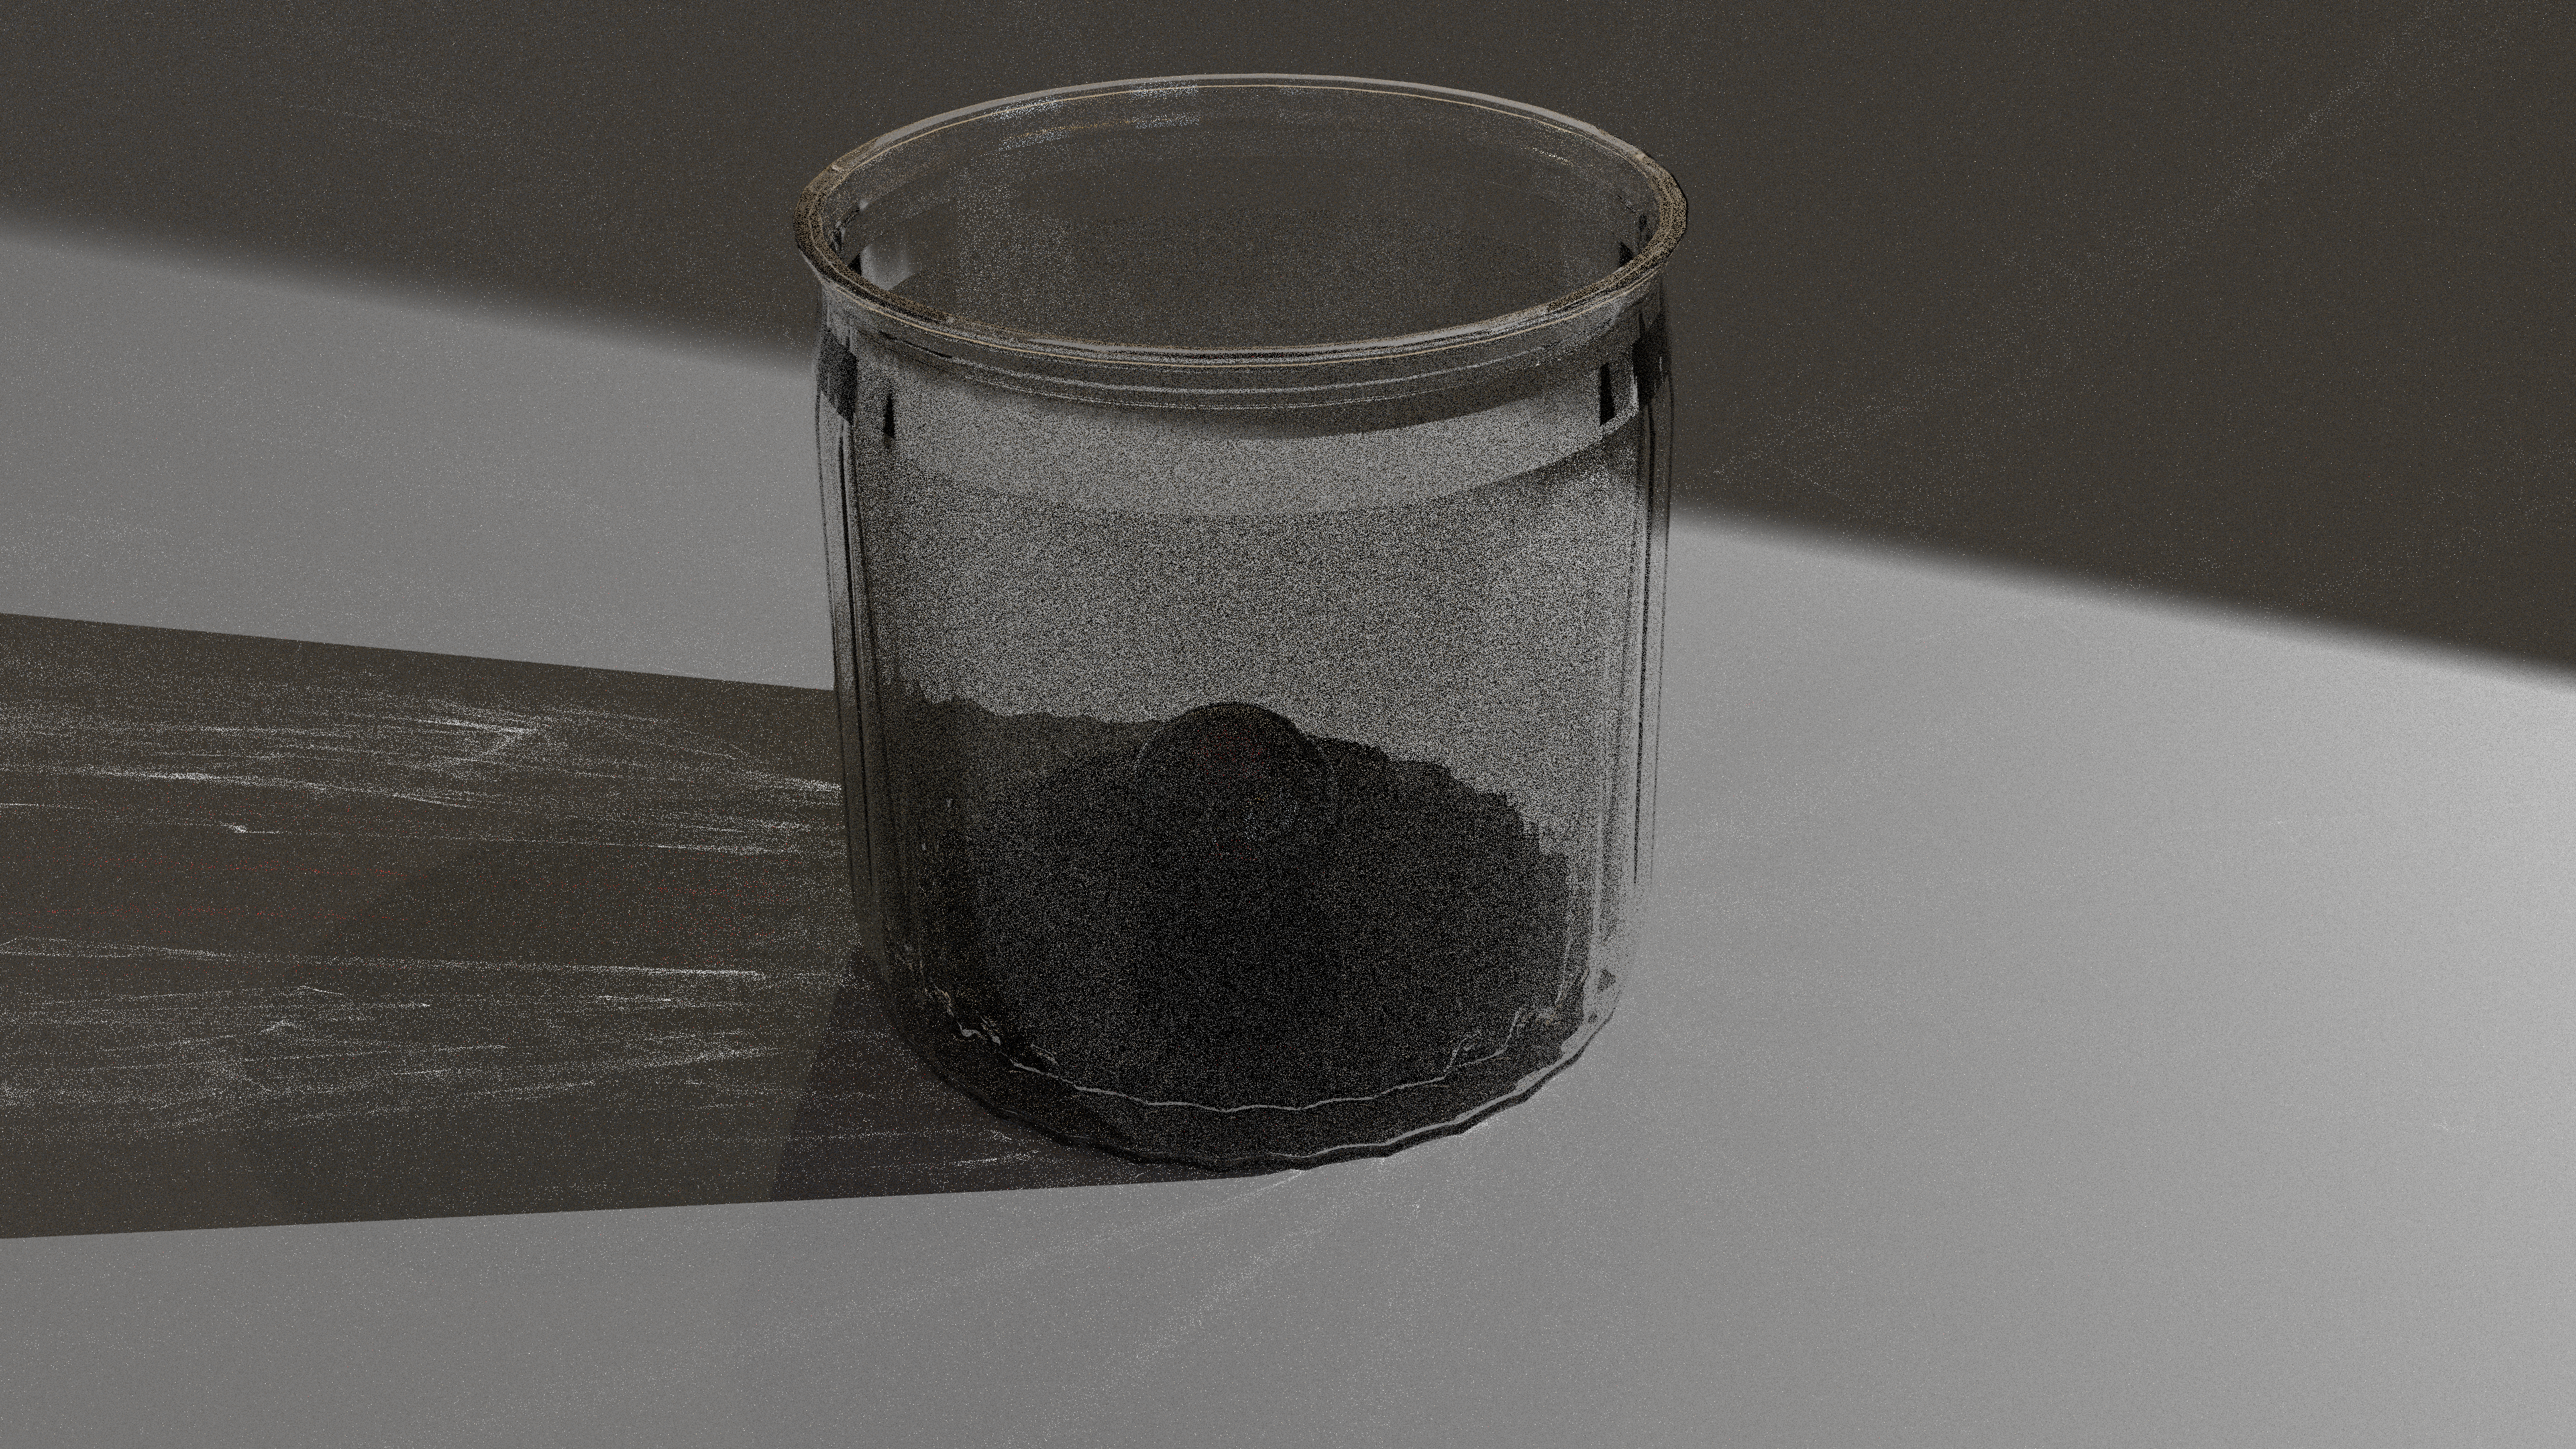
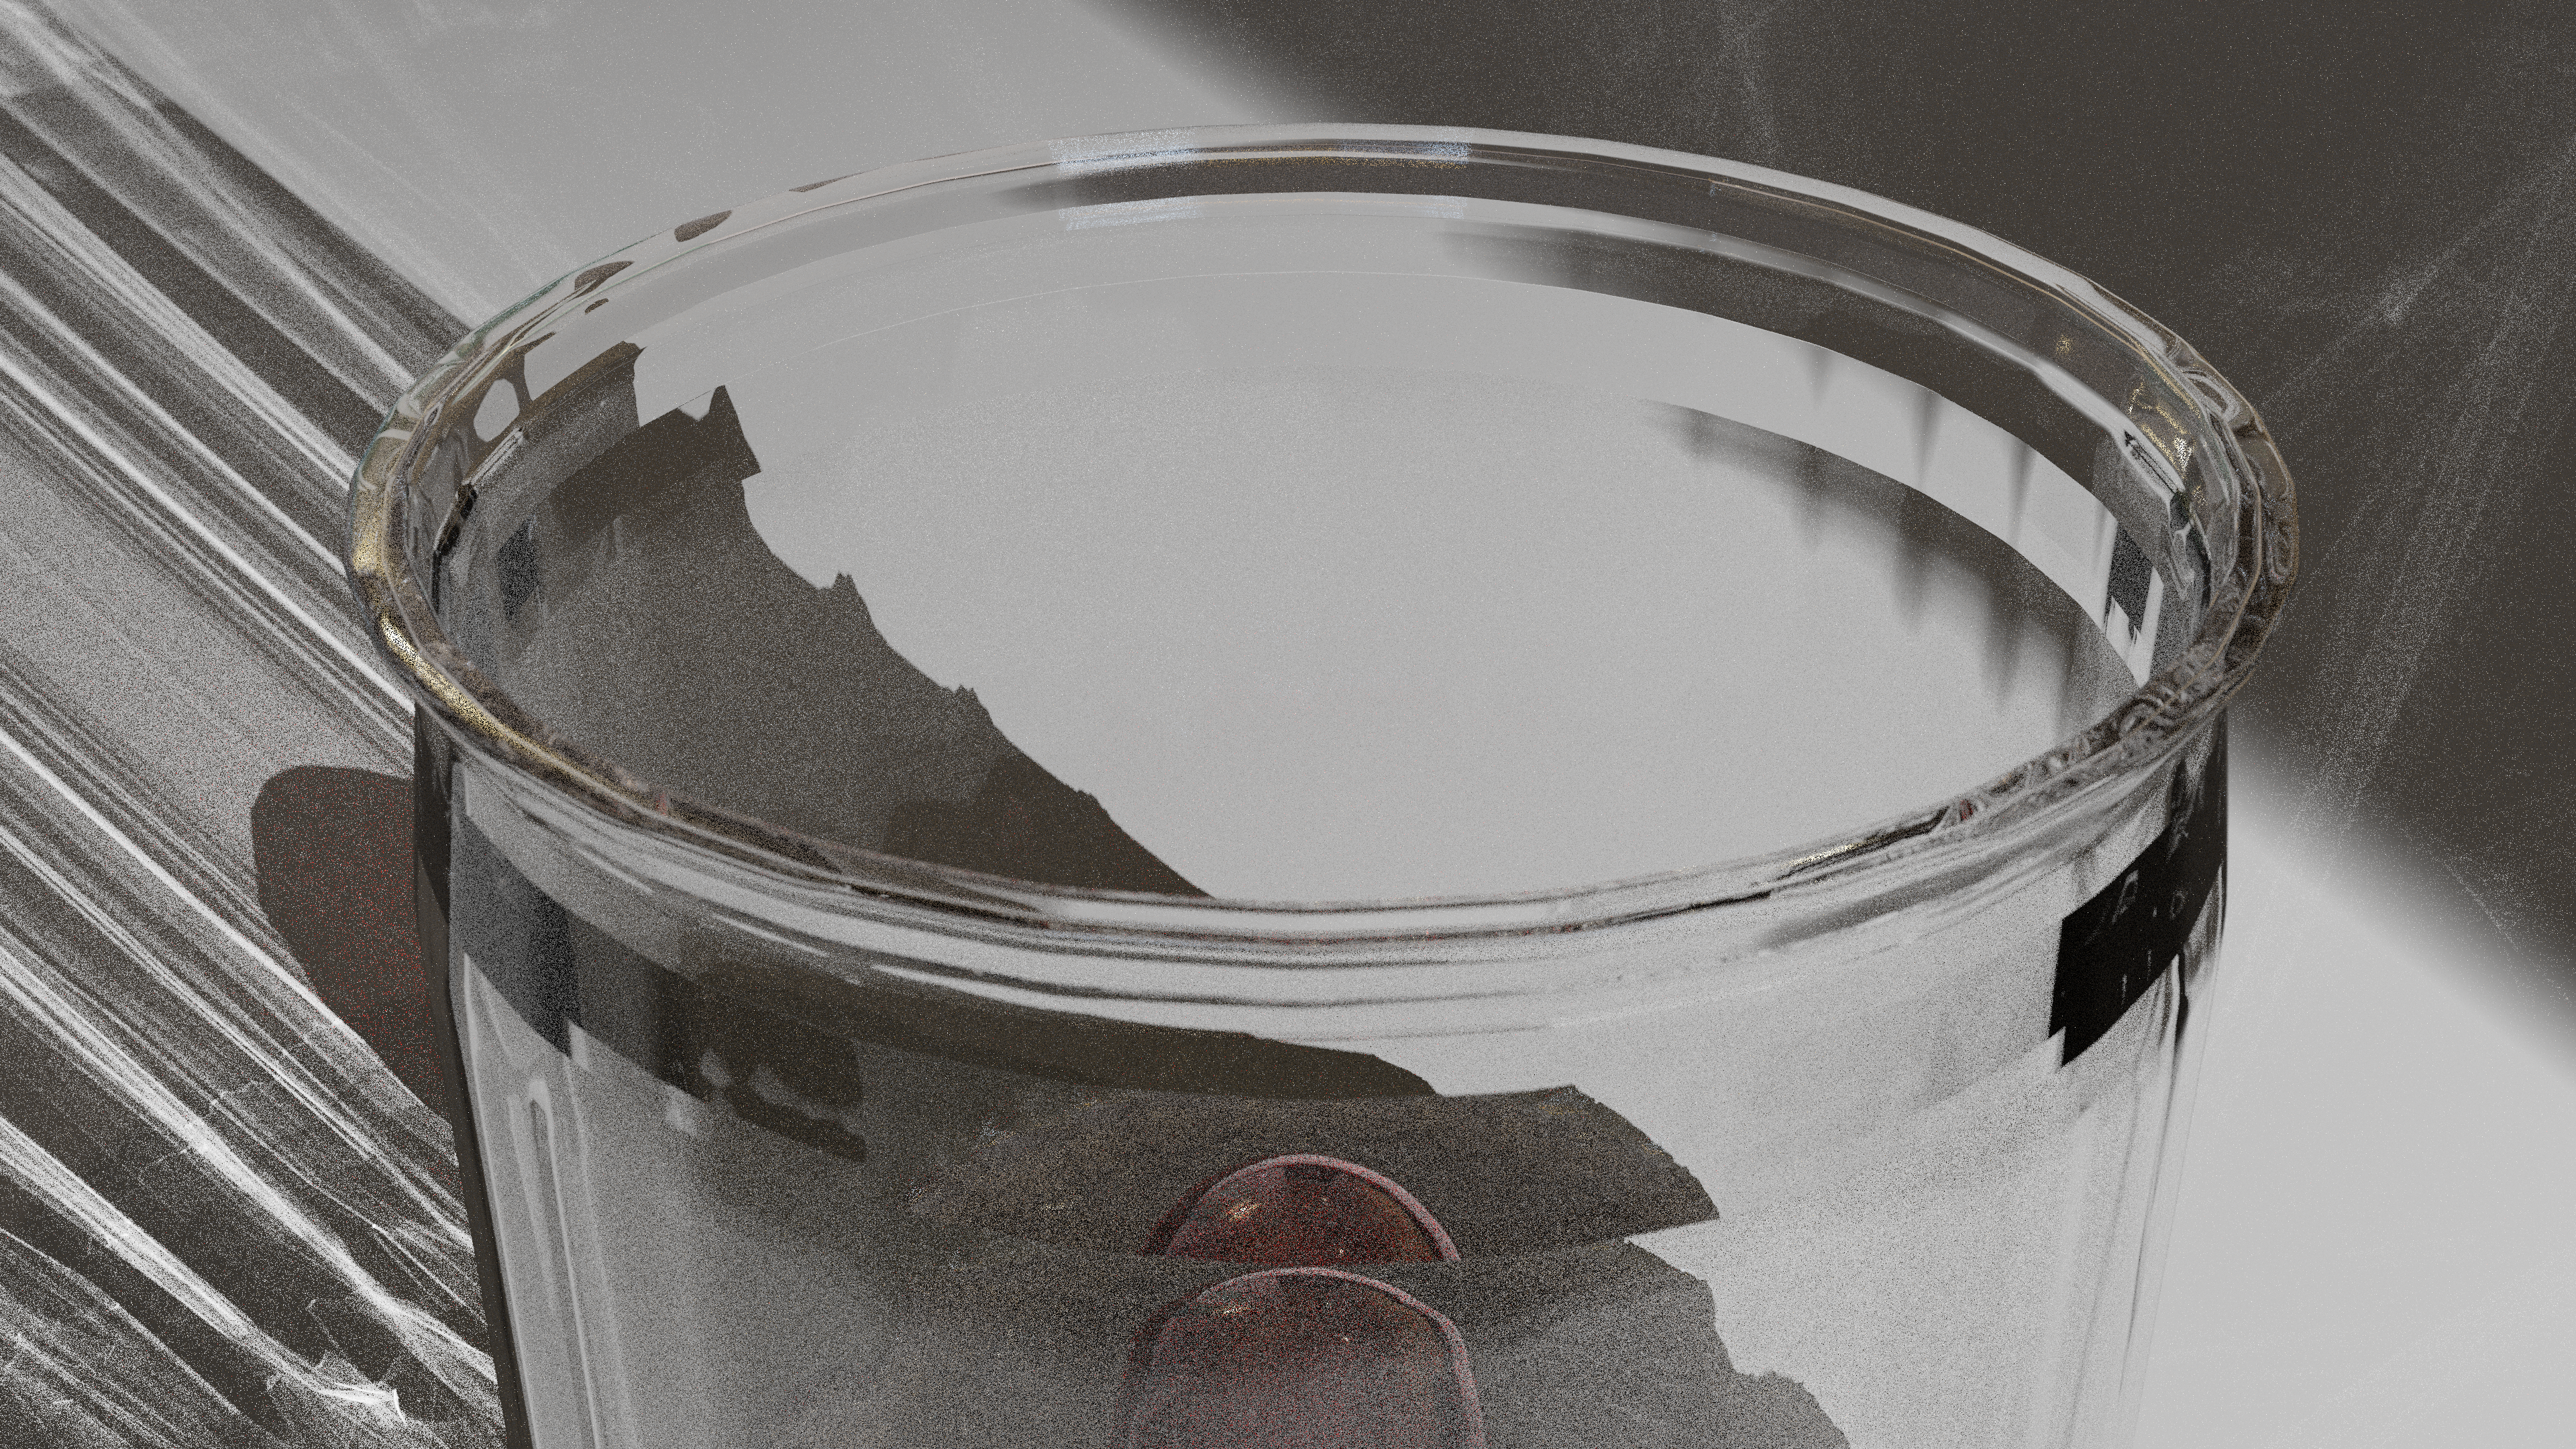
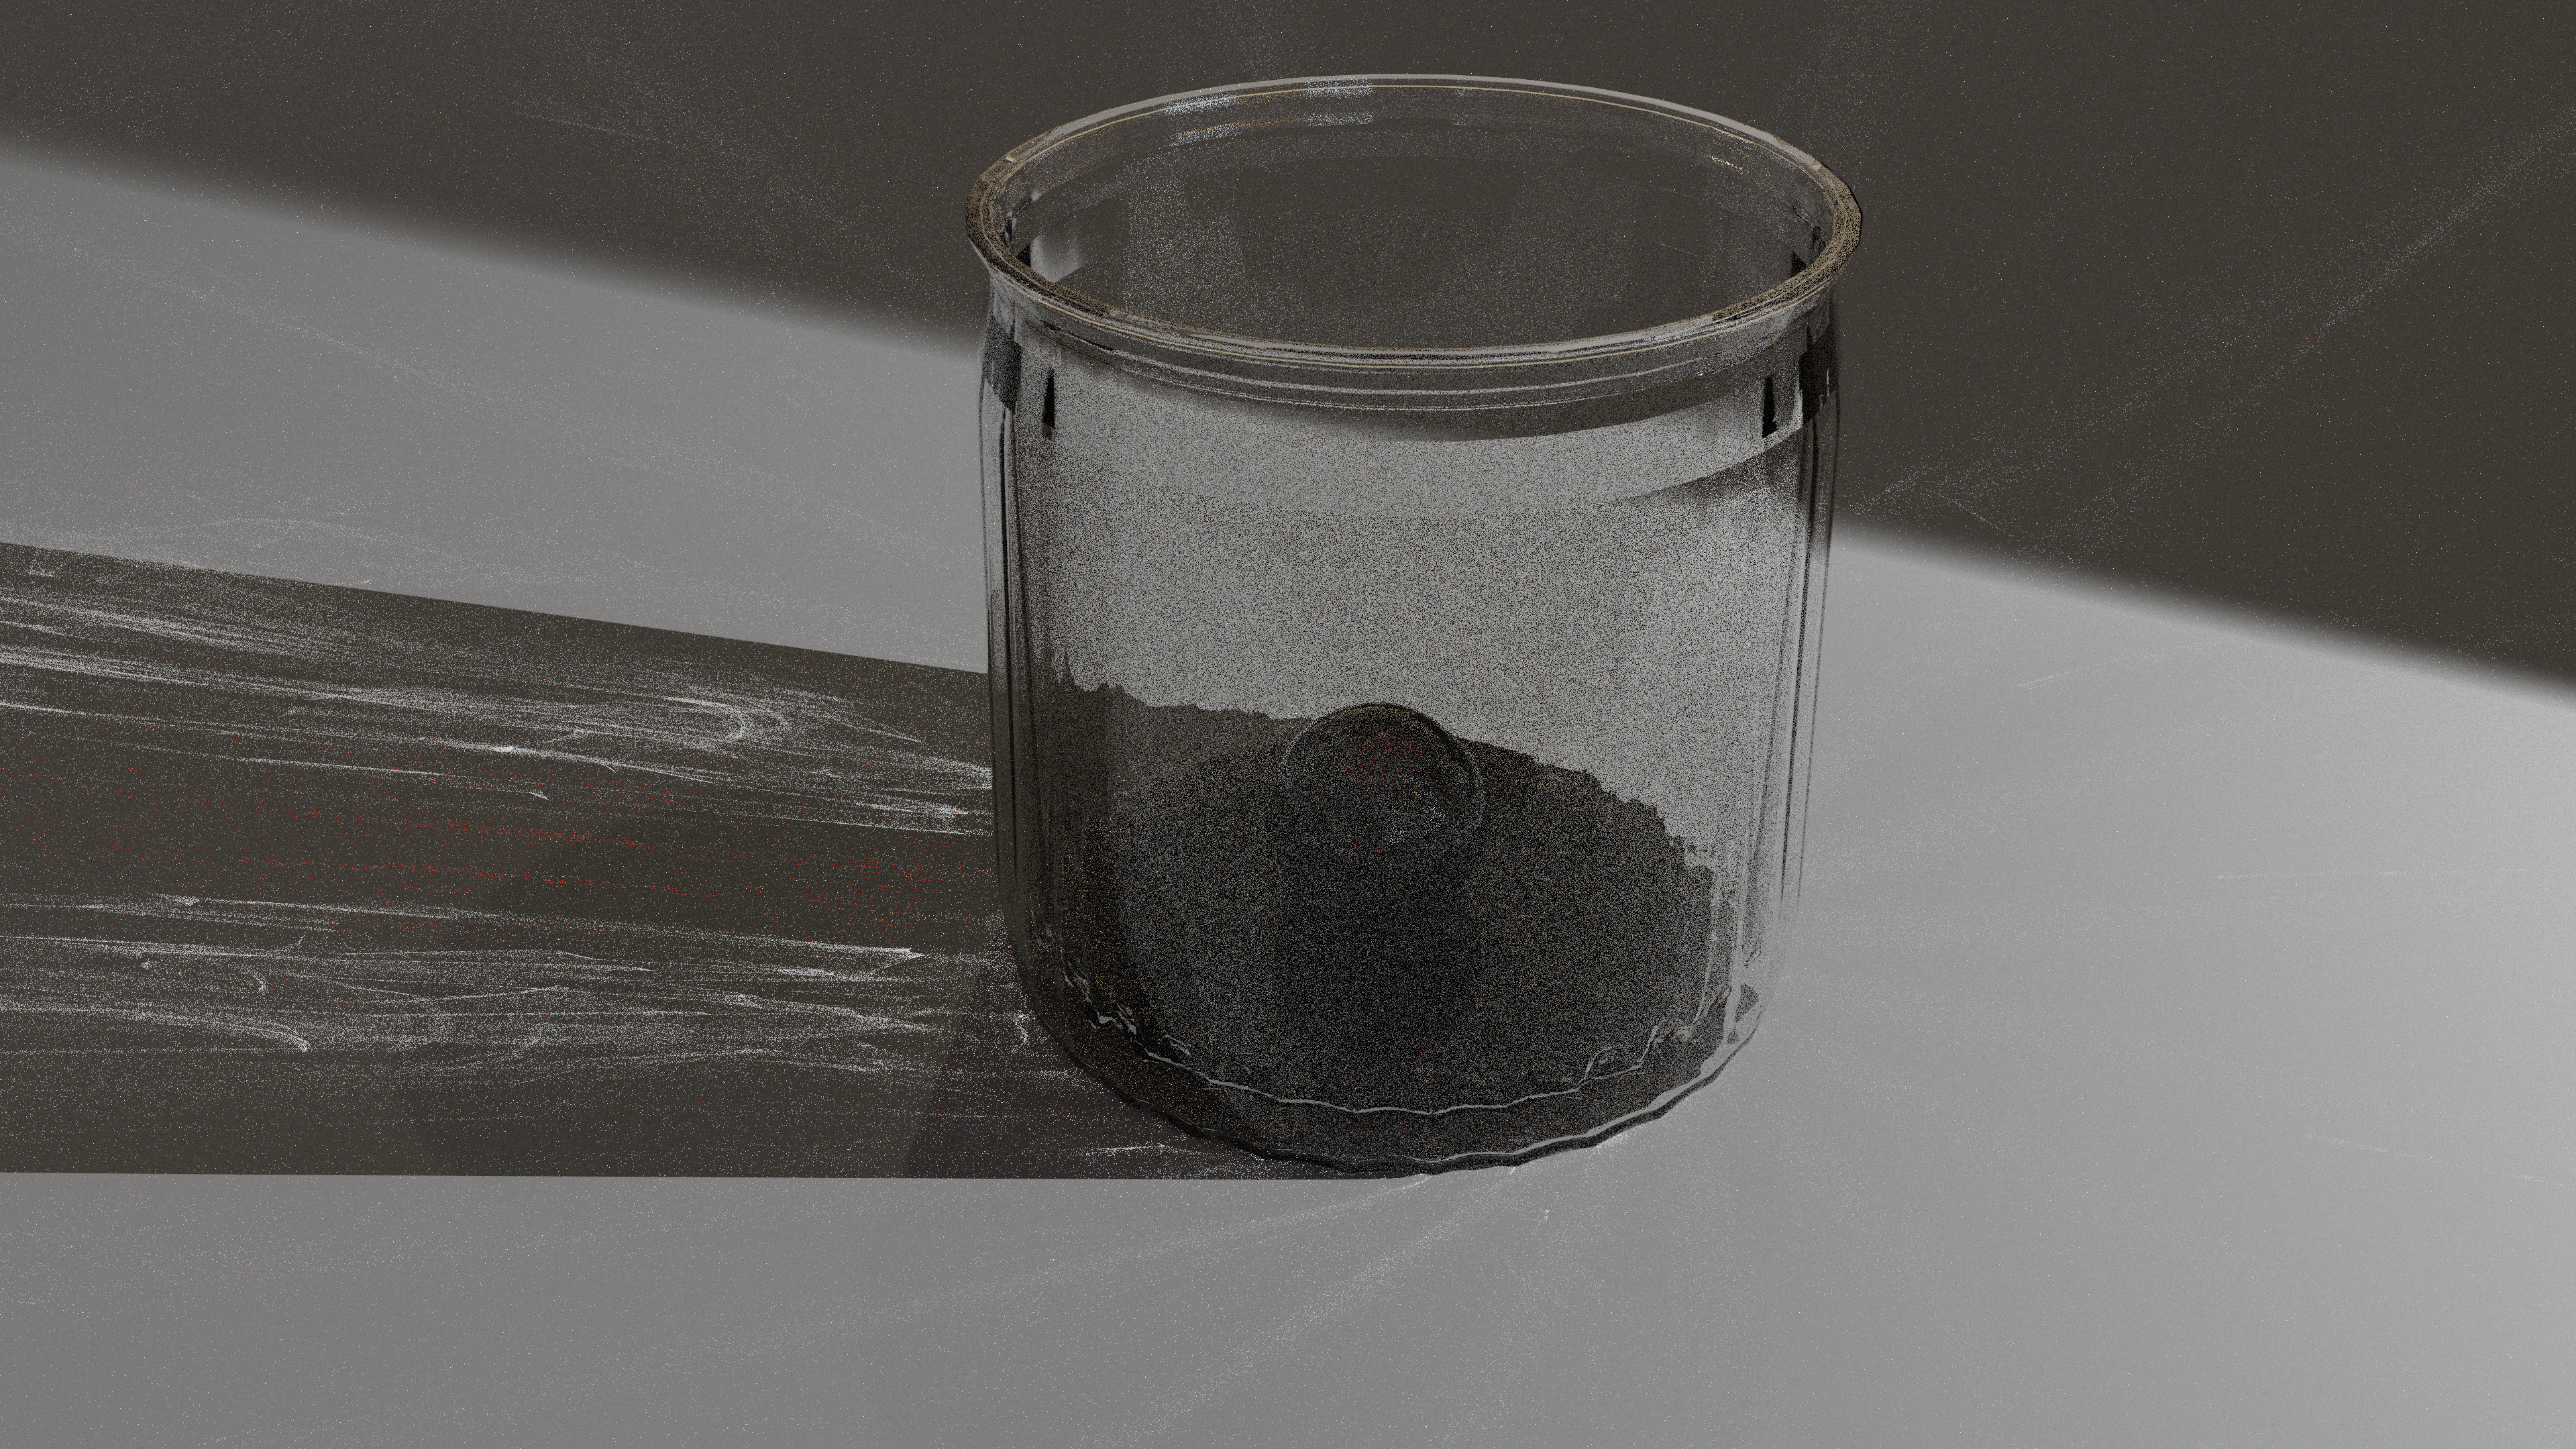
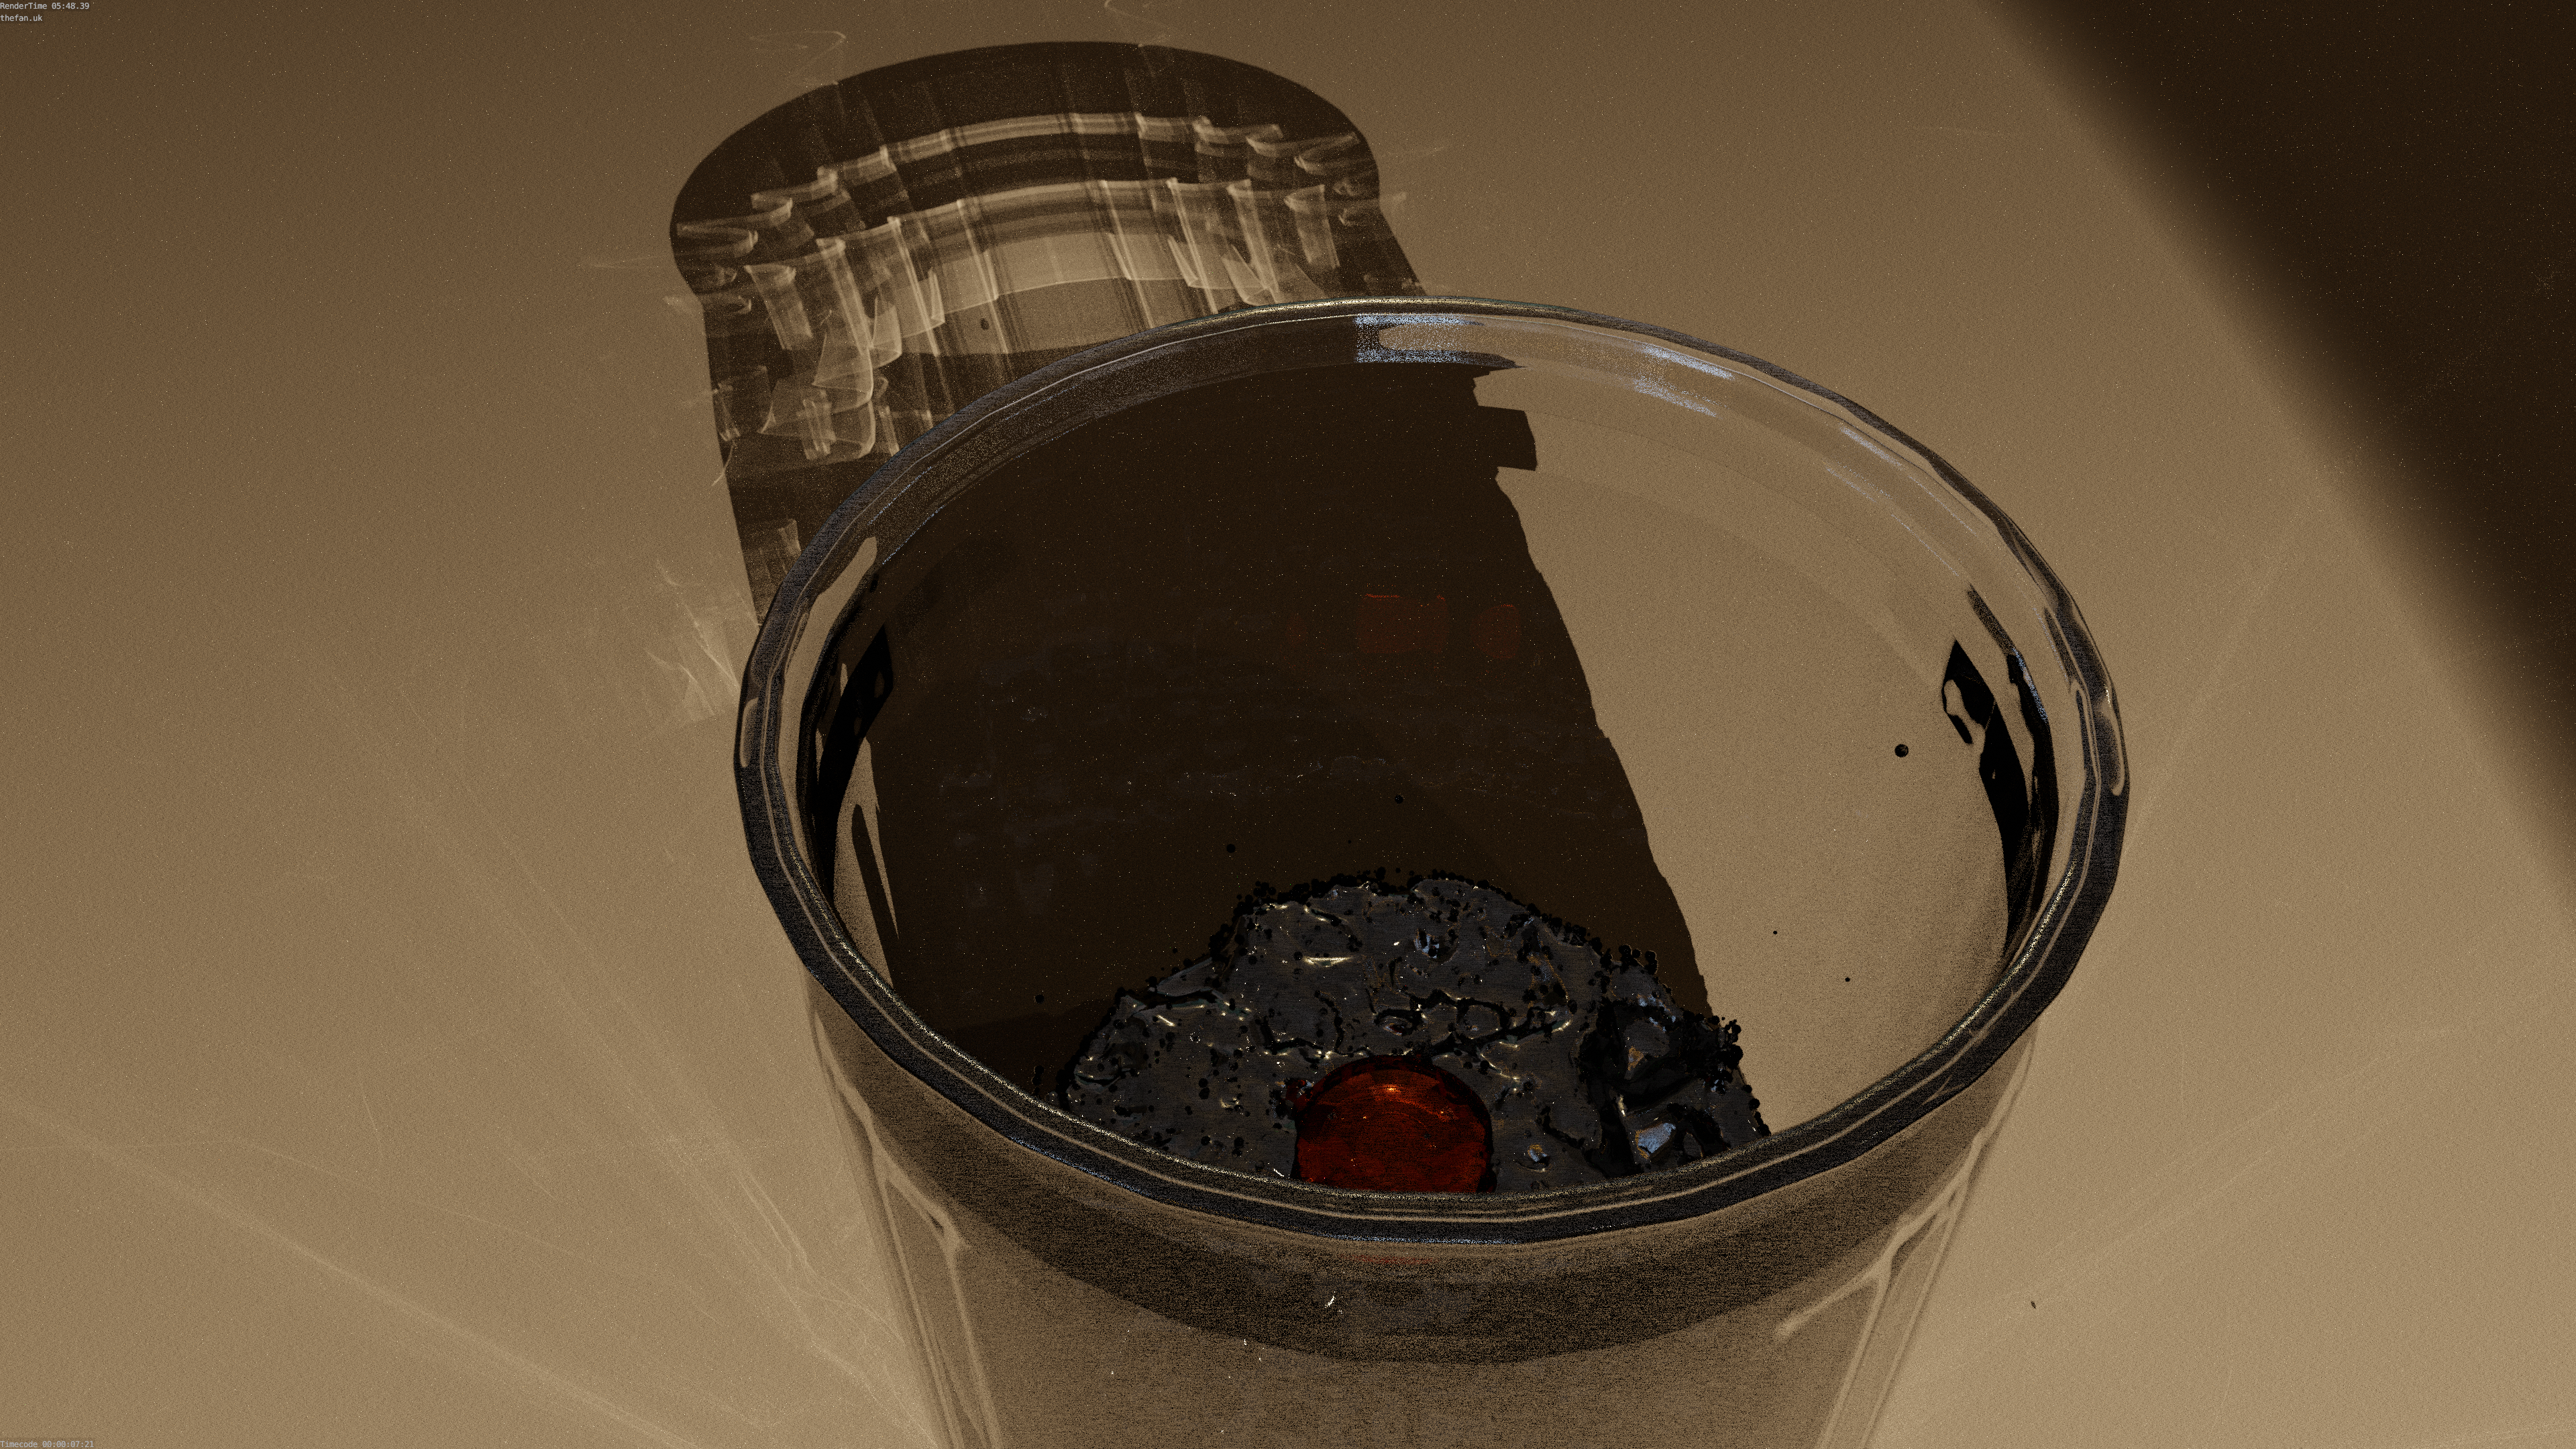
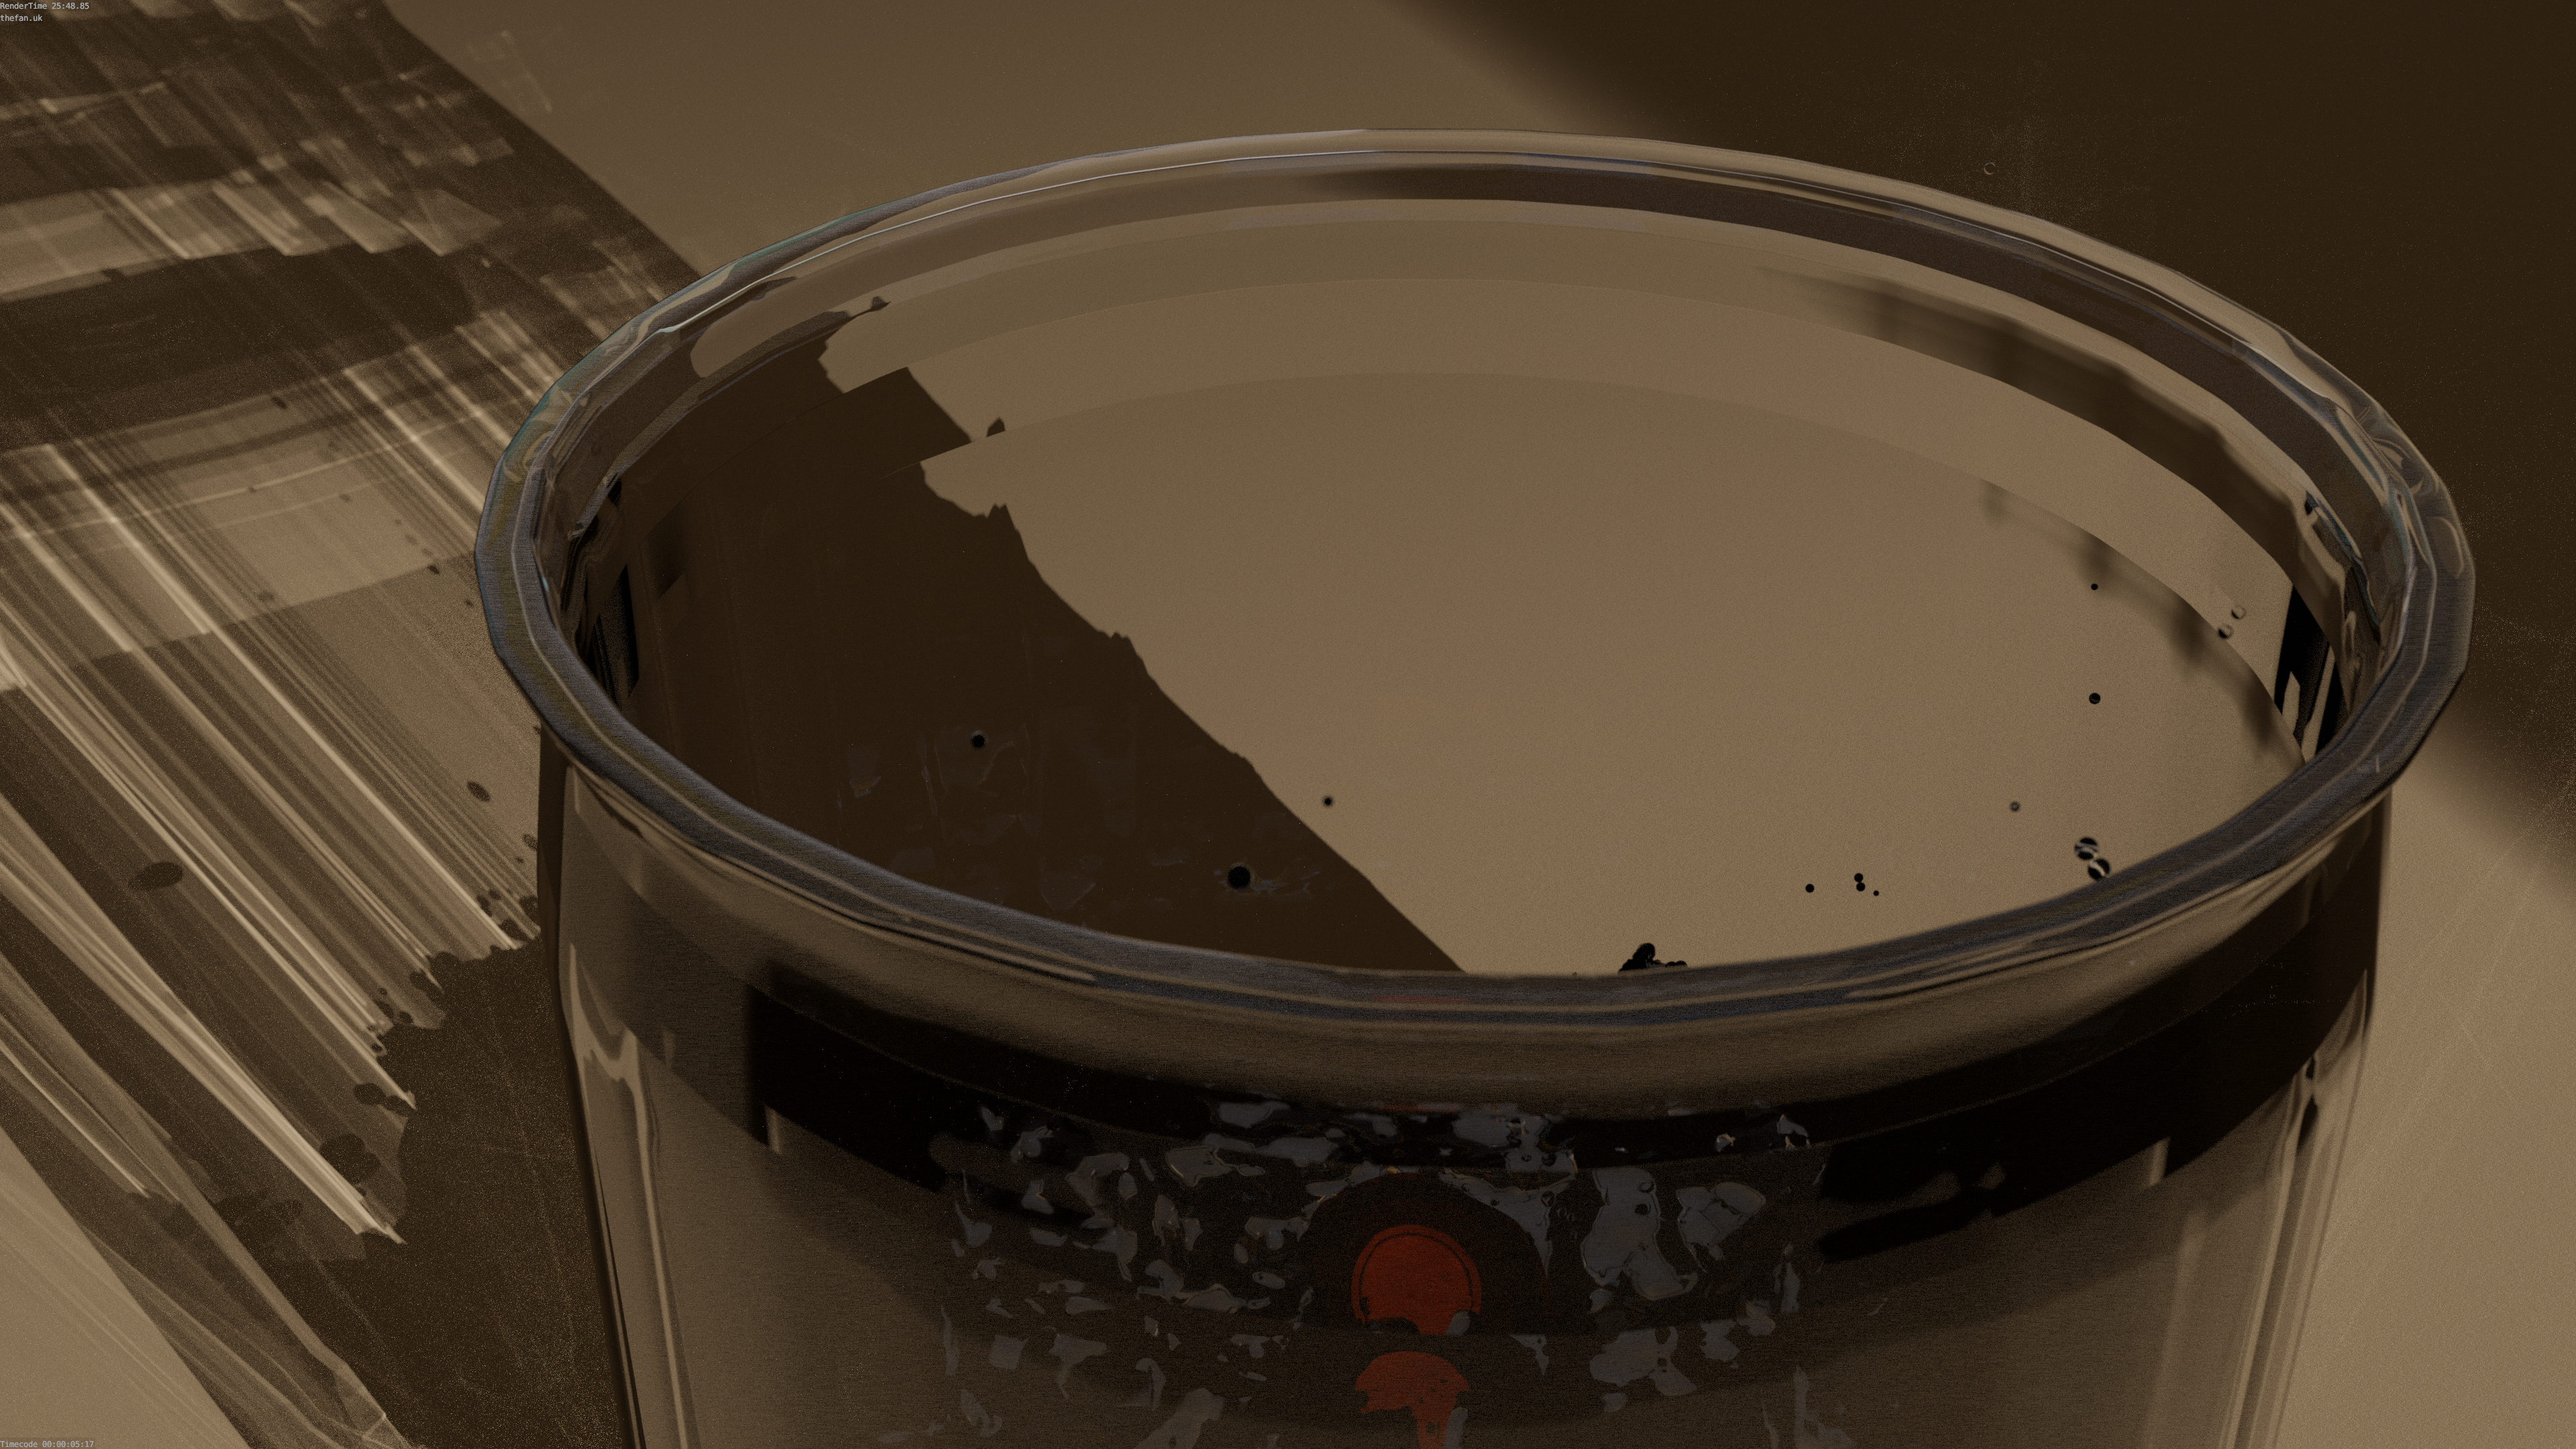
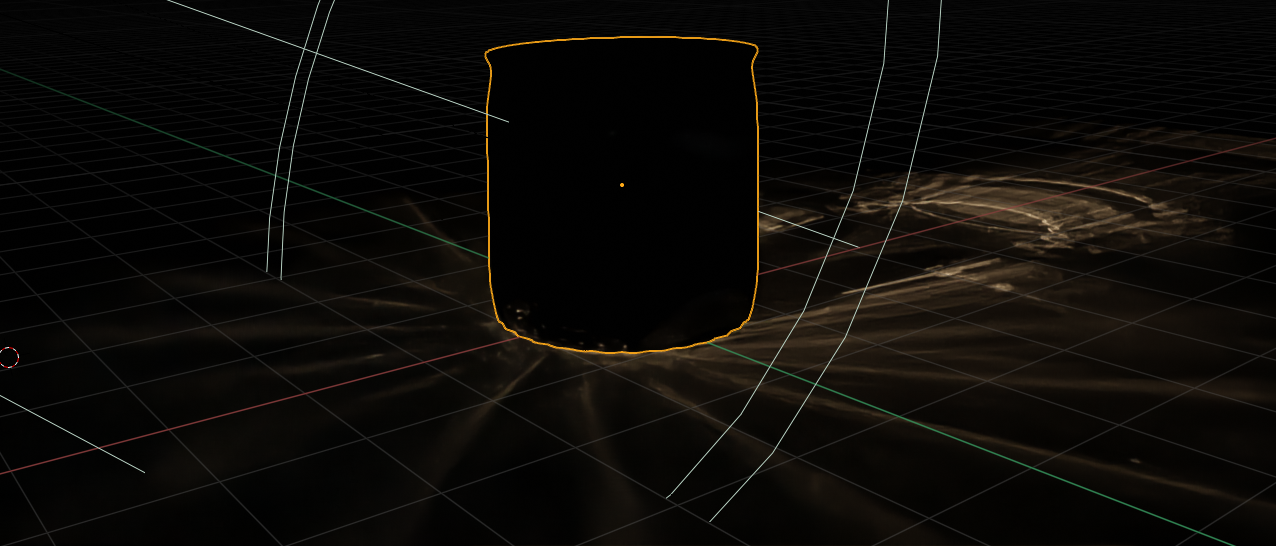
The beaker has a red, glass ball inside.
This is to show light refraction on the wood-coloured surface.
The beaker is flat shaded, which is why there are so many sharp lines – from the light hitting each individual edge: you can see this in the beakers shadow.
If I was working on a glass for a film, animation or game scene, I would increase this and aim for realism; for this scene though, I wanted to use simple geography for an exaggerated effect purely for eyecandy’s sake.
Bidirectional lighting
Render Engine: LuxCore / Engine: Bidirectional
As you can see from the low sample rate (below), this is just three minutes of rendering before moving on to the next frame.
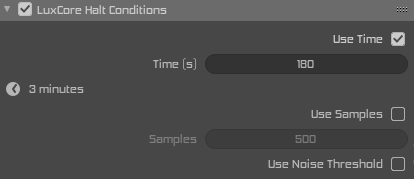
It’s worth considering that denoising is not included in this time, either.
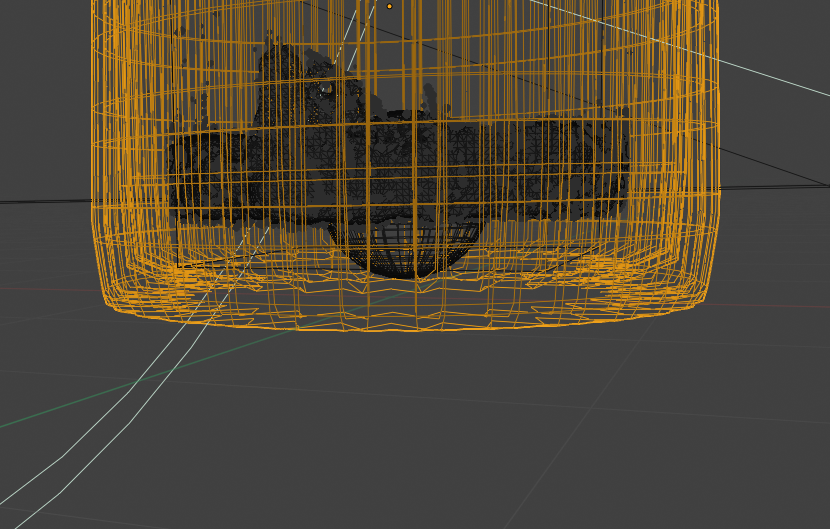
I’ve also used the
Smooth tool on the beaker, which gives it a less jagged look, and applied a Subdivision modifier – which increases the density of the mesh to make it appear smoother, and more curved.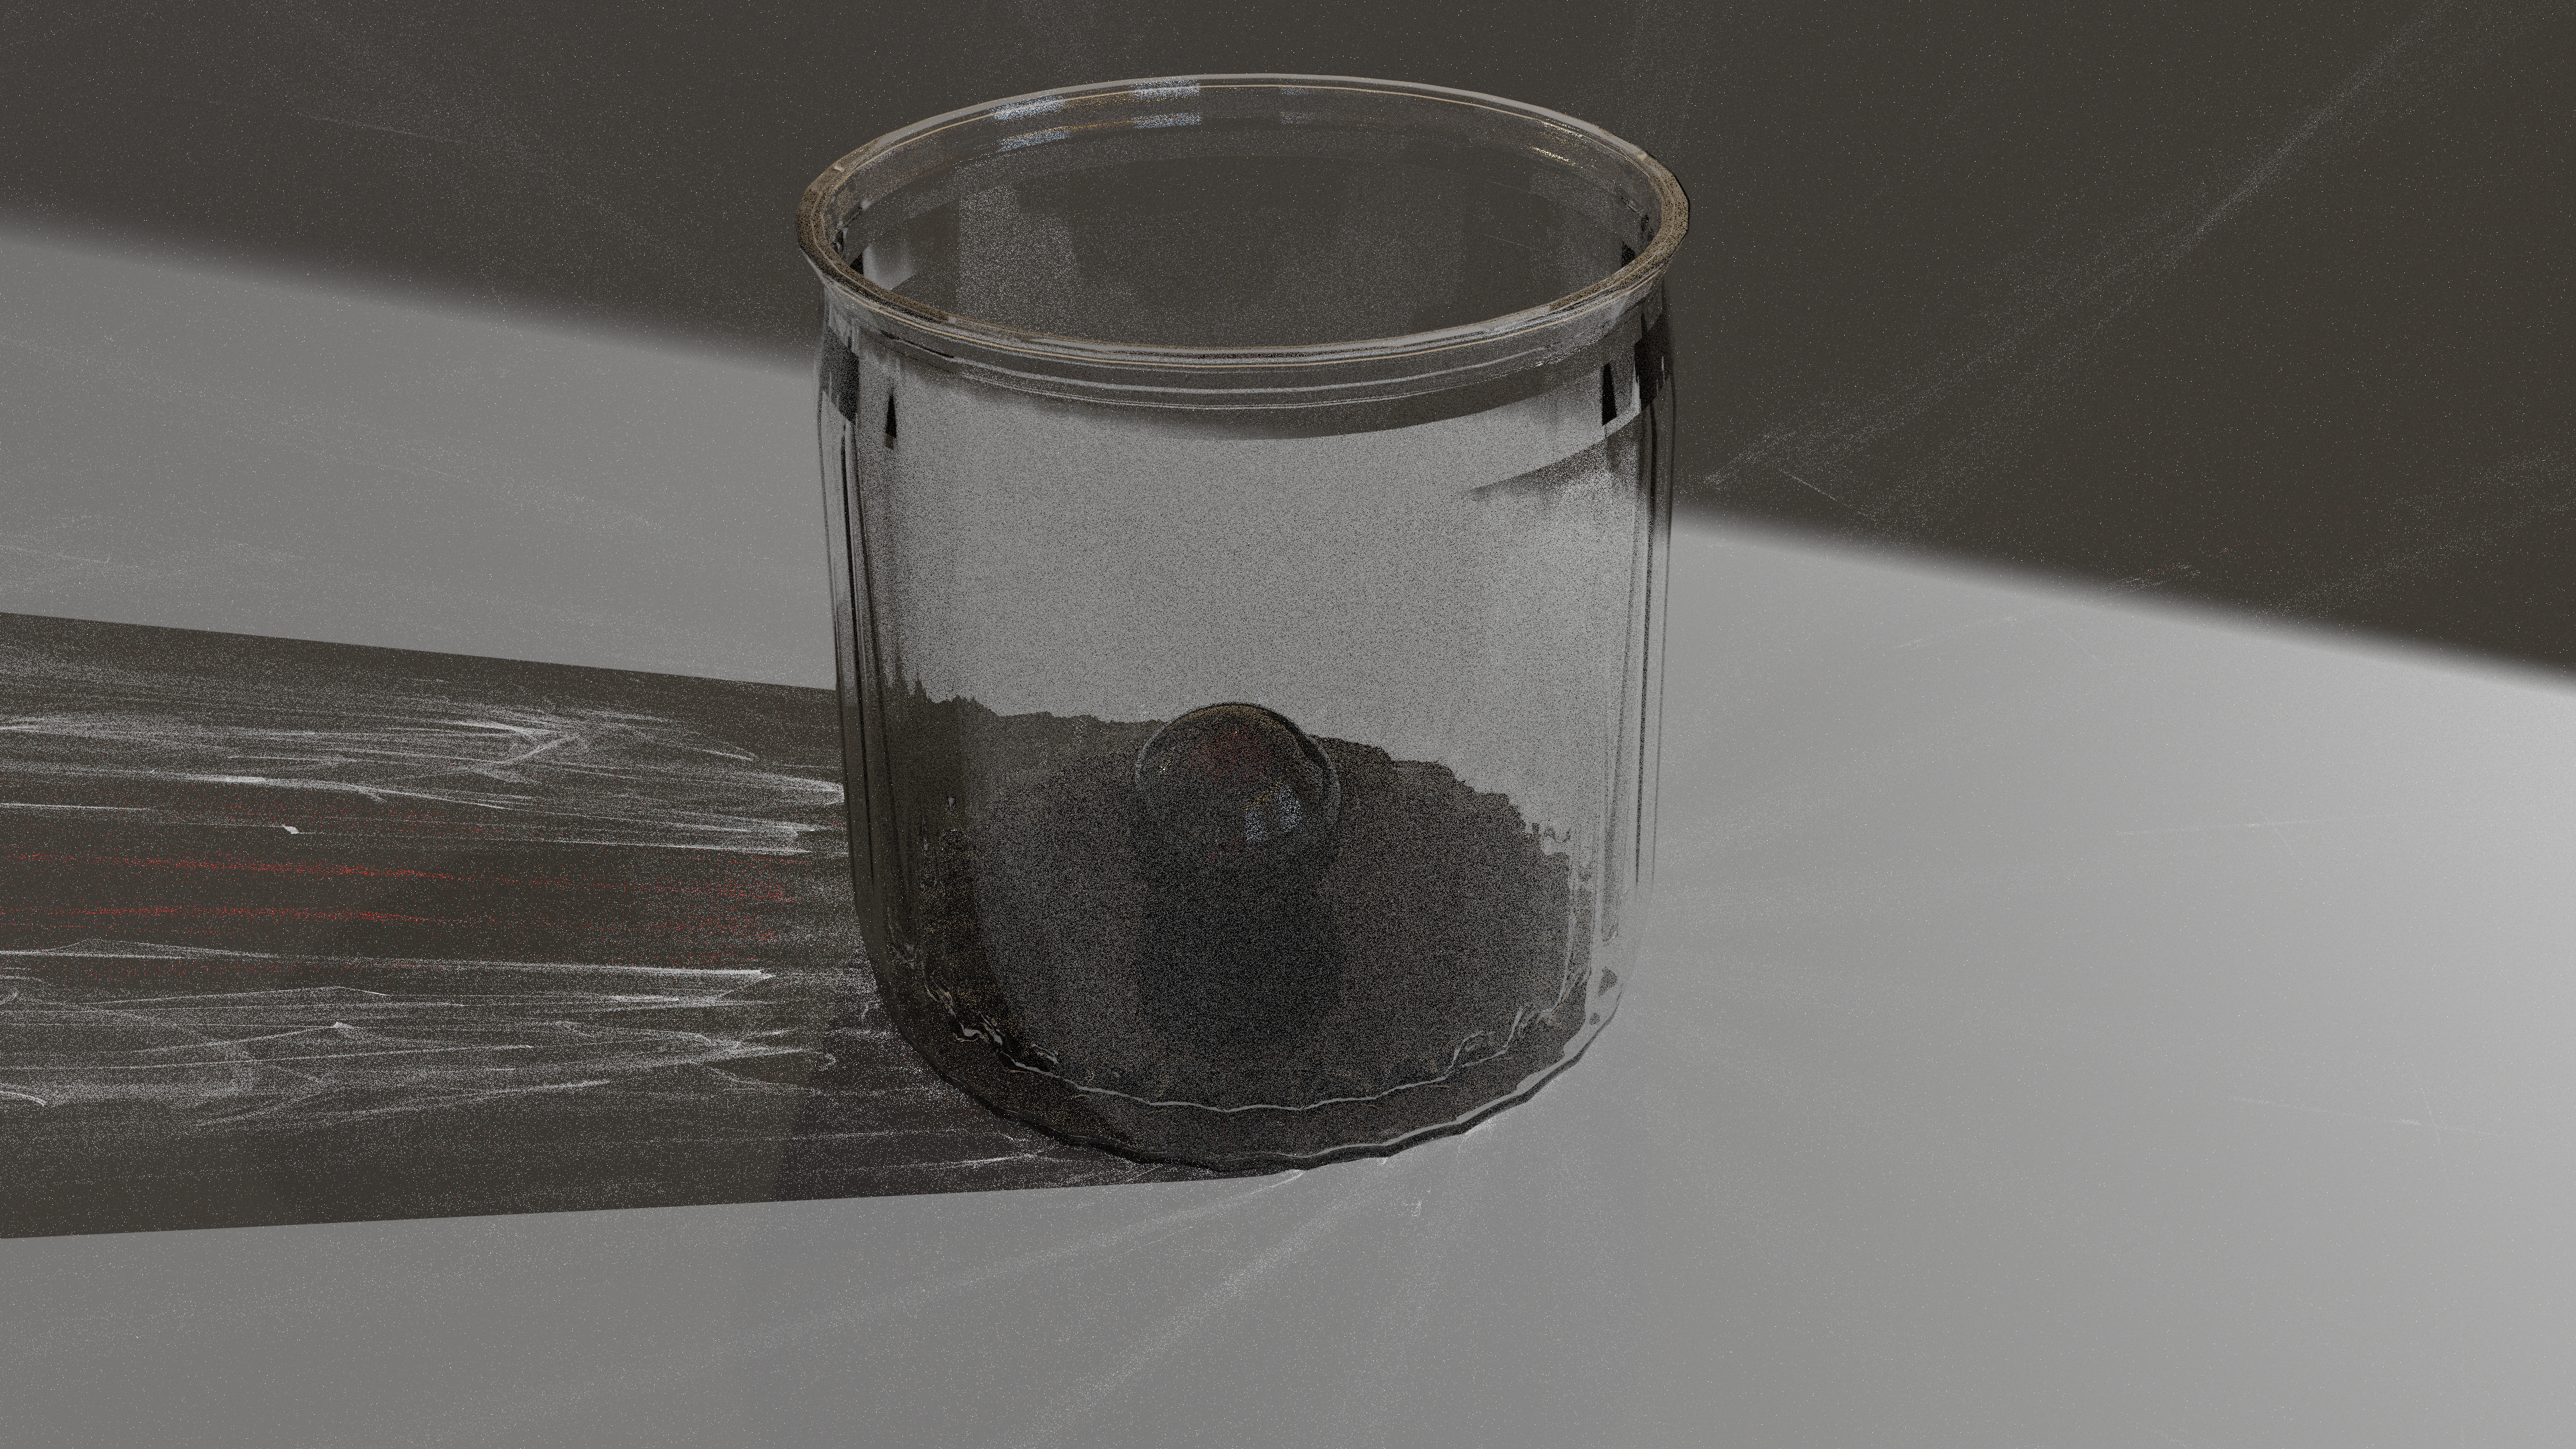
I will be managing the sample rate too, this looks too noisy – so I will be doubling the allowed time for each frame once the camera gets closer to the glass.
Sketchfab
I’ve uploaded it to Sketchfab, but it doesn’t quite have the same effect – though you can see the simplicity of the scene.
90 minute per frame rendering
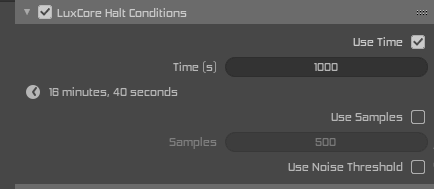
All renders in this section have been given 90 minutes to render each frame. It has been running all weekend.
If you’re on computer, right click and Open image in new tab – if you’re on your phone, long press. Even this is only half-resolution.
These are all rendered out at 4K, and the renderer is set to only progress to the next frame in the animation every 90 minutes.
I kid you not, this has been running for days. I want it to look perfect.
It has taken more than an entire day to render a single second of animation, and watching it on 1x will be fast and fun, but the real beauty as with all Screensavers for the mind is that they’re best watched on half speed, or quarter if you wanted to meditate to it. There’s no surprises, no jumpscares, no dialogue, just peaceful visuals. Simple, peaceful visuals.
No jingles, no credits, just sound and video. If you’re like me you like falling asleep to physics sims and tutorials, and I want this to be non-distractive, non-sleep hypnotic, attention grabbing, dialogue investing works.
Simple shapes, simple things. Pretty to fall asleep to, or for a visual timeout when you’ve been working too hard.
That’s what Screensaver for the Mind is for, pretty visuals you can look at and take your mind off things when your brain needs to go idle too.
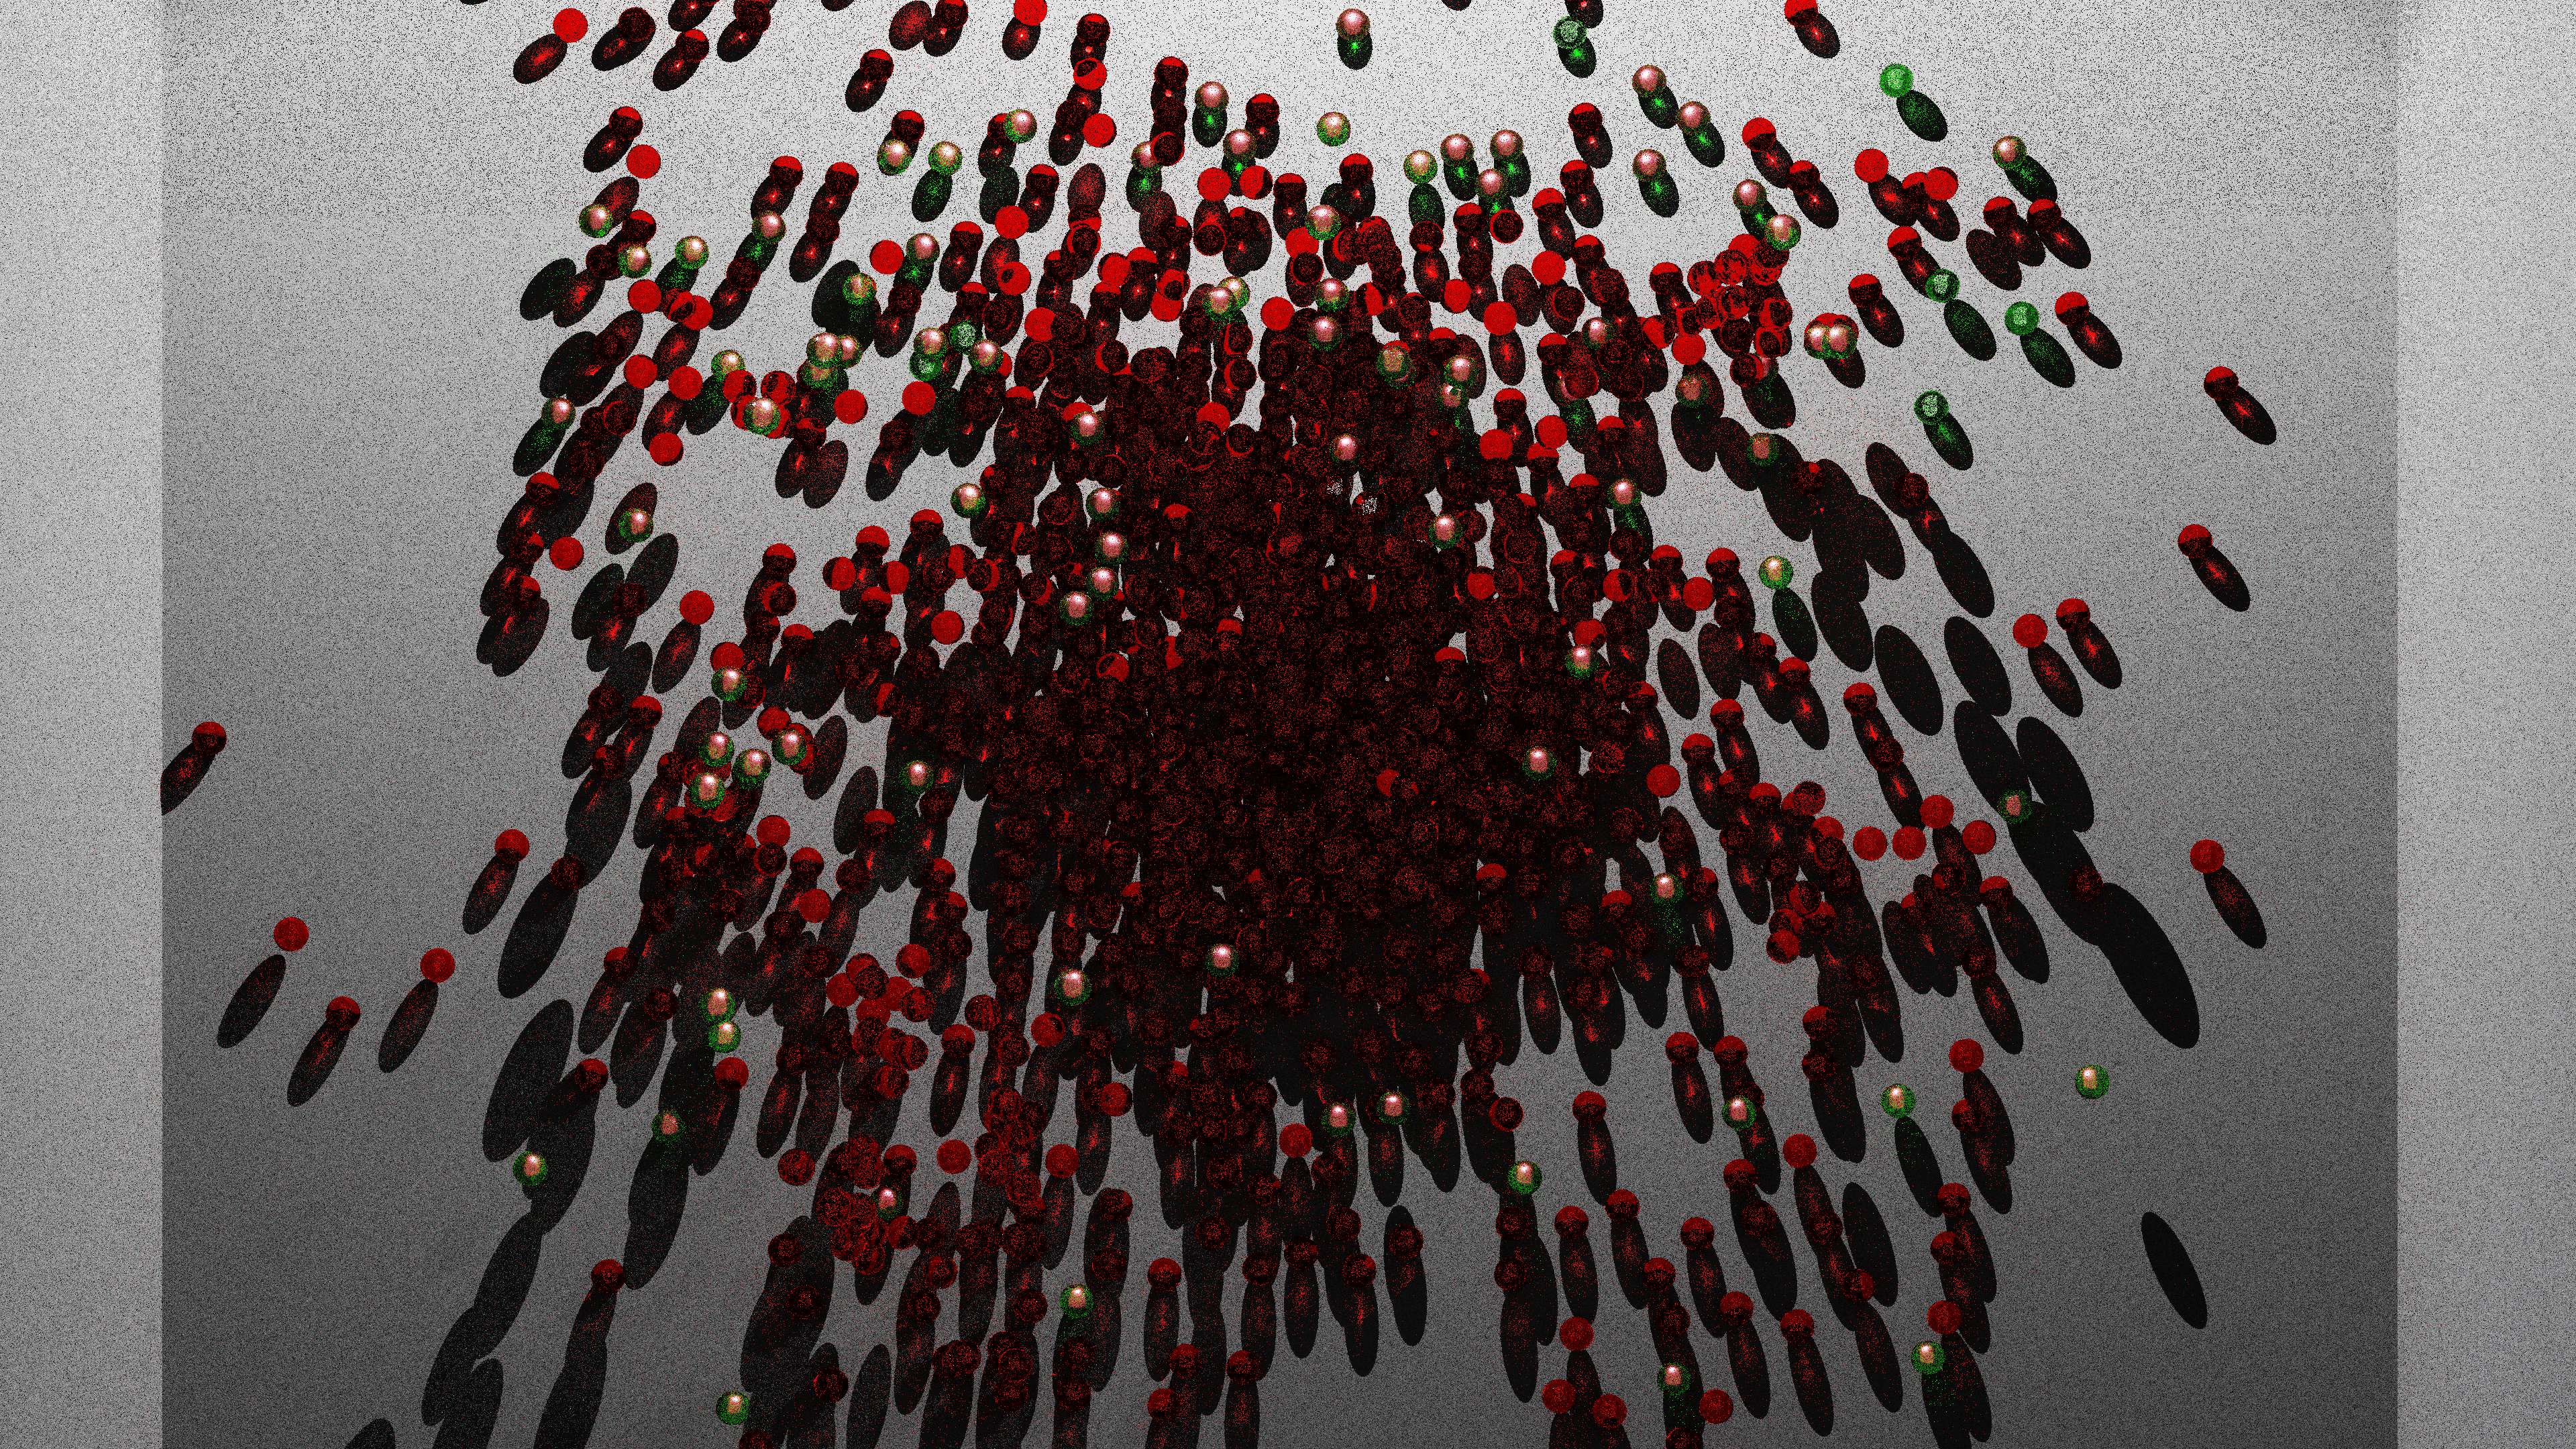
With fluid

The engine is Path, which uses GPU – as Bidirectional will only work on CPU, I can run them concurrently in separate Blender instances.
We can also see that the light is falling off to the right, by refraction of the red ball veering to the right of the scene. Because it is refracted, its movement will be inverted.
If you get close enough to look at them, their Normals are facing inwards.
That’s what gives them the bubble effect.
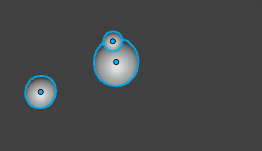
It’s a Collection of three different size spheres, hidden underneath the ground plane.
They’re in a seperate Collection, so I tell the particle system to render anything in that collection
[1/3 different sized spheres with inverted normals and a glass texture. Index of Refraction: 1.3333]

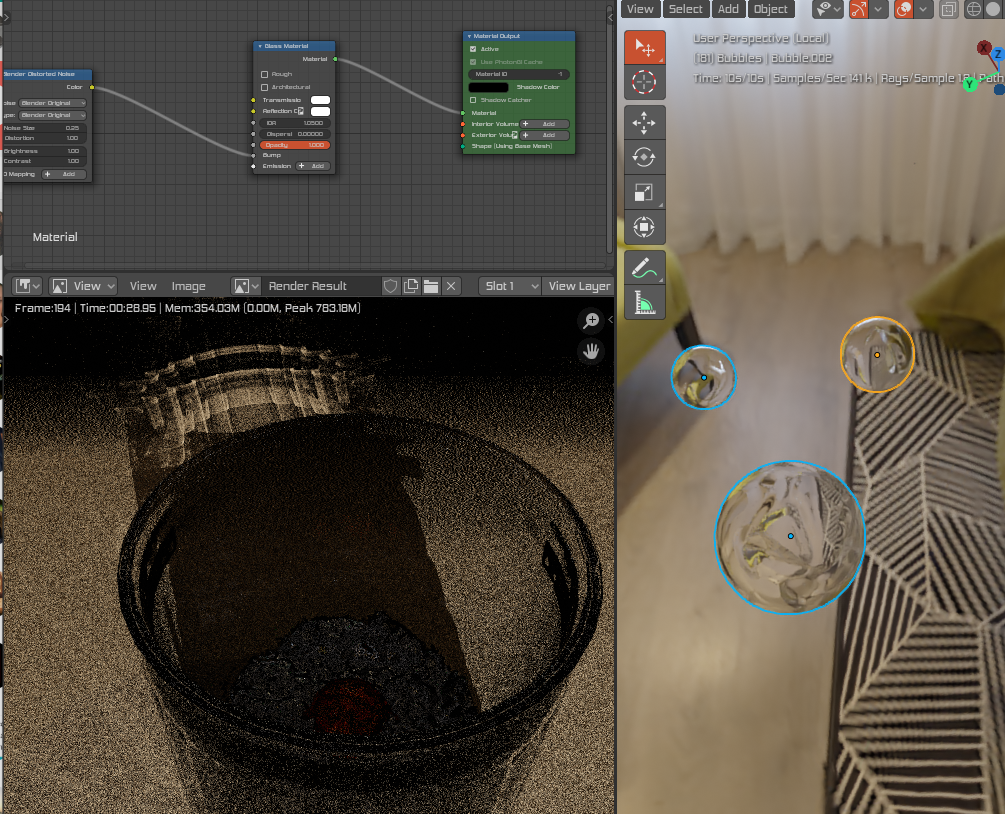
This is viewing the bubbles on their isolated view. The rest of the scene is hidden.
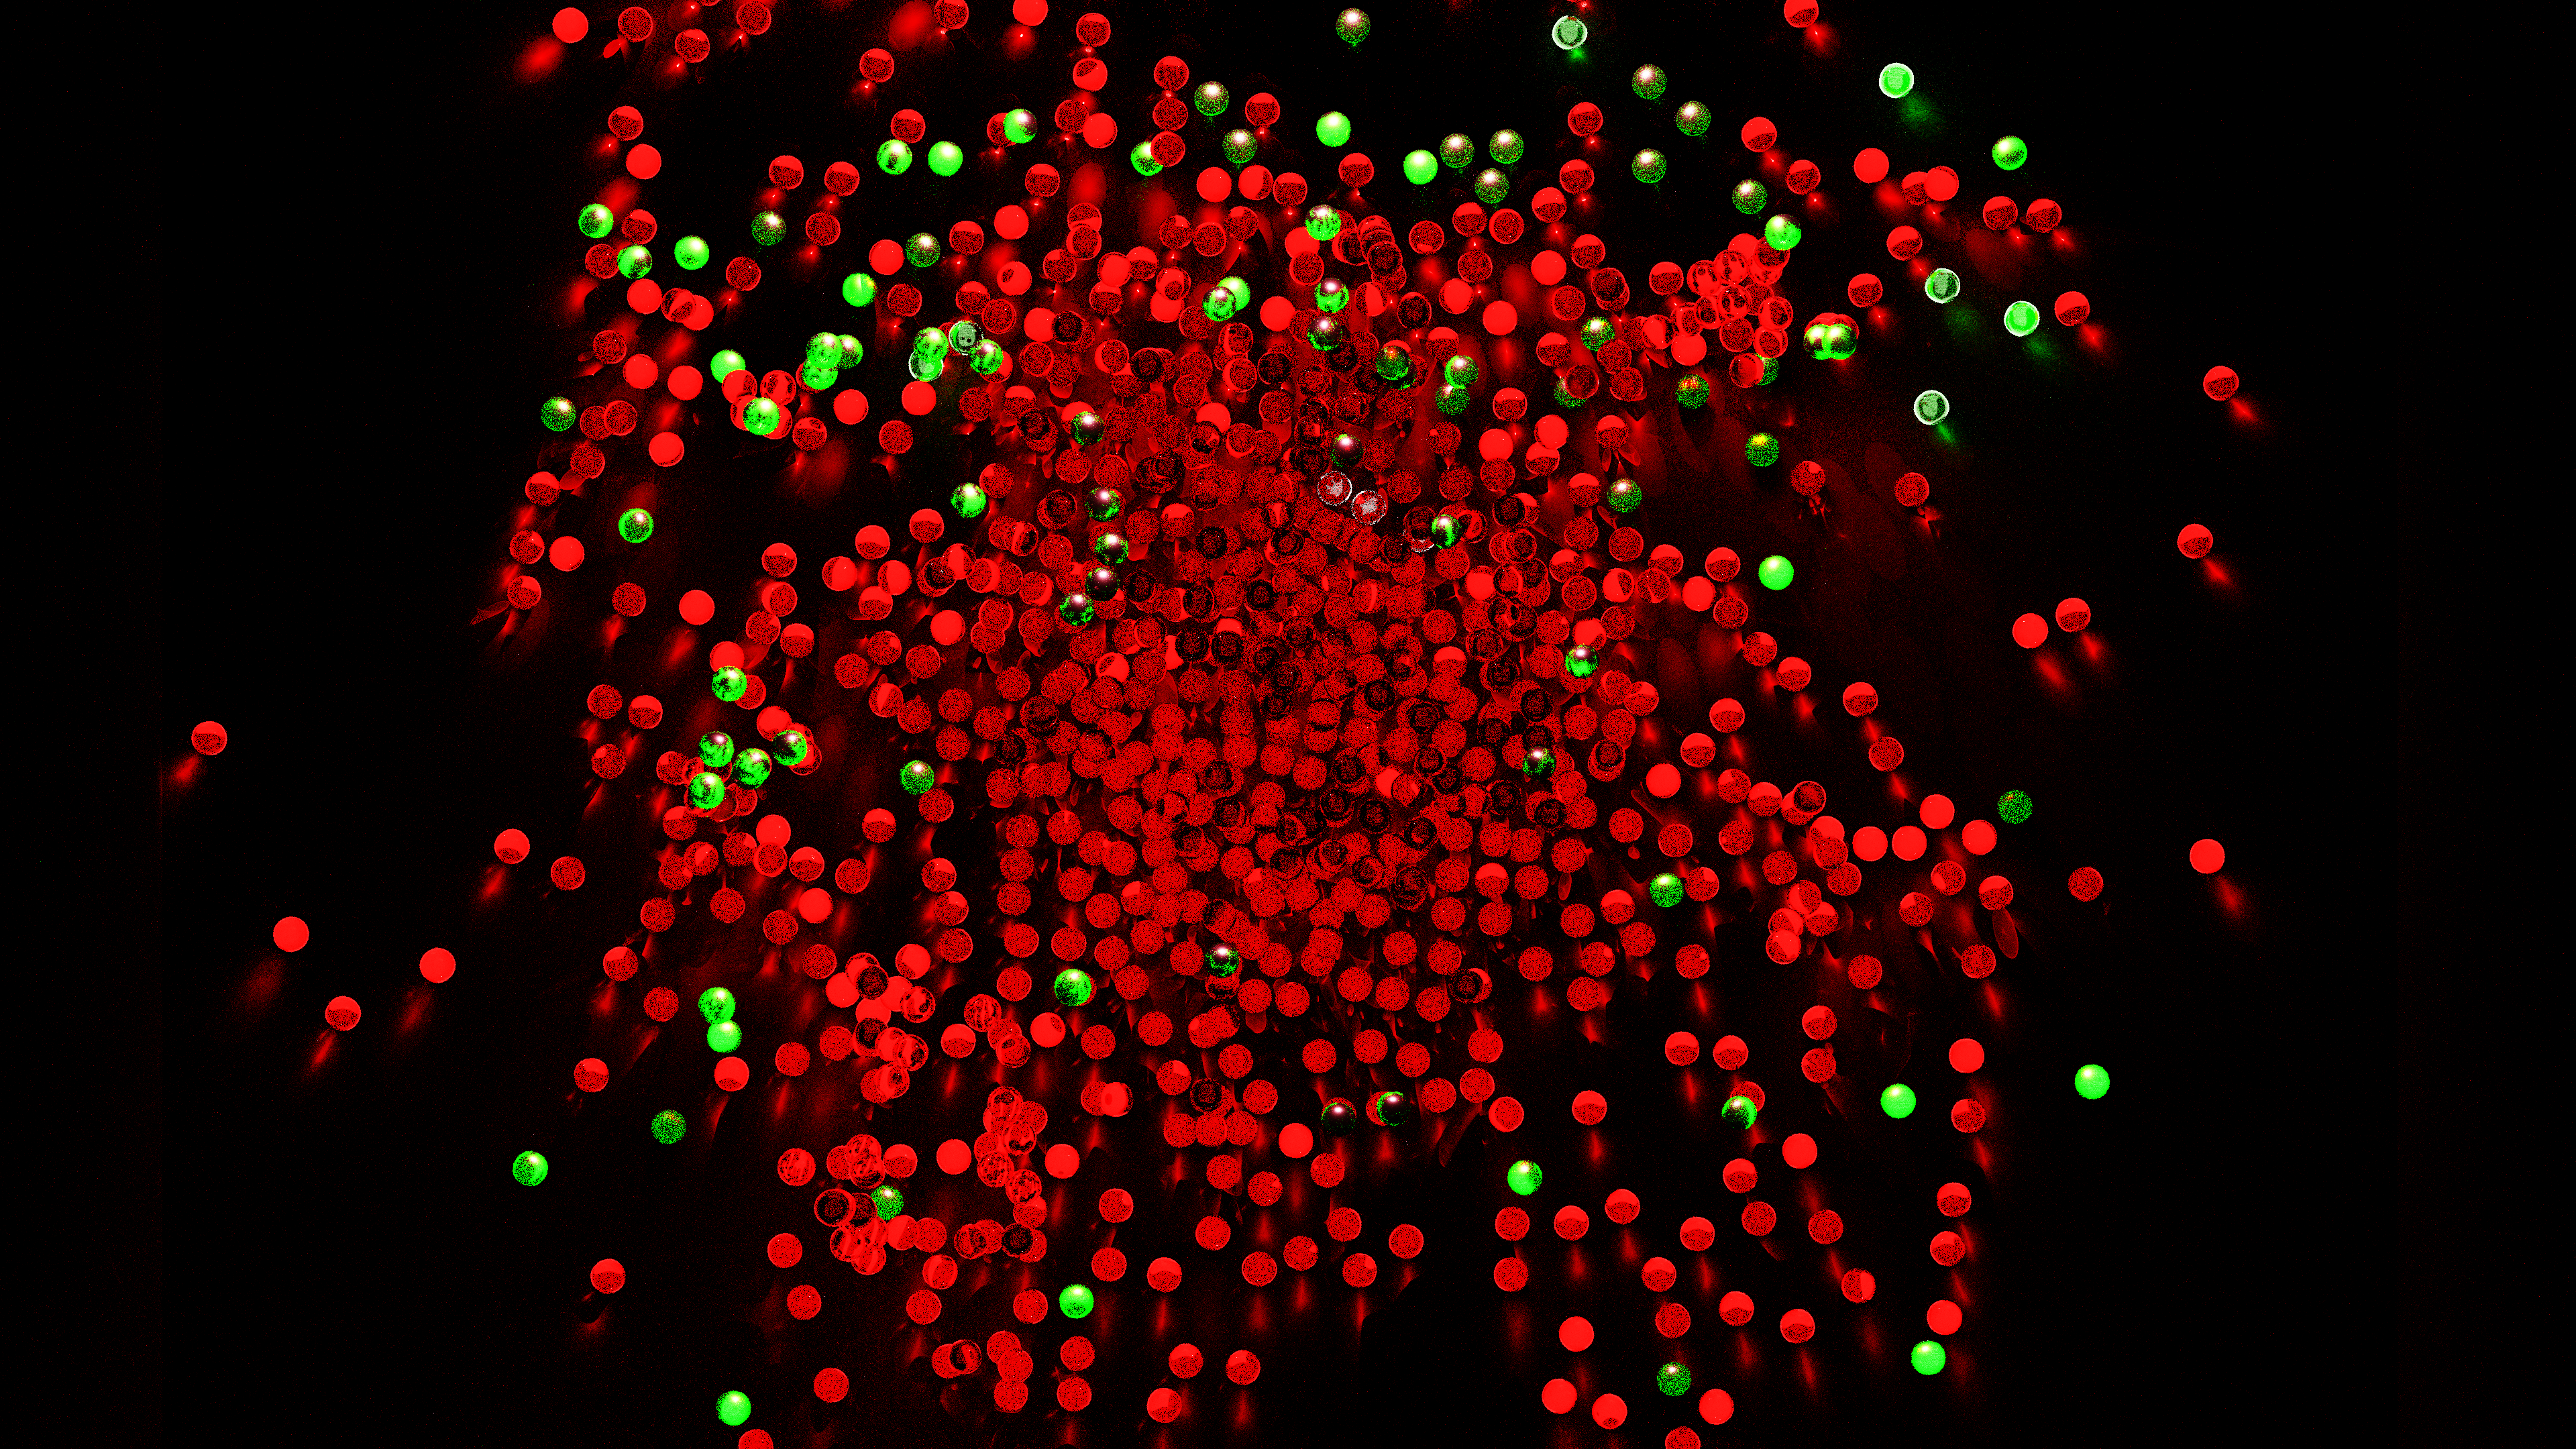
These are our bubbles that are splashing about amid the surface.
I didn’t want to use waves or surf, but rather give the impression of fizzy water.
Here is where I drastically drop the render quality
a) to hide that fact
b) to finish the composition quicker
I now have it rendering at 3 minutes per frame, so you’re going to need fast eyes to catch the detail, or watch it slowed down. I’m eager to append these frames to my existing composite, so I can render out to video and remove the original frames (weighing in at 21mb per frame).
Further resources:
If you’re interested in using Blender and Luxcore – here are some further resources. Luxcore is absolutely amazing at realistic interior lighting.
Come on, you’re sat at home – download yourself a copy of blender and have a play with it. Luxrender can be downloaded here.
When I say LuxRender is slow, I do not mean to knock on it – LuxRender is limited to the Python API as it’s an addon. If LuxRender had C-level access to the API, it would be much faster. Faster than Cycles, at least.
If you’re familiar with Cycles:
https://www.youtube.com/watch?v=-BmXeUDRqSo
Live interior modelling stream [Luxcore/u:Bone Studio]
https://www.youtube.com/watch?v=XwQZx5-QGkE
LuxRender DLSC[u:DRAVIA. STUDIO ]
https://www.youtube.com/watch?v=dIfwr2YPxPw&t=75s
I followed this tutorial heavily to get the volumetric light effect. [caustics only]
https://www.youtube.com/watch?v=VYbZrH0RGKs&t=315s[u:
Simon Wendsche]
This is the tutorial I followed, purely for the geometry – though this is for the Appleseed renderer, (which I may do next) – the menu options are different
https://www.youtube.com/watch?v=G-uV4NPlggo.[u:
BlenderDiplom]
This is my attempt at the tutorial using LuxCore instead of Appleseed. [23m]
I’ve also yet to try ATI Pro Raedon and good old Yet Another Free RAYtracer, but these will be specific, dedicated videos like LuxCore has, and Appleseed will be.
Next up, smoke.
Cigarettes, bonfires, buildings alight
Let’s hope the physics, I’ve got right.
There is art in
Green smoke of someone fartin’
Let’s keep it fun, up comes the sun.
Let us not fear dystopia, here.
These visuals are here to help you resync
Switch up your brain and rethink.
Luxcore’s not about basic scenes, where every Plane is plain.
The complexity of the scenes you can make is insane.
Start off with a box shaped room,
Tab to edit mode, mousewheel up to zoom.
Ctrl R to loop cut, seperate your window out as a box.
Looking at rendered, it’s quite dark.
Come outta edit mode. Shift A to add a Sun,
and have some fun.
Using Suns with LuxCore,
You have to be careful because they’re hardcore.
A value of 0.2 should settle the score.
Ctrl T, point into the win-doh.
LuxRender suns are bright, because they’re used with all their might.
My other trick,
Is to set your Colour Management to Filmic
This keeps it more realistic to a camera
Use it on RGB and the colourspace will harangue ya.
RGB is limited in pallette,
Using Filmic Log is your pal in it.
How’d you make the vortex? If I tell, you’ll steal.
And that’s what I want, for your own effects – you feel?
Make your canvas with a plane and extrude it on Z
(can I rhyme with zed, as well as zee,
it doesn’t matter to me)
Come out of edit mode, select the plane. Ctrl A
For scale. Alt G for location. Ctrl A again for Loc.
If you’re distracted by the scene, and you’re in a dash,
Isolate the view, press (NumPad) foreslash.
Come out of that again,
As long as you know you can do that, that’s main.
Shift A to add a Force,
We’ll be adding a Vortex, of course.
Alt G to slap it bang in the middle.
Alt I to LocRotScale on frame zero.
Jump to Frame 250 (or so) –Rotate Z 1080.
Insert LocRot.
While it bakes, we might be here a while matey.
BOOM! Vortex spins 1080 degrees in the space of 10 seconds.
Sends the marbles scrambling, what do you reckon?
So next post is going to be Appleseed,
I’ve played with it before so I know what I need.
Only thing I worry about is a user
Shouting ‘content reuser!’
All that’s reused is the camera path,
To help you compare the volumetric math.
Maybe one day I’ll overlay them, just for a laugh.
Yes it’s true that I set each frame to 90 minutes per render,
because if it’s not true, then Return to Sender.
One has water, the other has zonder.

Recent Comments